Create Cool Nebula Background Effect with Three.js
So you’re looking for an idea to create a stunning background for your website? This tutorial is for you. We’ll show you how to create an animated Nebula background using JavaScript and Three.js. Let’s check it out!
Basic Setup
Let’s start with the basic scene setup. First, import Three.js library and setup a scene and camera.
I’m going to use a perspective camera with 60 degrees viewing angle and 1000 viewing frustum.
For ambient light, I’ll use soft white light (0x555555) Also, I’m going to add a green fog to create the aurora effect.
<script src="three.min.js"></script>
<script>
let scene, camera, renderer;
function init() {
scene = new THREE.Scene();
camera = new THREE.PerspectiveCamera(60,window.innerWidth / window.innerHeight,1,1000);
camera.position.z = 1;
camera.rotation.x = 1.16;
camera.rotation.y = -0.12;
camera.rotation.z = 0.27;
let ambient = new THREE.AmbientLight(0x555555);
scene.add(ambient);
renderer = new THREE.WebGLRenderer();
renderer.setSize(window.innerWidth,window.innerHeight);
scene.fog = new THREE.FogExp2(0x03544e, 0.001);
renderer.setClearColor(scene.fog.color);
document.body.appendChild(renderer.domElement);
render();
}
function render() {
renderer.render(scene,camera);
requestAnimationFrame(render);
}
init();
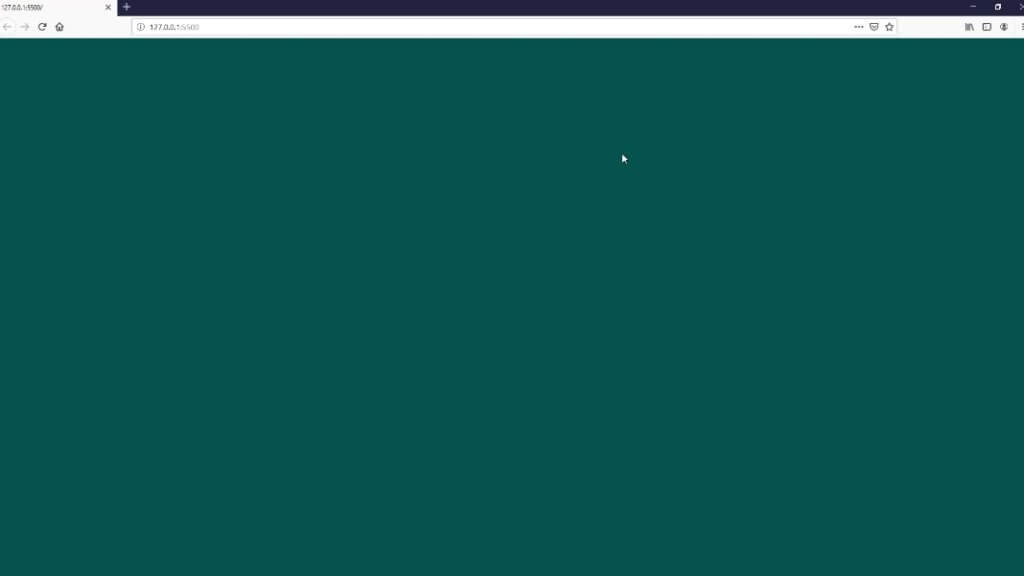
</script>If done correctly, you should get a green scene like this.
The Cloud Particles
To create nebula, first we’ll need a cloud particles. I’ll just reuse the cloud texture from previous three.js rain effect
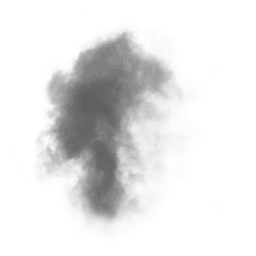
To load the texture into Three.js, you’ll need to use TextureLoader and then continue the process in the callback function.
let loader = new THREE.TextureLoader();
loader.load("smoke.png", function(texture){
  //texture is loaded
});
To create a cloud, first, we’ll create a plane geometry. Then create a material and map the cloud texture to it with the transparent property set to true.
cloudGeo = new THREE.PlaneBufferGeometry(500,500);
cloudMaterial = new THREE.MeshLambertMaterial({
  map:texture,
  transparent: true
});
Since we need lots of cloud particles, let’s create a loop for 50 times.
for(let p=0; p<50; p++) {
  let cloud = new THREE.Mesh(cloudGeo, cloudMaterial);
  cloud.position.set(
    Math.random()*800 -400,
    500,
    Math.random()*500-500
  );
  cloud.rotation.x = 1.16;
  cloud.rotation.y = -0.12;
  cloud.rotation.z = Math.random()*2*Math.PI;
  cloud.material.opacity = 0.55;
  cloudParticles.push(cloud);
  scene.add(cloud);
}
For each cloud, we’ll random the position and rotation and set the opacity to 55%.
Now let’s animate them. First, create an array object to keep the reference to each cloud after we create it.
let cloudParticles = [];

...

cloudParticles.push(cloud); /
Then inside the rendering loop, we’ll increase the rotation of each cloud.
function render() {
cloudParticles.forEach(p => {
p.rotation.z -=0.001;
});
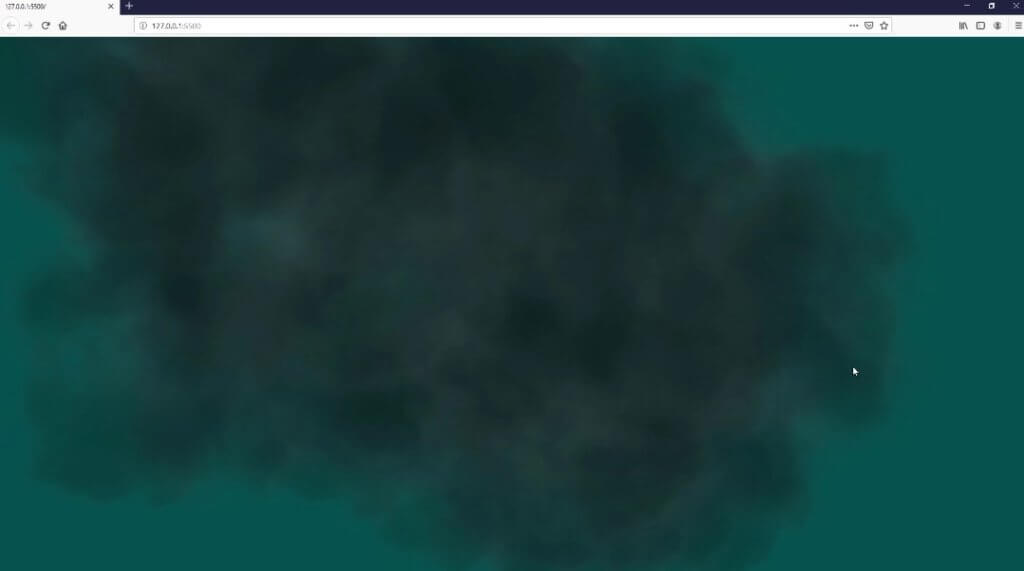
...Refresh your page and the clouds should be moving now.
The Lighting
Next, we’ll start working on the lights. First, we’ll add a pale orange directional light.
let directionalLight = new THREE.DirectionalLight(0xff8c19);
directionalLight.position.set(0,0,1);
scene.add(directionalLight);
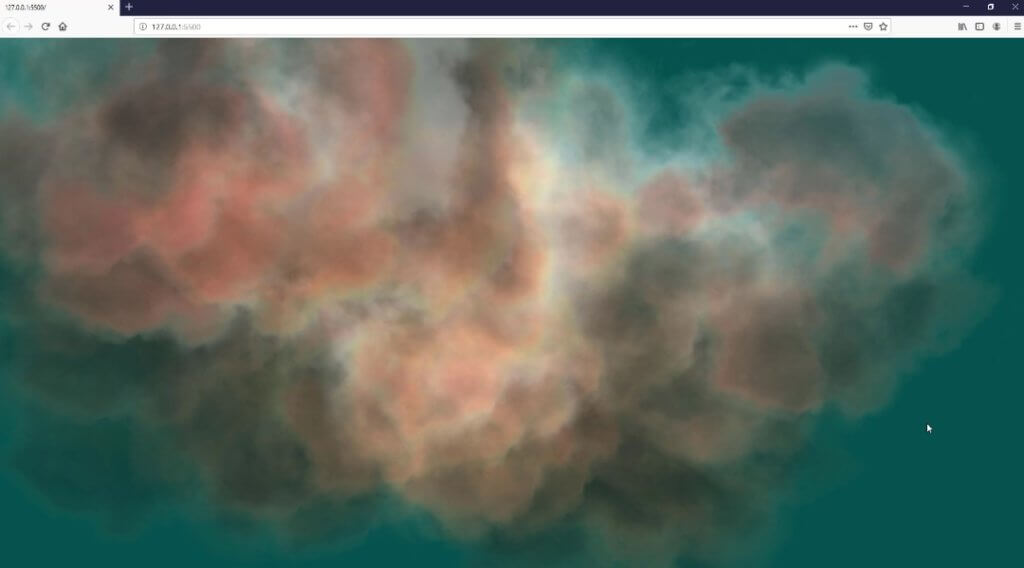
Then we’ll start adding different colors of point lights. I’m going to place orange, red and blue lights around the clouds.
let orangeLight = new THREE.PointLight(0xcc6600,50,450,1.7);
orangeLight.position.set(200,300,100);
scene.add(orangeLight);

let redLight = new THREE.PointLight(0xd8547e,50,450,1.7);
redLight.position.set(100,300,100);
scene.add(redLight);

let blueLight = new THREE.PointLight(0x3677ac,50,450,1.7);
blueLight.position.set(300,300,200);
scene.add(blueLight);
The nebula structure is completed and here is the result
Postprocessing Effect
In previous tutorial, I’ve show you how to create bloom or HDR postprocessing effect. we’re going to reuse that code in this tutorial.
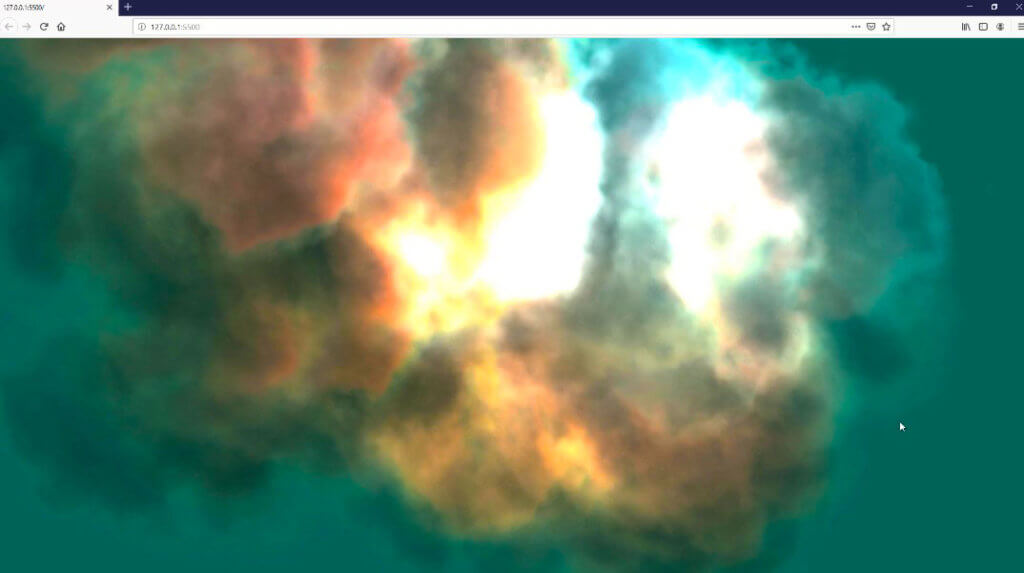
First, let’s import the postprocessing plugin for Three.js. Then copy over the code from previous tutorial. You can tweak the setting to adjust the HDR amount.
const bloomEffect = new POSTPROCESSING.BloomEffect({
      blendFunction: POSTPROCESSING.BlendFunction.COLOR_DODGE,
      kernelSize: POSTPROCESSING.KernelSize.SMALL,
      useLuminanceFilter: true,
      luminanceThreshold: 0.3,
      luminanceSmoothing: 0.75
    });
bloomEffect.blendMode.opacity.value = 1.5;
Now the background looks a bit empty so let’s add some stars. Here is the stock image that I’m going to use as a background texture.
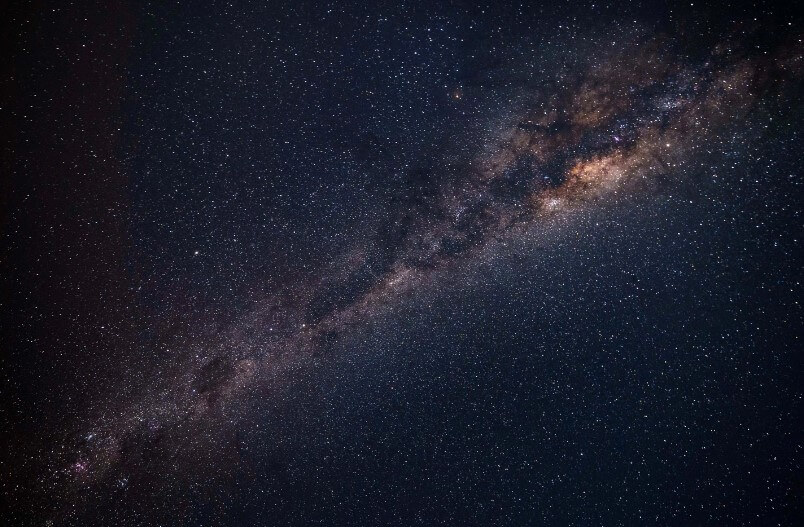
I’ll load the image using TextureLoader again. Then create a texture postprocessing effect from the texture we’ve just loaded using COLOR_DODGE blend function with 20% opacity.
loader.load("stars.jpg", function(texture){

  const textureEffect = new POSTPROCESSING.TextureEffect({
    blendFunction: POSTPROCESSING.BlendFunction.COLOR_DODGE,
    texture: texture
  });
  textureEffect.blendMode.opacity.value = 0.2;

...
The Application
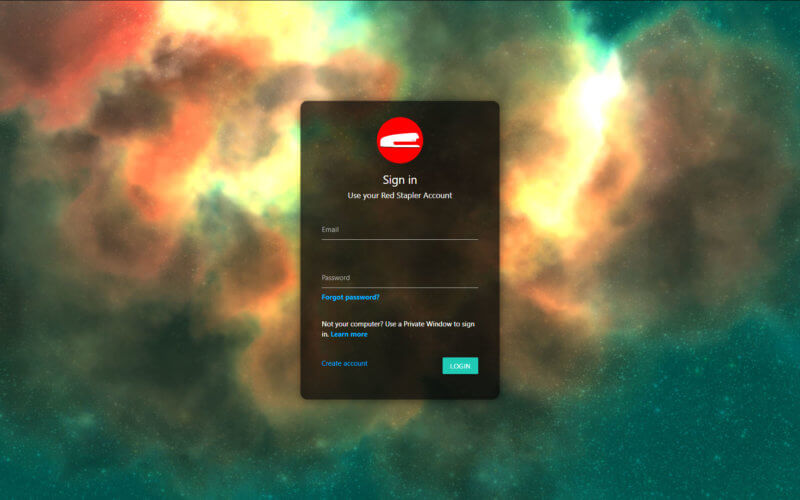
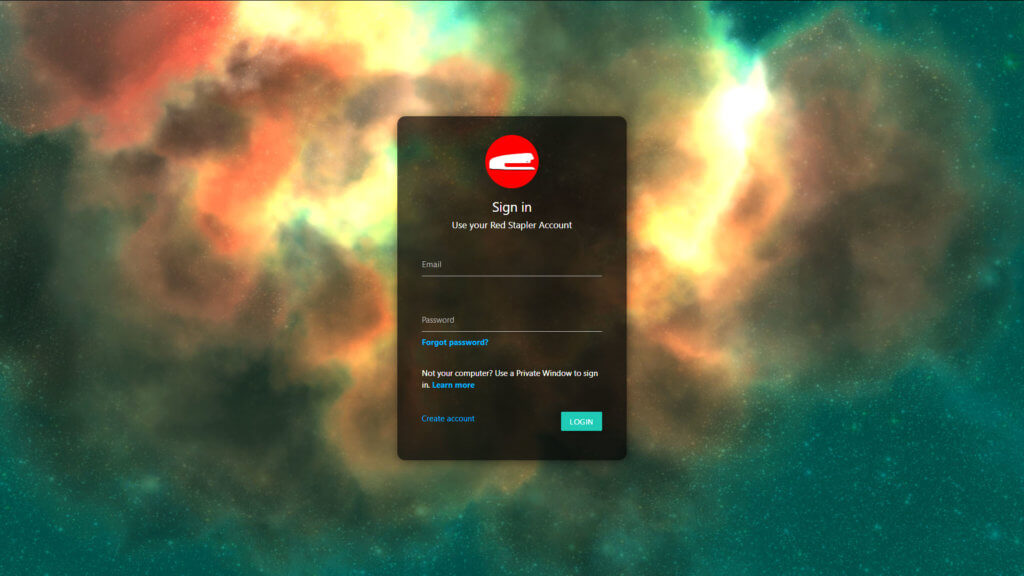
Here is our previous Google Style Login Form Tutorial. I’m going to use our Nebula as background for this form.
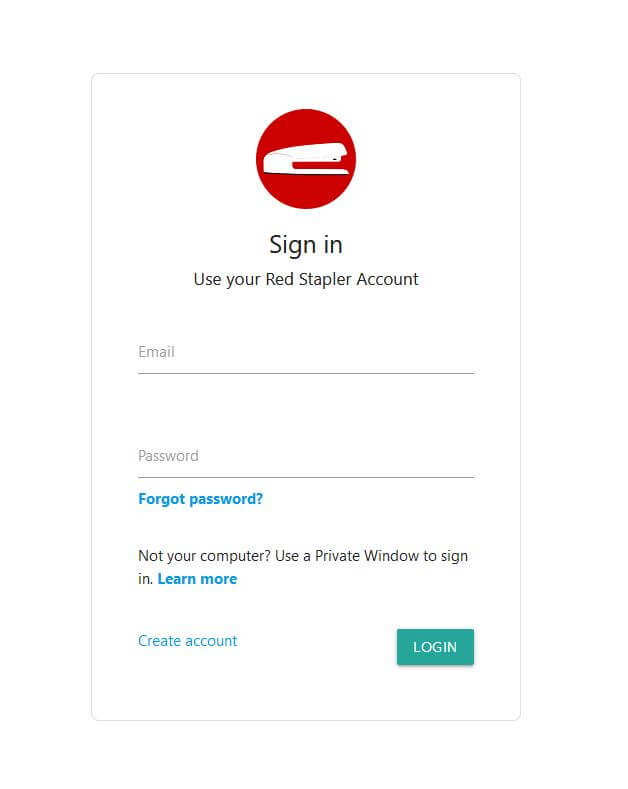
After copy over the code and made some small CSS background color change from white to transparent black, here is the final result!
And to make this example responsive. We’ll need to update the aspect ratio when the user resize the browser window. So let’s create a handler function to reset the camera and renderer setting. Then bind it with resize event.
      window.addEventListener("resize", onWindowResize, false);
...
      function onWindowResize() {
        camera.aspect = window.innerWidth / window.innerHeight;
        camera.updateProjectionMatrix();
        renderer.setSize(window.innerWidth, window.innerHeight);
      }
Check the demo in this video below or download the source code for this project and try it yourself! Enjoy 🙂

Could you post your code in github?
Could you put the result in codePen?
Here is the source code https://redstapler.co/wp-content/uploads/2019/08/nebula-src.zip
Hey, thanks for posting. Looks really cool, is there a demo?
Hey, check the demo at the end of this video 🙂
https://youtu.be/5f5wwQb22tE
Very nice ! I like it !