
Three.js Realistic Material Reflection Tutorial
In this tutorial we’re going to show you how to create realistic material reflection in Three.js. This project can be done in just a few minutes and run on web browsers with 60 fps.
Ready? Let’s check it out!
Project Setup
So here is the example page that we’re going to work on. Just a few CSS background gradient setup and that’s it.
body {
  width: 100vw;
  height: 100vh;
  margin: 0;
  background: radial-gradient(#292929, #000000);
  overflow: hidden;
}
Next we’re going to prepare the three.js library. You can download the latest release from github if you are not using npm or any package management.
First we’ll need a core library folder. So copy the entire “build” folder from the release and place it into our project. Then we’ll need 3 additional add-on files for this project.
- Orbitcontrol.js inside example/jsm/controls. This file will be used for camera mouse control.
- RGBELoader.js located inside jsm/loader. Obviously for texture loading.
- FlakesTexture.js located inside jsm/texture. We’ll use it to generate the flakes texture.
I’ll create a new “js” folder in the project and put these add-on files into it. Now let’s start working on the code.
Scene Setup
First I’ll create a script tag inside the body and import all the library files.
<script type="module">
   import * as THREE from './build/three.module.js';
   import { OrbitControls } from './js/OrbitControls.js';
   import { FlakesTexture } from './js/FlakesTexture.js';
   import { RGBELoader } from './js/RGBELoader.js';
...

</script>
Then I’ll setup the init function for scene setup. Note that for the WebGLRenderer setup, I’ll set the alpha to true to make the scene background transparent so we can see the CSS background.
For the sphere, I’ll use the SphereGeometry with 100 unit size and 64 width and height segments.
I’ll use MeshPhysicalMaterial which support advance reflection rendering. We’ll leave the parameter as empty for now.
function init() {
        scene = new THREE.Scene();

        renderer = new THREE.WebGLRenderer({alpha:true,antialias:true});
        renderer.setSize(window.innerWidth,window.innerHeight);
        document.body.appendChild(renderer.domElement);

        camera = new THREE.PerspectiveCamera(50,window.innerWidth/window.innerHeight,1,1000);
        camera.position.set(0,0,500);
        controls = new OrbitControls(camera, renderer.domElement);

        pointlight = new THREE.PointLight(0xffffff,1);
        pointlight.position.set(200,200,200);
        scene.add(pointlight);

        let ballGeo = new THREE.SphereGeometry(100,64,64);
        let ballMat = new THREE.MeshPhysicalMaterial(ballMaterial);
        let ballMesh = new THREE.Mesh(ballGeo,ballMat);
        scene.add(ballMesh);

        animate(); // rendering loop
}
And here is the rendering loop. We’ll update the mouse control, call the render method and make the recursive call using requestAnimationFrame.
function animate() {
controls.update();
renderer.render(scene, camera);
requestAnimationFrame(animate);
}
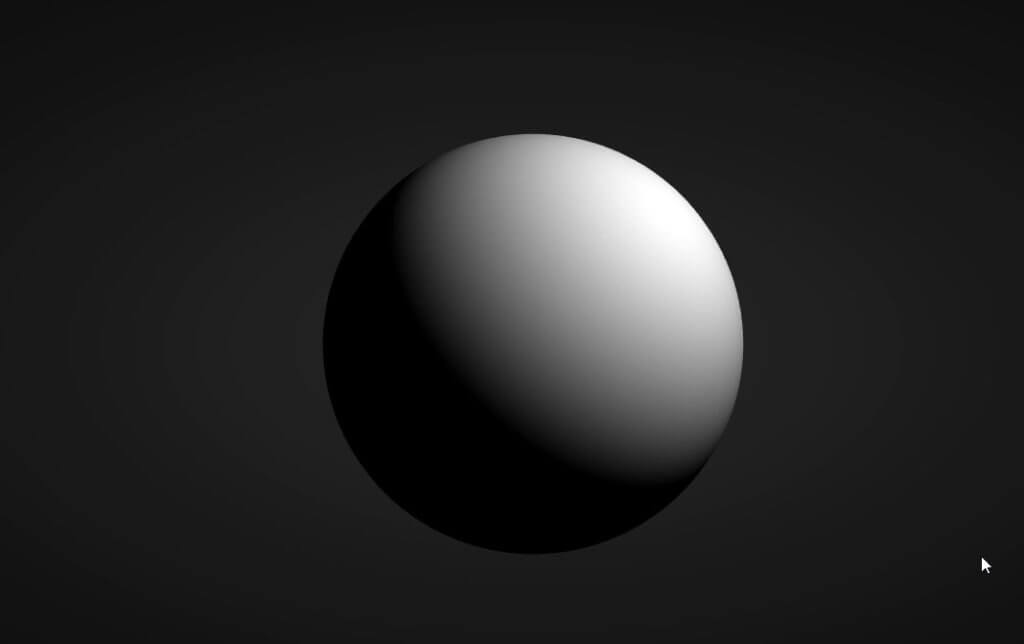
init();Now if everything is correct, You should see a white sphere in at the center of the scene.
Realistic Material Setup
Next, let’s work on the material. I’ll create a CanvasTexture and pass the new FlakesTexture as model then set both vertical and horizontal texture wrapping as RepeatWrapping
let texture = new THREE.CanvasTexture(new FlakesTexture());
texture.wrapS = THREE.RepeatWrapping;
texture.wrapT = THREE.RepeatWrapping;

//repeat the wrapping 10 (x) and 6 (y) times
texture.repeat.x = 10;
texture.repeat.y = 6;
Next we’ll work on setting up the MeshPhysicalMaterial. It’s easier to understand each setting by try experimenting with the demo on the documentation page. But for this tutorial, I’ll go with these setting and add it to the material constructor.
const ballMaterial = {
clearcoat: 1.0,
cleacoatRoughness:0.1,
metalness: 0.9,
roughness:0.5,
color: 0x8418ca,
normalMap: texture,
normalScale: new THREE.Vector2(0.15,0.15),
envMap: envmap.texture
};
//add material setting
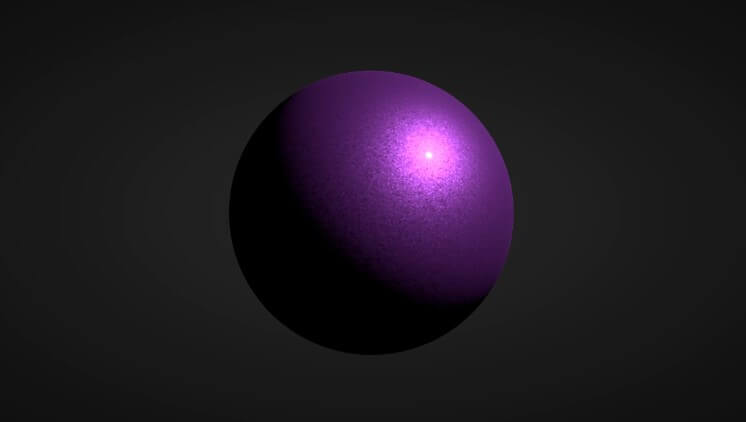
let ballMat = new THREE.MeshPhysicalMaterial(ballMaterial);Here is the result so far. Looks pretty ugly. But the next step is going to change it.

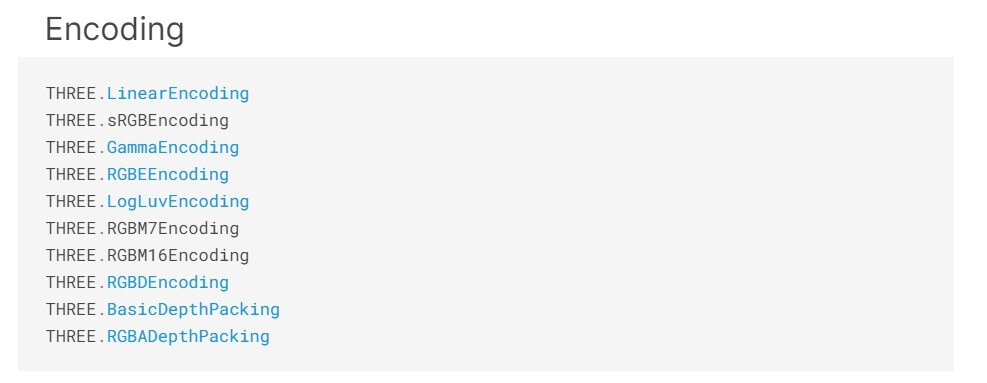
First I’ll change the texture encoding. There are several encoding available in three.js but for this tutorial, I’m going to use sRGBEncoding. You can try experimenting the rest by yourself.
renderer.outputEncoding = THREE.sRGBEncoding;
Yup, the encoding did the trick!
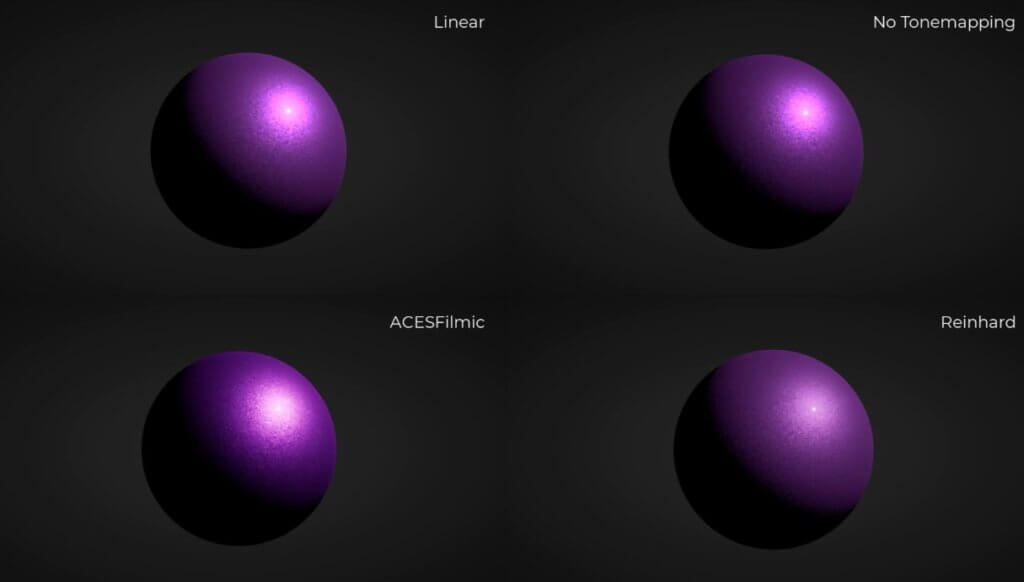
Next I’ll change the tonemapping to ACES Filmic and increase the exposure by 25%
renderer.toneMapping = THREE.ACESFilmicToneMapping;
renderer.toneMappingExposure = 1.25;
Here is the comparison between each tonemapping.
Next we’ll work on the reflection. We’ll need an environment map to create the reflection on the sphere. So I’m going to download a free HDR file from polyhaven and put it in our project.
Then to load the texture I’m going to use RGBEloader and set the path to our HDR file. And in callback function we’ll move all the sphere creation code inside. We’ll use PMREMGenerator (prefiltered mipmapped radiance environment map) generator to generate the map from our HDR file. Then set the envmap parameter for our physical material
let envmaploader = new THREE.PMREMGenerator(renderer);

new RGBELoader().setPath('textures/').load('cayley_interior_4k.hdr', function(hdrmap) {
   ...

   let envmap = envmaploader,fromCubemap(hdrmap);
   const ballMaterial = {
    ...
    envMap: envmap.texture
  };
});
And as a final touch I’ll add an autoRotate and enableDamping to smooth out the mouse control.
controls.autoRotate = true;
controls.autoRotateSpeed = 0.5;
controls.enableDamping = true;
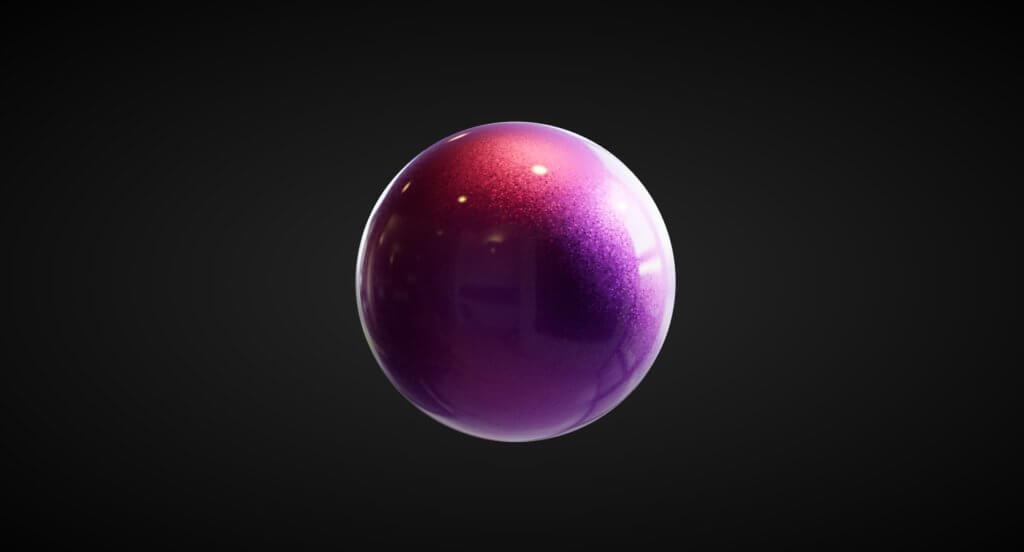
You can download the source code of this project here.
So that’s all for this tutorial. If you love this tutorial and want to see more web development tips and tutorials, subscribe our YouTube Channel to stay tune!
