NES.css Tutorial – Retro NES Style CSS Framework
In this tutorial, we’re going to talk about interesting CSS library – NES.CSS. We’ll show you how to turn your website into 8 bit style in a couple minutes with this library. Let’s check it out!
Installation
There are 2 ways to install this library. If you want to get the CSS file and host it yourself, get it from npm or yarn install command.
npm install nes.css
yarn add nes.css
Or you can just include it to your page using CDN like we’re going to do in this tutorial 🙂
Example Page
And here is the example page. I already added some basic elements like paragraph, radio and check box and progress bar.
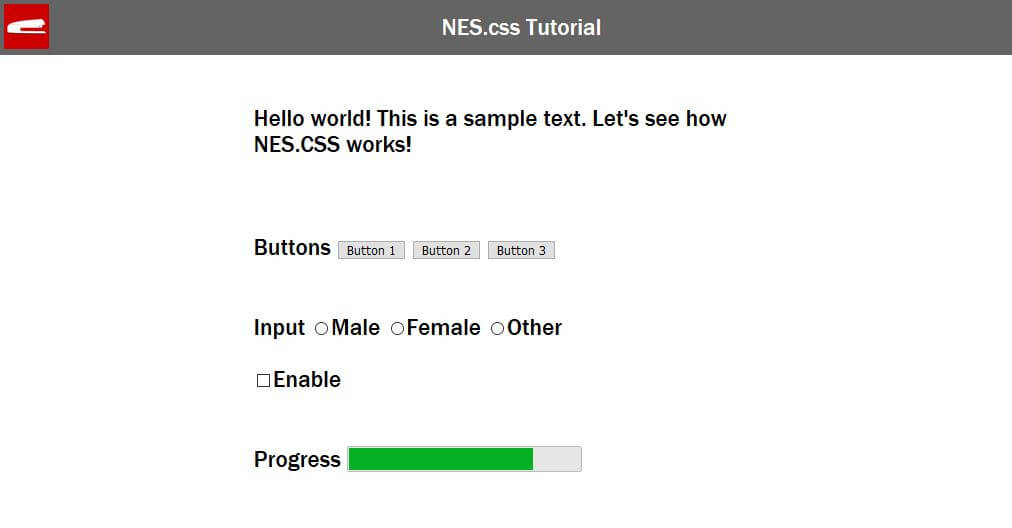
I didn’t put on any CSS styles for them at all. Only just basic width and margin. We’ll let NES.css do the rest.
Implementation
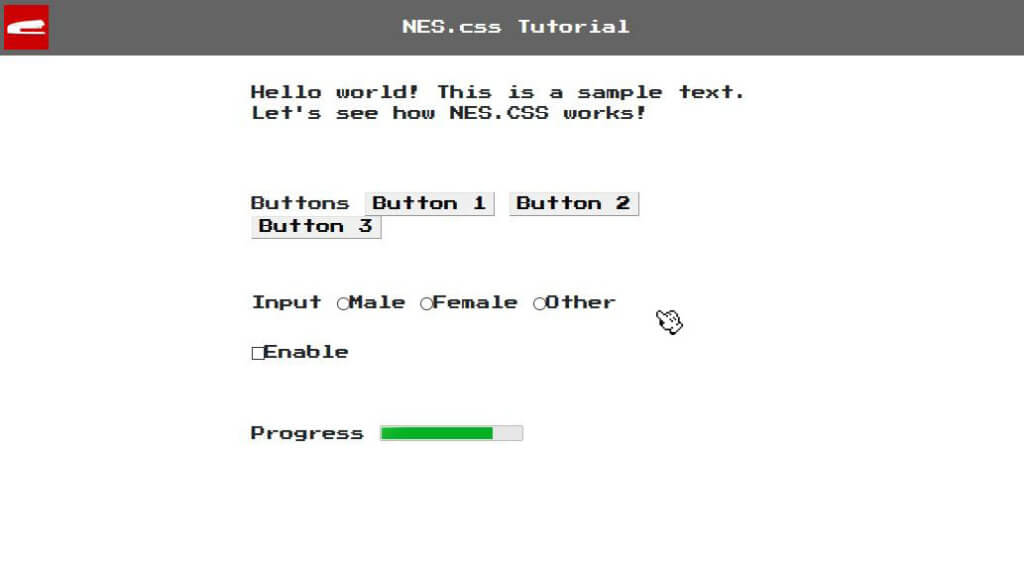
First, let’s include NES.css to our page from CDN. You’ll also need to include the font as well. The library does not include the font so I’ll use the google font. The default recommended font is “Press Start 2P” But you can change that to others if you like.
<link href="https://fonts.googleapis.com/css?family=Press+Start+2P" rel="stylesheet">
<link href="https://unpkg.com/nes.css/css/nes.css" rel="stylesheet" />
You’ll see that the cursor has been changed to NES style as well as the font.
Now we can use the library by adding various classes to our element. For example, you can add nes-container class to create a container box around the element. With these container you can also add title into it by adding “with-title” class. Then add “title” class to the first text element you have.
<div class="nes-container with-title">
     <span class="title">Text</span>
     <p>Hello world! This is a sample text. Let's see how NES.CSS works!</p>
</div>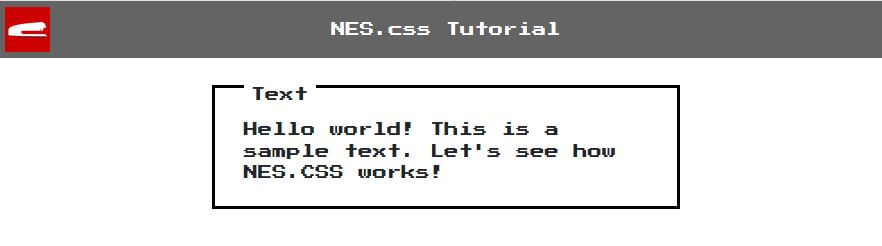
NES.css has many built-in buttons. To use it, just add nes-btn class to any button element. If you want to change the button types, just add additional class to it. For example, you can add is-primary class to get the blue button or is-warning for yellow.
<div class="nes-container with-title">
     <span class="title">Buttons</span>
     <button class="nes-btn">Button 1</button>
     <button class="nes-btn is-primary">Button 2</button>
     <button class="nes-btn is-warning">Button 3</button>
</div>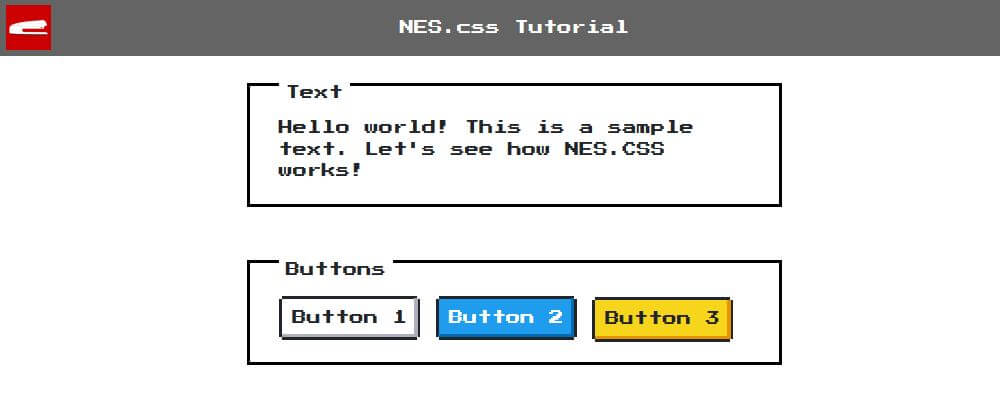
We can use the same concept for input fields. I’m going to add nes-radio and nes-checkbox classes to our sample elements. Also, similar to input fields. Let’s add nes-progress class to our progress bar.
<div class="nes-container with-title">
     <span class="title">Input</span>
     <label><input type="radio" class="nes-radio" name="gender" /><span>Male</span></label>
     <label><input type="radio" class="nes-radio" name="gender" /><span>Female</span></label>
     <label><input type="radio" class="nes-radio" name="gender" /><span>Other</span></label>
     <br><br>
     <label><input class="nes-checkbox" type="checkbox"/><span>Enable</span></label>
</div>

<div class="nes-container with-title">
     <span class="title">Progress</span>
     <progress class="nes-progress" value="80" max="100"></progress>
</div>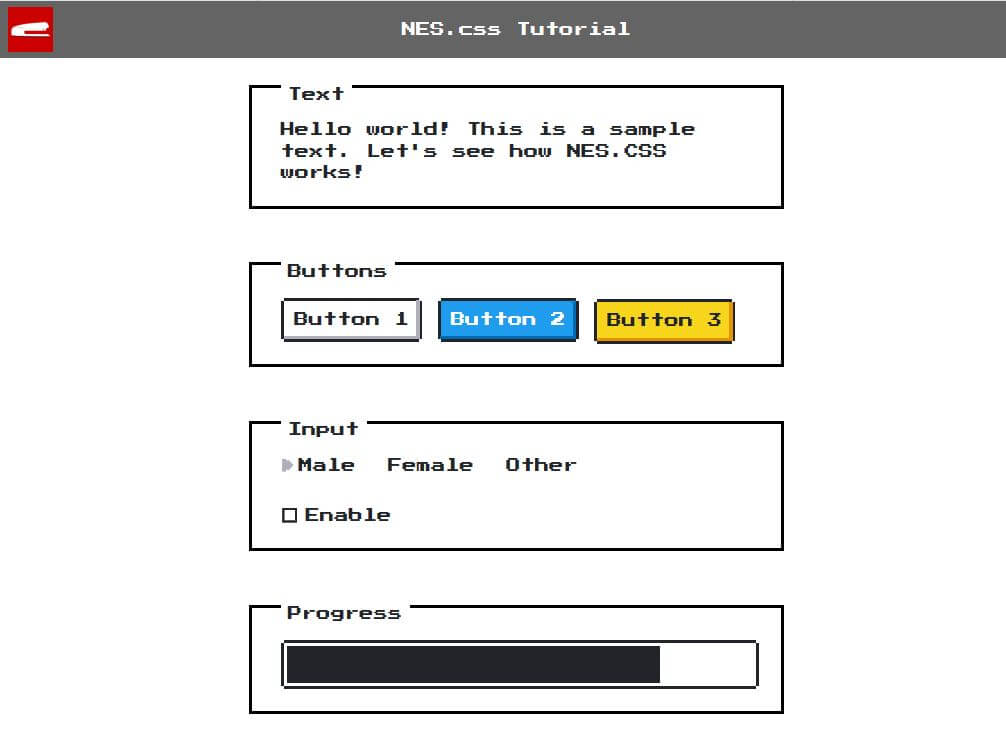
One the feature I loved about this library is it also has built in CSS icons for you to use. Just pick what ever you want and copy them to your page. You can also change the icon size by changing is-large class to is-small or is-medium.
<div class="nes-container">
     <i class="nes-icon twitter is-large"></i>
     <i class="nes-icon facebook is-small"></i>
     <i class="nes-icon instagram is-medium"></i>
     <i class="nes-icon github is-large"></i>
     <i class="nes-icon google is-large"></i>
     <i class="nes-icon gmail is-large"></i>
</div>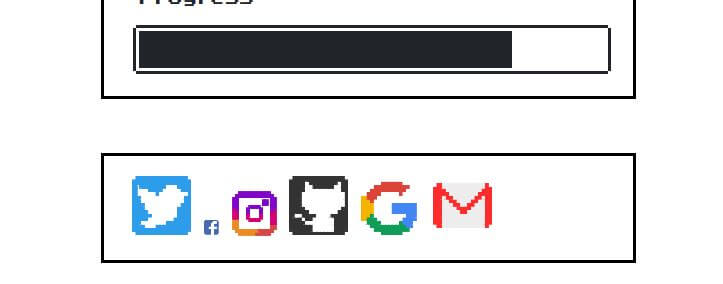
See the live version of this tutorial below (or Youtube)
There are lots of other features for you to try out. Check the NES.css project page for the example code.
So that’s all for this tutorial. Hope you guys like it. Also don’t forget to like or subscribe to our Facebook and Youtube Channel to stay connected with us. See you next post!
