
Face Detection with Javascript in 3 Minutes
It’s never been so easy to do a face detection right now. You don’t even need to have the knowledge of image processing algorithm. Tons of available tools and library are out there for picking up. Couple days ago, I came across this very nice jquery plugin written by Jay Salvat (You can go to his website and try the demo if you like) I think this one is the easiest to understand and setup. Believe me, you (or anyone) can do a face detection with javascript in less than 3 minutes!
Setup
First, let’s start with downloading the latest version of the plugin from github. Once downloaded, just put it to your web directory.

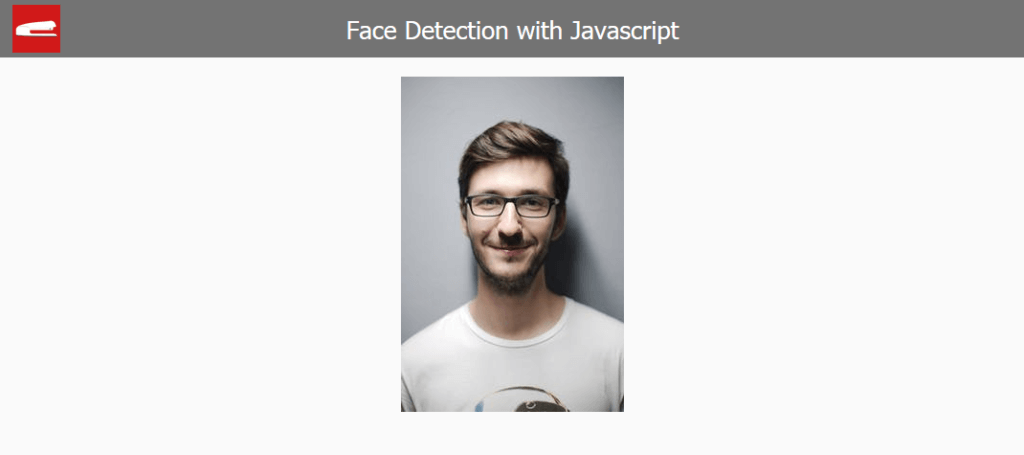
This is my web page which I already have a portrait picture prepared
Next I’ll just include the jQuery plugin.
<script src="jquery-2.1.4.js"></script>
<script src="jquery.facedetection.min.js"></script>
Face Detection
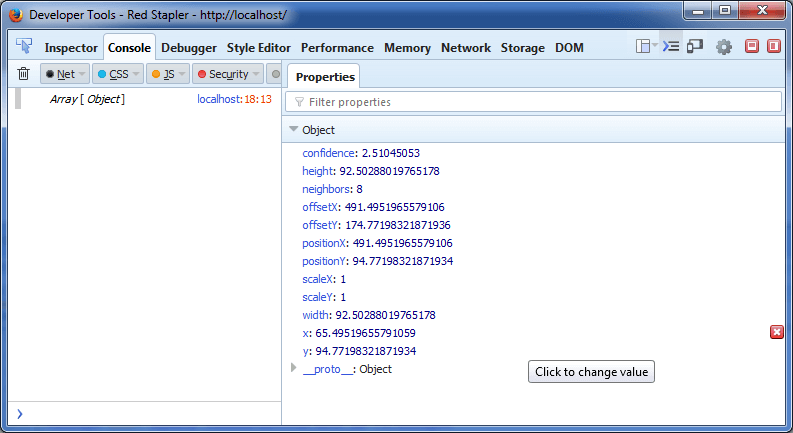
Start the face detection by selecting the img element with jQuery and call faceDetection method.You will need to pass the callback function for complete event, which will trigger when the plugin has completed the image processing. The returned result is an array of all the faces found on that image. I’m going to display the array on the console so we can see the structure.
$('#picture').faceDetection({
          complete: function (faces) {
            console.log(faces);

        }
    });
After I ran the code, inside each element of array, you will have the position, width, height and others properties of the each face. You can refer to the document on the github for the full definition for all fields.
Bounding Box
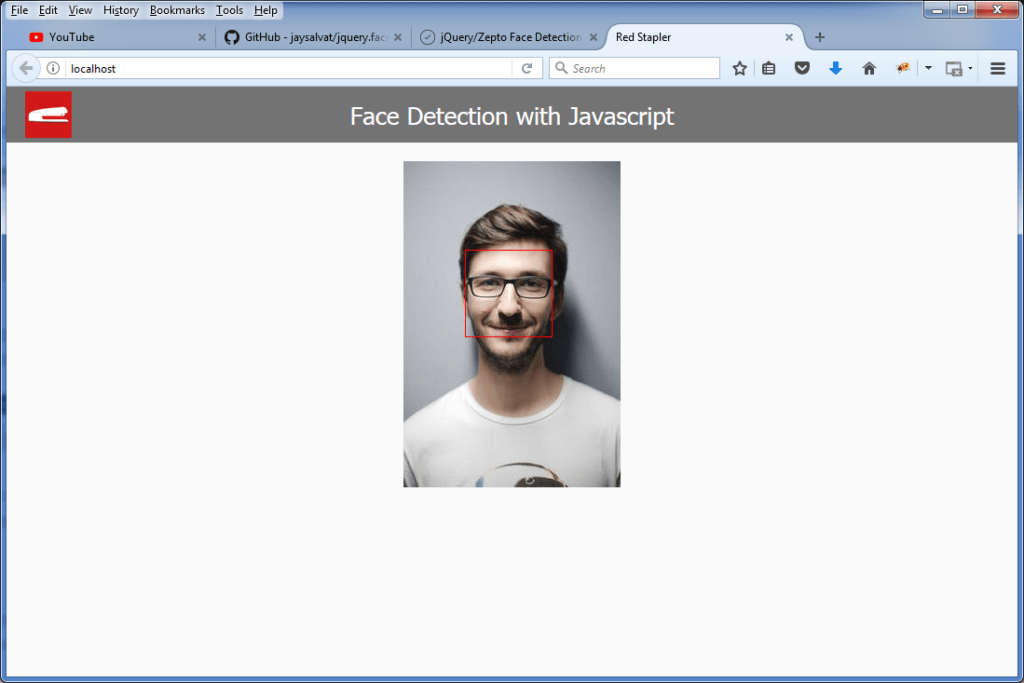
Now with these data, I’m going to apply a bounding box to indicate the face location. We can do that by adding the div element and use the information from the array to set the position and size. I’m using PositionX and PositionY which are the absolute position of the face area.
$('#picture').faceDetection({
        complete: function (faces) {
                console.log(faces);
    $div = $("<div>", {"class": "face-box"});
    $div.css('top', faces[0].positionY);
    $div.css('left', faces[0].positionX );
    $div.css('width', faces[0].width );
    $div.css('height', faces[0].height );
    $("#wrapper").append($div);
        }
    });
Next is to apply the CSS properties for all boxes. We’ll use absolute position for this tutorial. Also, don’t forget to setup the border size and style.
.face-box {
  border: 1px solid #f00;
  position:absolute;
}
Please note that I’ve fix the array index to zero since we got only one person in the image. but if you are expecting more than one face, you’ll need to iterate through the array.
Then, we run the code!
So that’s it! you can view the video version of this tutorial below. Follow us on our Red Stapler channel to stay tune for more tutorials! Feel free if you have any questions or comments. Cheers!