DIY Minion USB Charger
DIY is another thing I love aside from coding. And I got a decommissioned iPhone brick charger from my friend. Yeah, a great opportunity to transform it into something cool! At that time, “Minions” movie is in show so I got an idea.
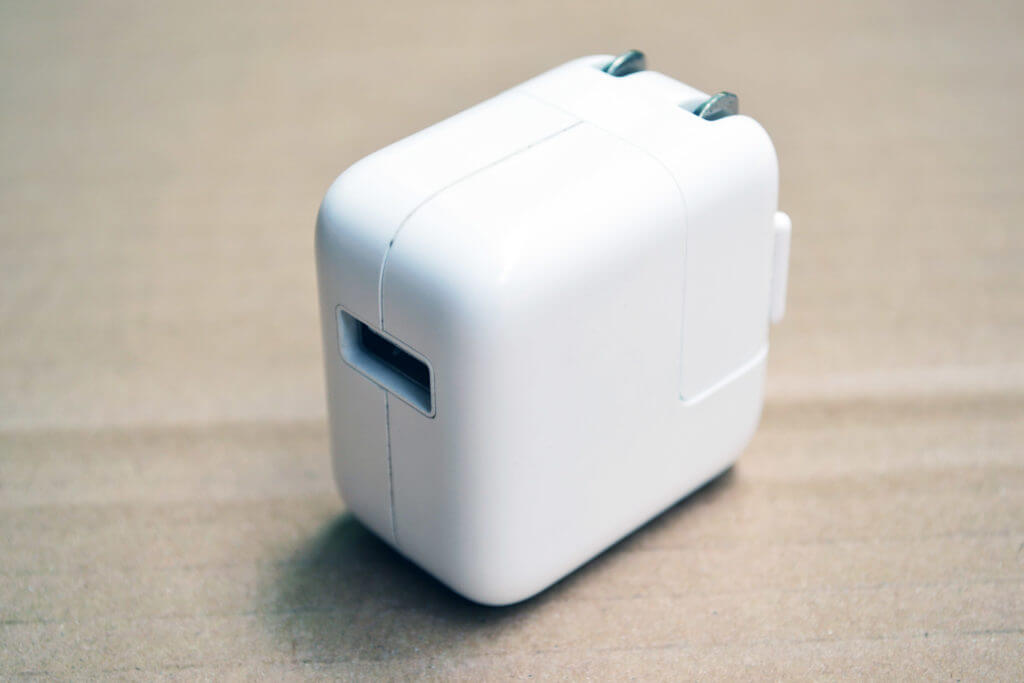
Since the charger can be separated into 2 pieces, it would be perfect for our paint job. I will paint the top with yellow as a body and lower piece with blue as a minion pant.
Before we do a paint job, we have to prepare the surface by sanding it first! Sand your charger with 800-1200G paper until it smooth. (See video at the end of this article for complete steps)
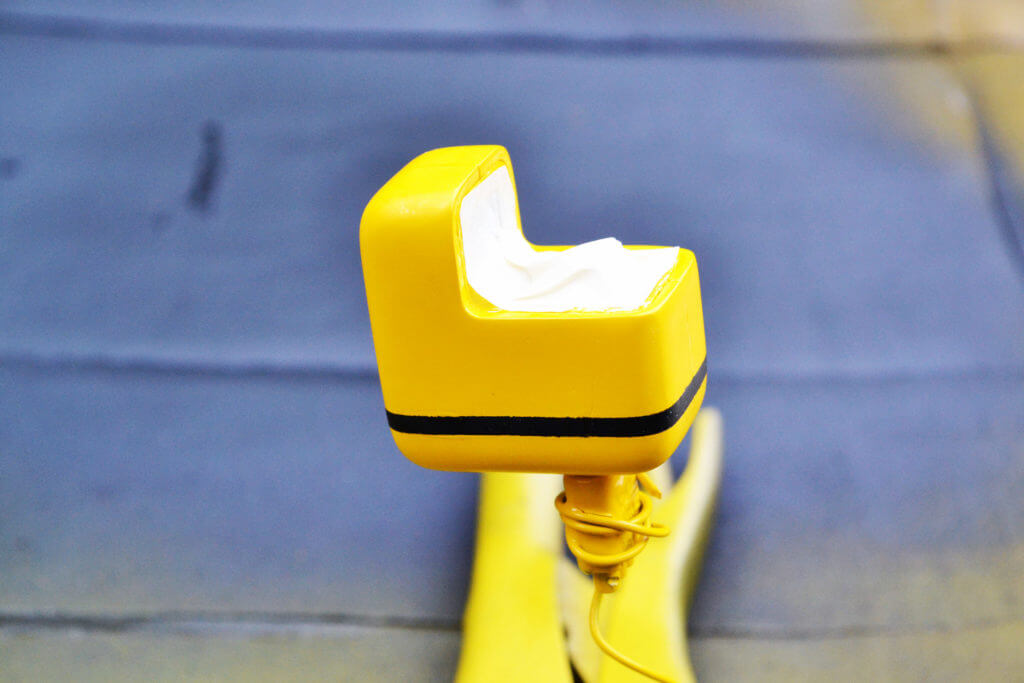
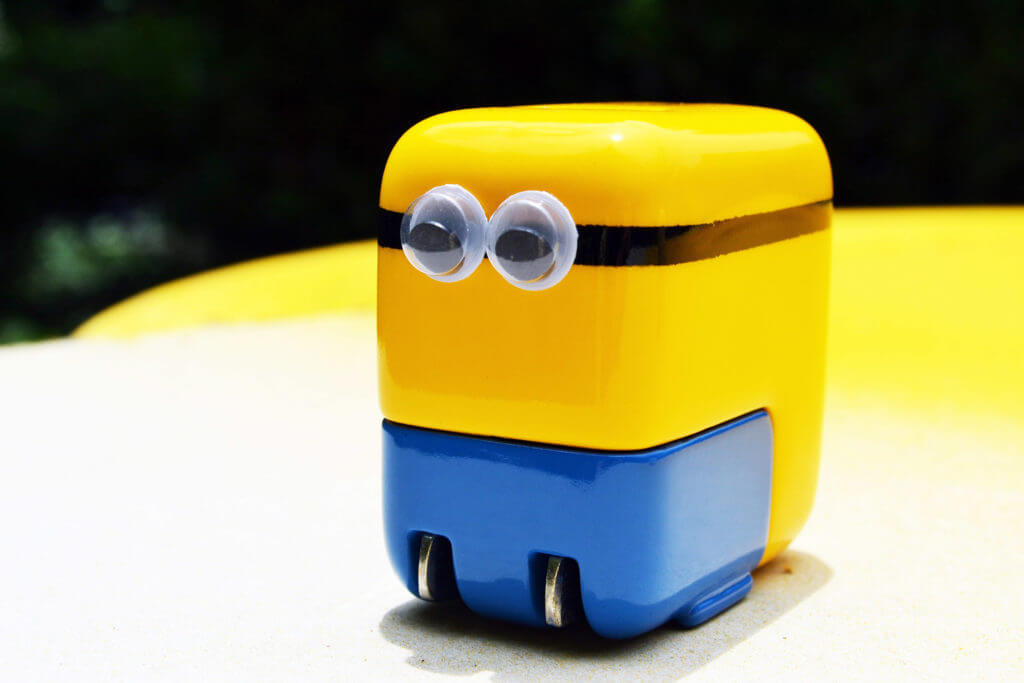
Then clean it and spray with the yellow acrylic paint. Tape mask it to make a black minion goggle strap and spray with black paint. I would recommend a painter tape only. If you use low quality tape or regular tape, it will pull out or damage the paint. Also, don’t leave the tape on too long. Pull it out early once the paint has dried or the glue might damage the paint.
Do the same for low part with blue paint. Then wait for the base paint to dry for couple hours. If you have uneven surface, nips or defects, you can sand it out now with 1200G+ sand paper (wet sand)
Then spray the clear coat around 5-6 thin layer. Wait for it to flash about 15 minutes between each layer.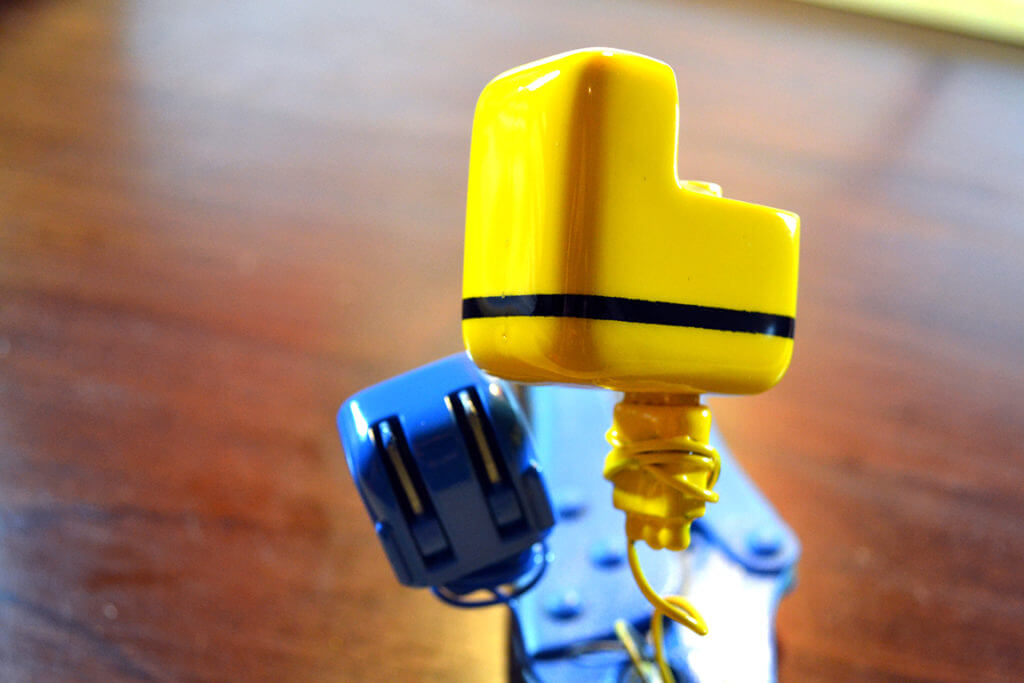
After the clear coat, you’ll have to be patient. Wait for it to completely cure, at least couple days. If you sprayed the paint too thick for each layer, this could take weeks to cure. You can speed up the process by using sunlight (But not too direct as too much heat might damage the paint)
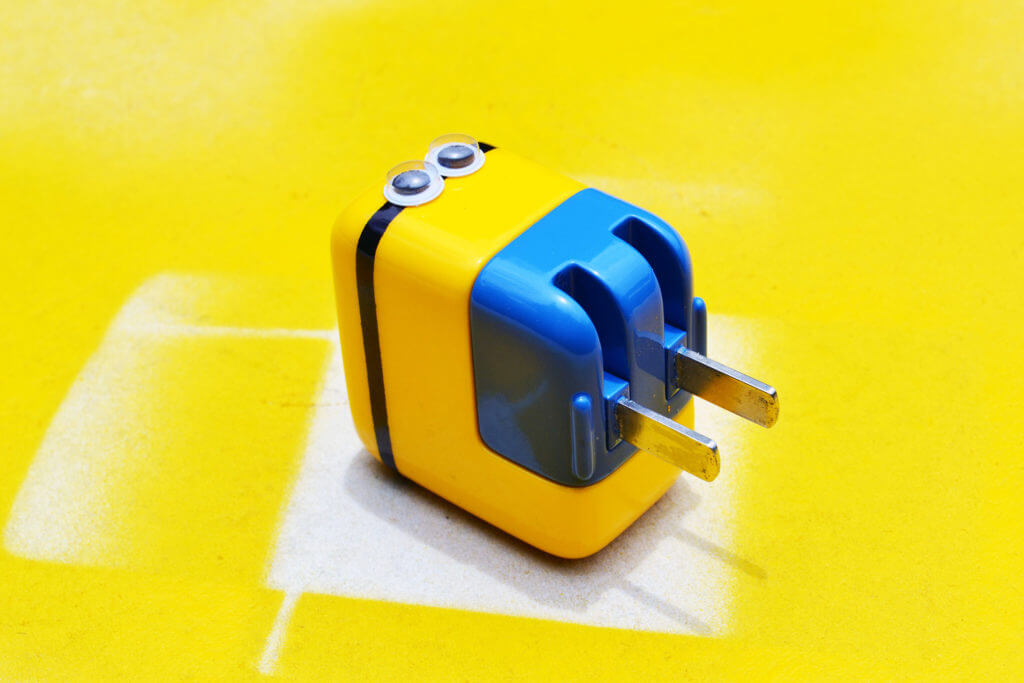
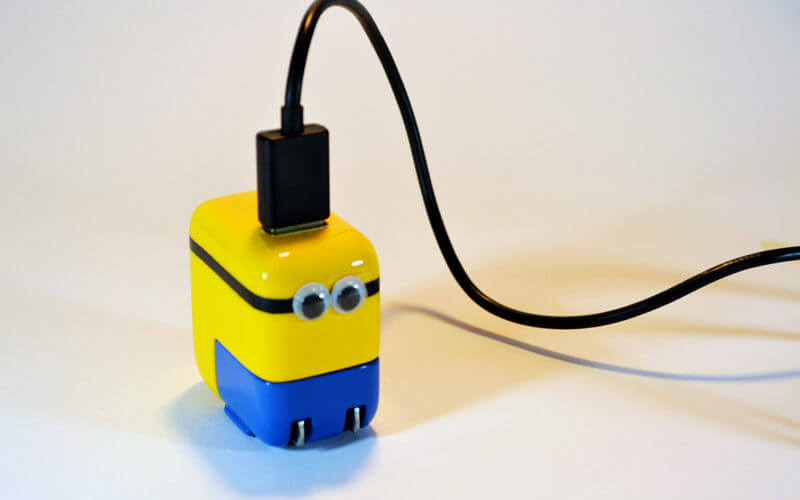
Here is what the minion looks like!…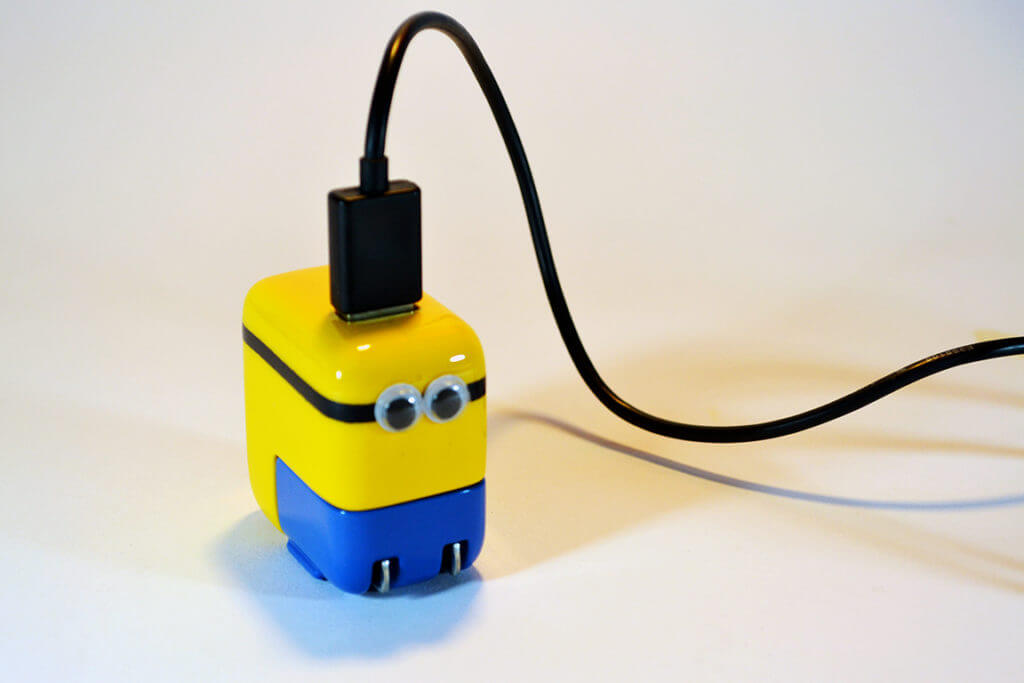
Below is a step by step tutorial video. If you like it, feel free to subscribe our channel 🙂
Redstapler Channel: https://www.youtube.com/c/RedStapler_channel