Create GameStop Meme with Three.js
I hope it’s not too late to join the party. In this episode we’re back with three.js tutorial. And this time we’re going to show you how to create the famous meme stock of the year from scratch. The GameStop Logo! Ready? Let’s check it out!
(All tools and model used in this project – Three.js | Moon Model | Rocket Model | JSON Font Convertor | Cubemap Generator)
Setting Up Three.js
You can download the library from the project website or use npm install.
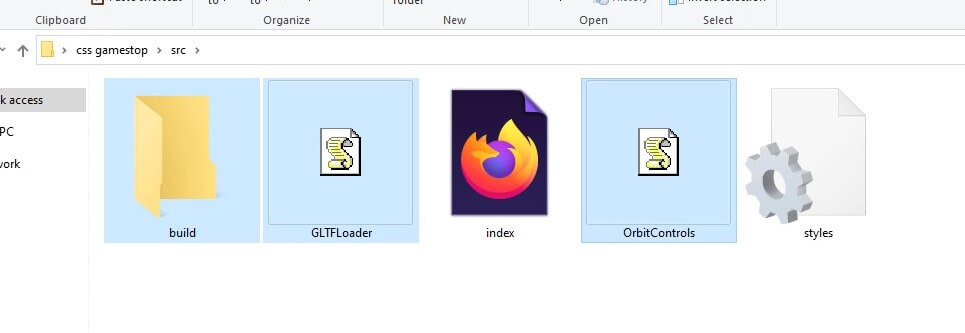
The core library will be in the build folder. Now with the current three.js release it’s now recommended that you used three.module version. As it’s easier to import other three.js features into your project later. We’ll also need 2 extensions for this project. First is orbitcontrol.js which is for camera mouse control and another one is GLTFLoader for 3D model loading. These files are located inside examples/jsm folder.
Put all the files into your project folder.
We’ll need to use script tag with type=”module”. Then import the core library and the library extensions.
<script type="module">
  import * as THREE from './build/three.module.js';
  import {OrbitControls} from './OrbitControls.js';
  import {GLTFLoader} from './GLTFLoader.js';
Three.js is setup and ready to go. Next we’ll work on the scene.
Scene Setup
We’ll start with the declaring the basic global variable like scene, camera and renderer. Then create initialize function and the scene instance. For the scene background, I’m going to use a space cubemap. Here is an awesome tool that help you generate the space cubemap. After you’re done with the customizing, click download and put the images into the project.
Then I’ll set the scene background using CubeTextureLoader and the path to the image files.
let scene, camera, renderer;
function init() {
  scene = new THREE.Scene();
  scene.background = new THREE.CubeTextureLoader()
  .setPath('cubemap/').load([
    'front.png',
    'back.png',
    'top.png',
    'bottom.png',
    'left.png',
    'right.png'
  ]);
Setup the WebGLRenderer and camera with OrbitControls (so can use mouse to move the camera) then create the rendering loop
...
        renderer = new THREE.WebGLRenderer();
        renderer.setSize(window.innerWidth,window.innerHeight);
        document.body.appendChild(renderer.domElement);

        camera = new THREE.PerspectiveCamera(60, window.innerWidth/window.innerHeight,1,1000);
        camera.position.set(0,50,200);
        let controls = new OrbitControls(camera, renderer.domElement);

        animate();
      }
      function animate() {
        renderer.render(scene,camera);
        requestAnimationFrame(animate);
      }
      init();
You should be able to see the cubemap and rotate the camera now
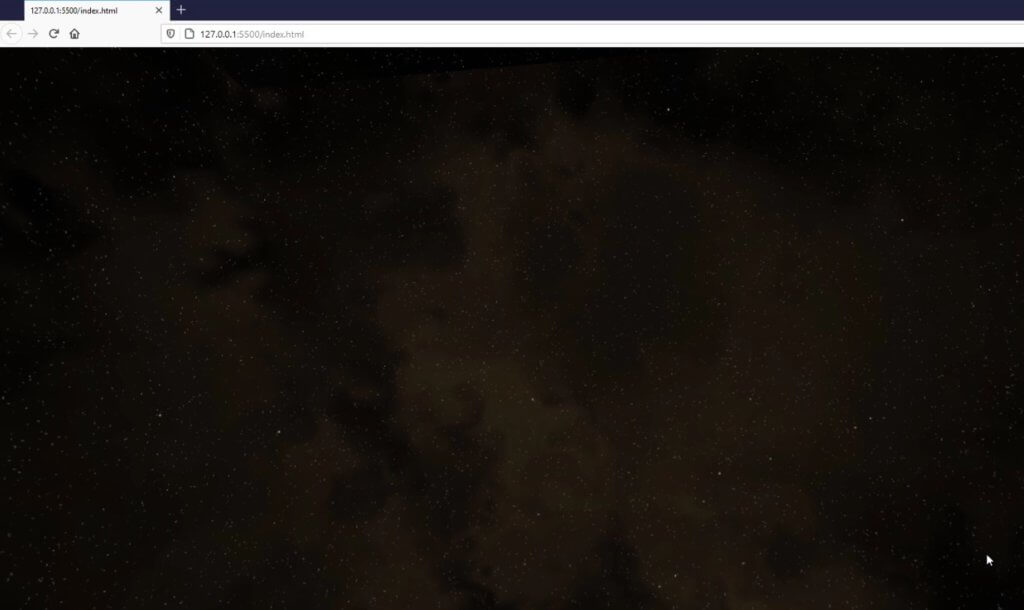
Look good. Next let’s create the GameStop logo.
The GameStop Logo
The GameStop logo is using Impact font which is already available on your machine. But in order to use it with three.js. You’ll have to convert it to JSON file first by using facetype.js online tool. Then put the JSON file into your project folder.
Next, we’ll create FontLoader and then call the load method to load our JSON font file. When the loading is done, we’ll create a geometry for text. The geometry setting like curve segment and bevel are easier to understand by trying the demo on the three.js documentation page.
We have to create 2 separate model for the word “Game” and “Stop” since they have different colors.
let fontLoader = new THREE.FontLoader();
       fontLoader.load('Impact_Regular.json', function(font) {
         let geometrySetting = {
           font: font,
           size: 40,
           height: 5,
           curveSegments: 20,
           bevelEnabled: true,
           bevelThickness: 1,
           bevelSize: 0.5,
           bevelSegments: 20
         };
         let textGeoGame = new THREE.TextGeometry('Game',geometrySetting);
         let textGeoStop = new THREE.TextGeometry('Stop',geometrySetting);

         let textMatGame = new THREE.MeshLambertMaterial({color: 0xcccccc});
         let textMatStop = new THREE.MeshLambertMaterial({color: 0xce2121});

         let textGame = new THREE.Mesh(textGeoGame,textMatGame);
         let textStop = new THREE.Mesh(textGeoStop,textMatStop);

         textGame.position.set(-100,0,20);
         textStop.position.set(30,0,20);

         scene.add(textGame);
         scene.add(textStop);
       });
I’ll also add a white ambient light or else we couldn’t see the text.
let ambientLight = new THREE.AmbientLight(0xaaaaaa);
scene.add(ambientLight);
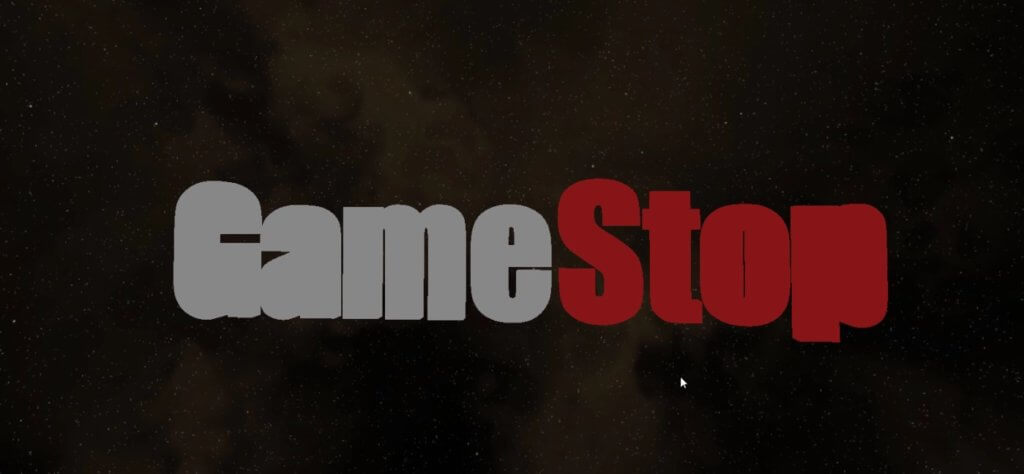
Looks good. Next we’ll work on the 3D models.
Adding Props
You can look for a free model on Sketchfab website. Note that you’ll need to download them in GLTF format and put them in the project folder. (create separate subfolder for each model)
I’m going to add moon and rocket to the scene
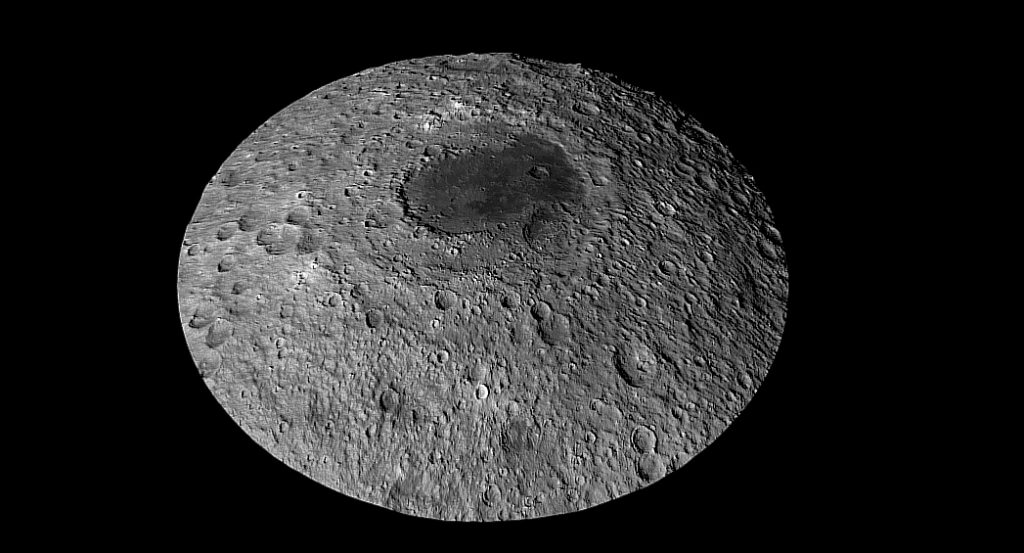
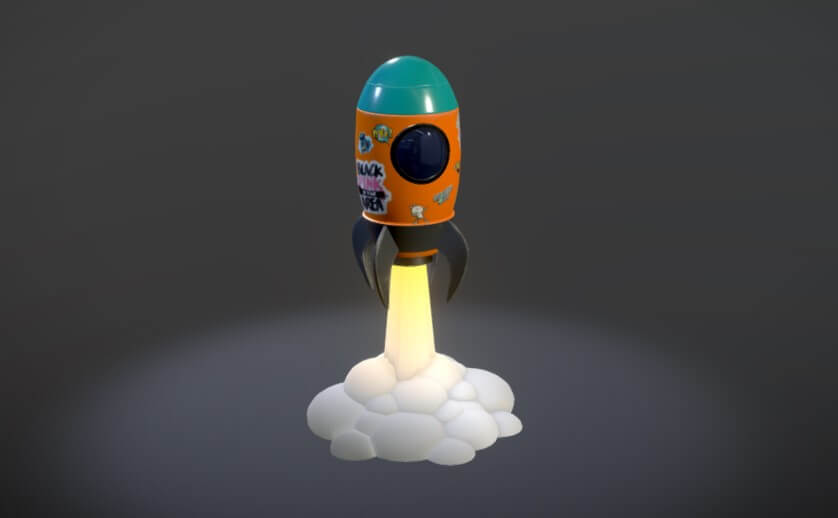
First create a GLTFLoader. Then call a load method to load the GLTF model file. Then we’ll select the root child of the model and set the scale to 10 percent to reduce the model size.
let gltfLoader = new GLTFLoader();
gltfLoader.load('moon/scene.gltf',function(model){
let moon = model.scene.children[0];
moon.scale.set(0.1,0.1,0.1);
moon.position.set(0,0,0);
scene.add(model.scene);
});
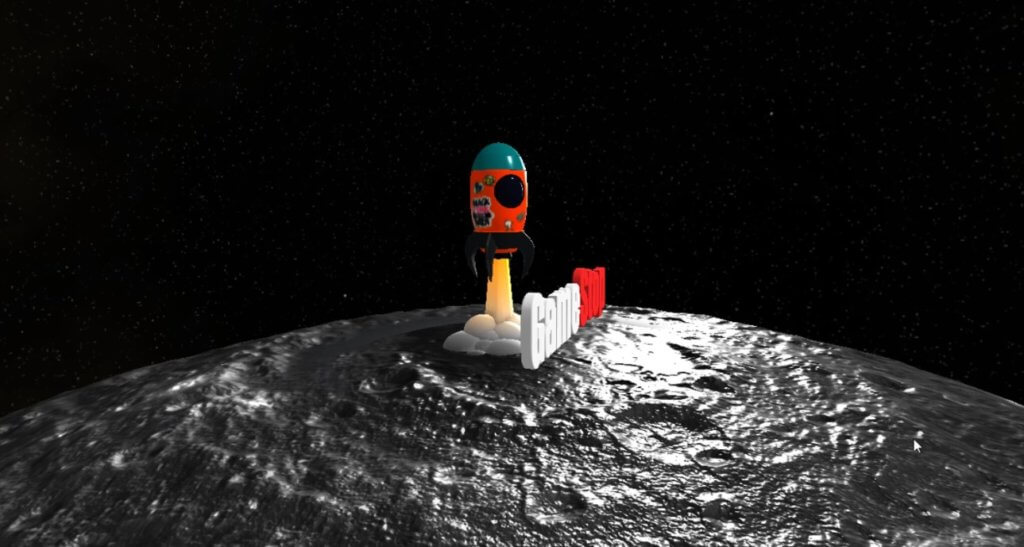
gltfLoader.load('rocket/scene.gltf',function(model){
let rocket = model.scene.children[0];
rocket.scale.set(200,200,200);
rocket.position.set(0,-16,-30);
scene.add(model.scene);
});Next we’ll add some more light. We’ll create white directional light from the front and above. Then we’ll add white spotlight at 4 o’clock.
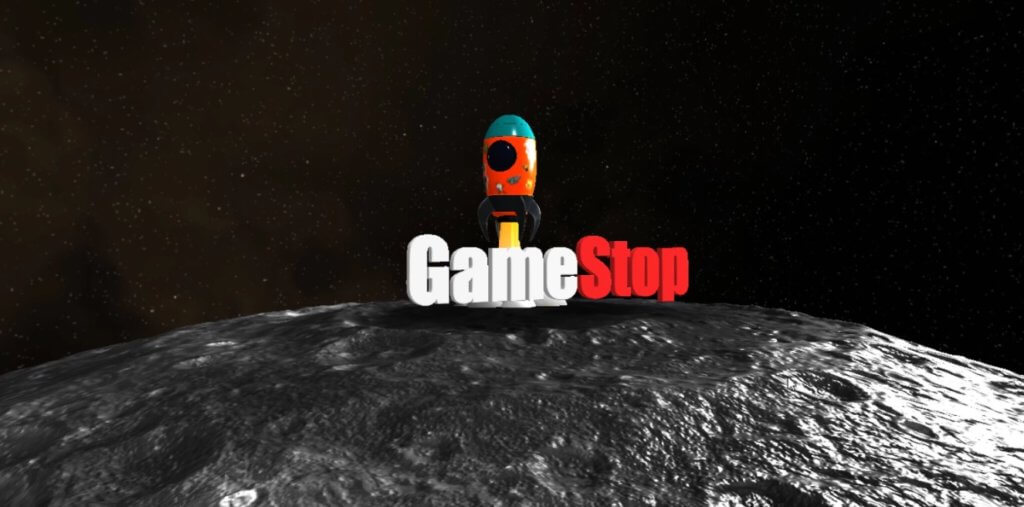
See the live version here
You can download the source code of this project here (HTML/JS only. No models/font included)
And that’s all for this tutorial. Hope you guys enjoy. If you love this and want to see more development tips and tutorials, subscribe our YouTube Channel to stay tune
