Three.js Realistic Light and Shadow Tutorial
In previous tutorial, we talked about how to import 3D model into the scene in Three.js using GLTFLoader. Now we’re going to talk about how to setup light and shadow to make our model look realistic.
Basic Scene Setup
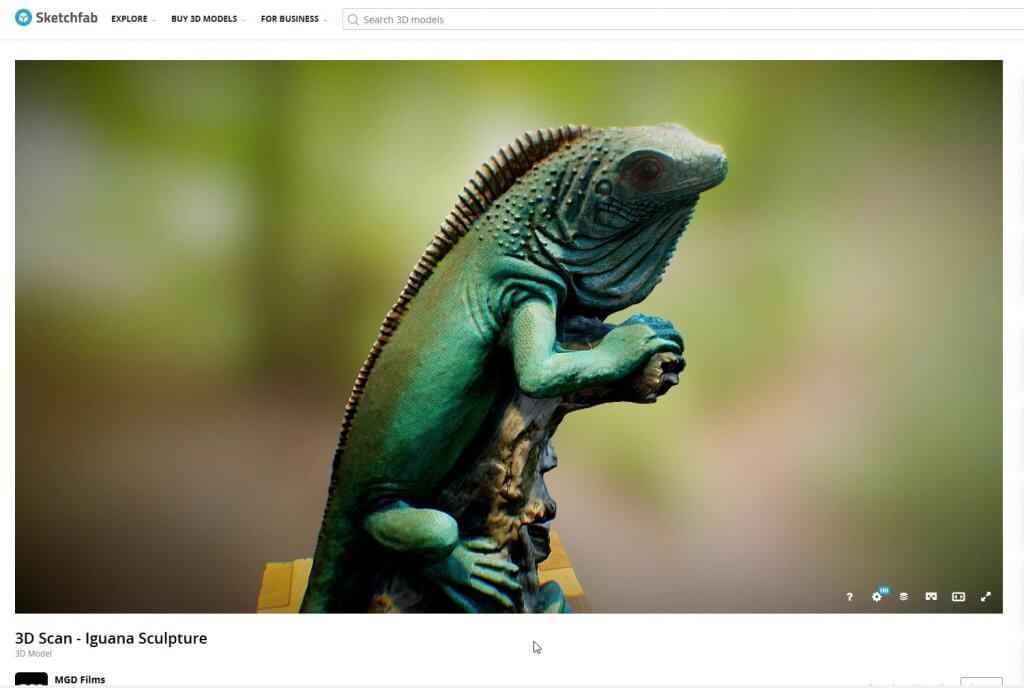
So first let’s start downloading a free 3D model on sketchfab. Extract the file and put the content into your web directory.
Now this project is going to need to import 3 files. First is three.js core file. The second one is orbitcontrols.js for the camera control. And the last one is GLTFloader.js for loading 3D model.
You can find all of this in three.js master zip file. The orbitcontrol.js is inside the example/js/control folder and GLTFLoader.js is in example/js/loaders.
<script src="three.min.js"></script>
<script src="GLTFLoader.js"></script>
<script src="OrbitControls.js"></script>
And for the basic scene setup, I’ll start with creating a scene object and set the background color to light gray. Then setup a perspective camera with 60 degree FOV with orbitcontrol enabled.
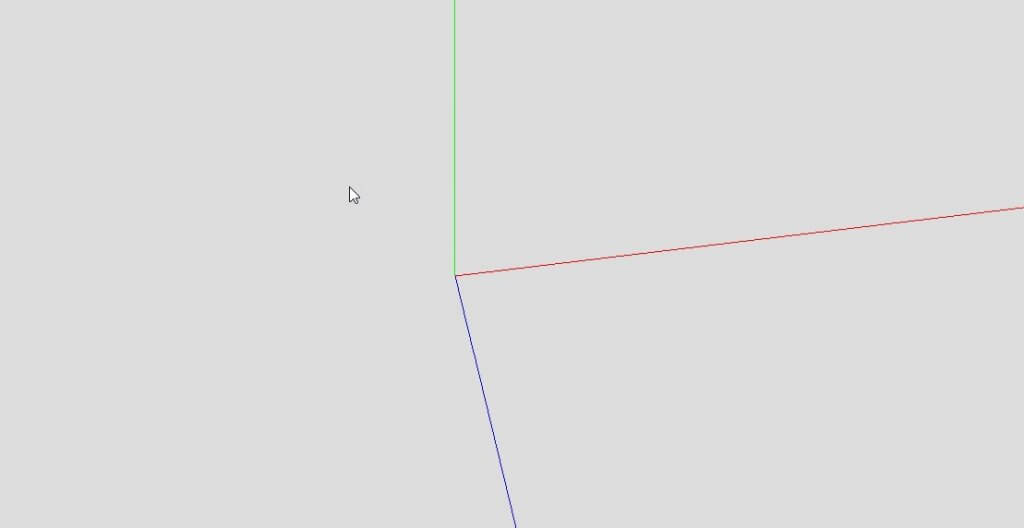
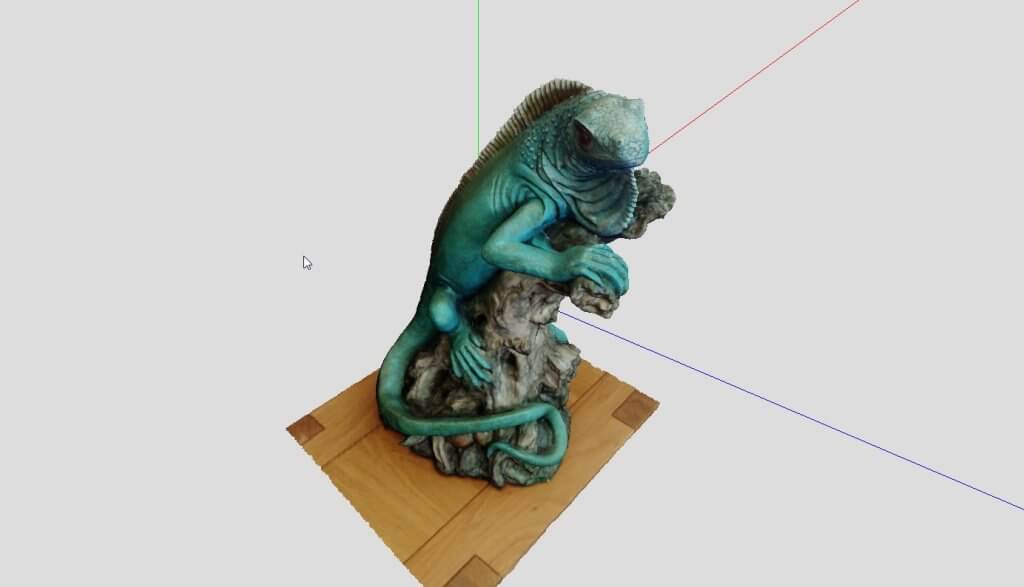
This time I’m going to also add Axeshelper. This will add x-y-z axis to the scene for easier development.
Then setup the WebGL renderer and rendering loop
let scene, camera, renderer, controls;
function init() {

  scene = new THREE.Scene();
  scene.background = new THREE.Color(0xdddddd);

  camera = new THREE.PerspectiveCamera(60,window.innerWidth/window.innerHeight,1,5000);
  camera.position.set(0,25,25);
  controls = new THREE.OrbitControls(camera);

  scene.add( new THREE.AxesHelper(500));

  renderer = new THREE.WebGLRenderer();
  renderer.setSize(window.innerWidth,window.innerHeight);
  document.body.appendChild(renderer.domElement);

    animate();
  });
}
function animate() {
  renderer.render(scene,camera);
  requestAnimationFrame(animate);
}
init();
You should see Axeshelper on the page now.
Then I’m going to load the 3D model using GLTFLoader (also start the render loop after the loading process)
new THREE.GLTFLoader().load('model/scene.gltf', result => {
model = result.scene.children[0];
}});
scene.add(model);
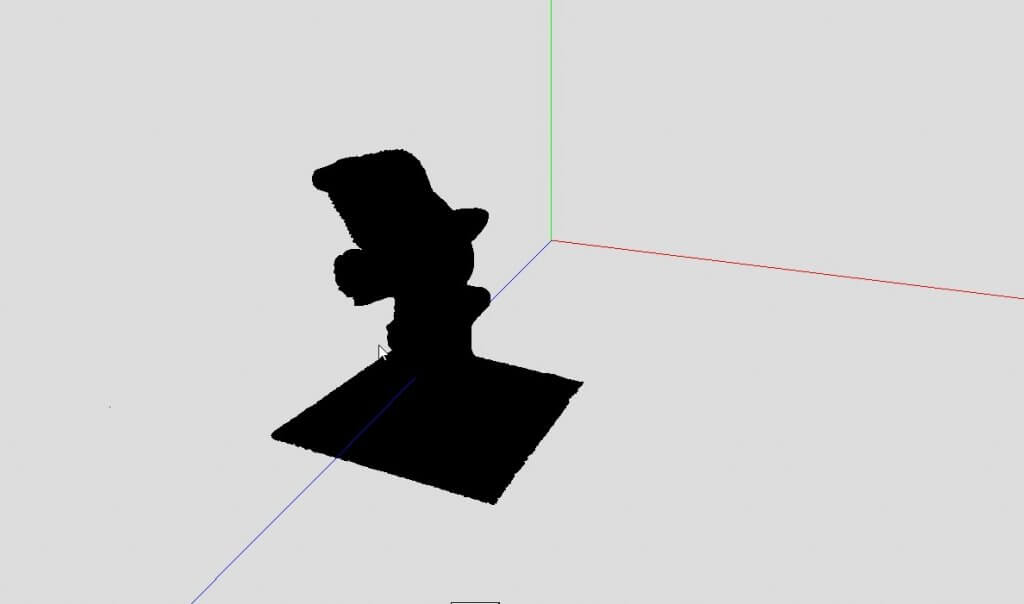
animate();
});You should see the pitched black model in the scene now. Next we’ll work on the light.
Light Setup
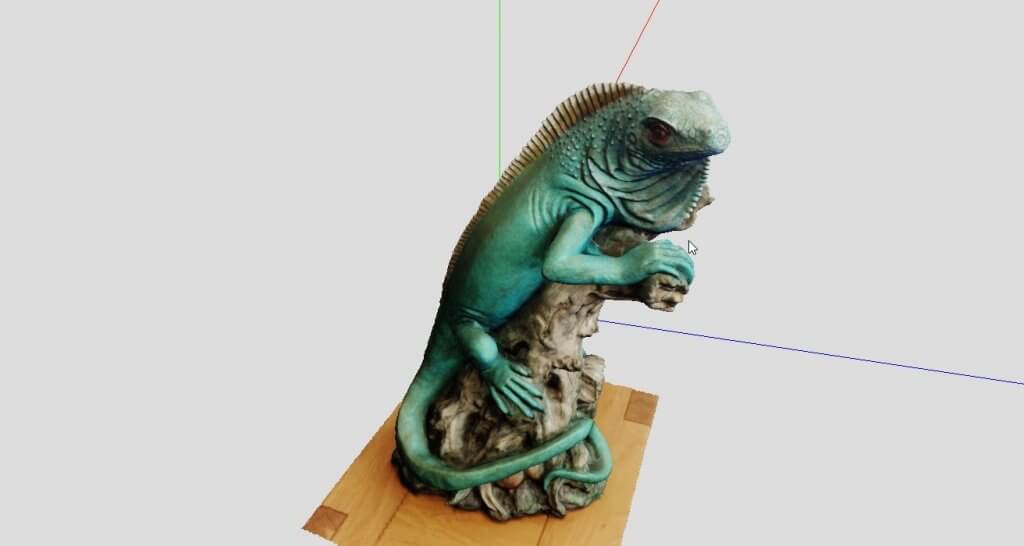
First I’m going to setup a HemisphereLight which is a light positioned directly above the scene, fading from sky color to the ground color. This is similar to the reflection of the sunlight during the day. I’m going to use a pale orange as a sky color and grey for the ground with 4 intensity.
hemiLight = new THREE.HemisphereLight(0xffeeb1, 0x080820, 4);
scene.add(hemiLight);

Now we can see the model. But the color is too saturated and unrealistic. We can fix that by changing the color tone mapping.
For this project I’m going to use a Reinhard tone mapping which has balance HDR amount. But this will make the scene dimmer so I’ll also increase the exposure. You can try other tonemapping types in Three.js for various result.
Next I’m going to add a spotlight. This will represent the main source of the light like the sun. I’ll use an orange yellow color with 4 intensity. We’ll need this light to cast shadow so I’ll set the castshadow property to true
light = new THREE.SpotLight(0xffa95c,4);
light.position.set(-50,50,50);
light.castShadow = true;
scene.add( light );
Then inside the rendering loop, I’ll use the camera position to update the light position with a small offset. This is a trick to simulate the real world dynamic light sources.
function animate() {
  ...
  light.position.set(
    camera.position.x + 10,
    camera.position.y + 10,
    camera.position.z + 10,
  );
  ...
}
Now you will notice that the shadow is still invisible. We’ll fix that.
Shadow Setup
First we’ll need to iterate through all mesh in the model and set the castShadow and receiveShadow properties to true. We can do that using traverse method and update the properties if the object is a mesh. And we’ll also increase the texture filtering quality by increasing anisotropy property of the model texture map to 16x.
model.traverse(n => { if ( n.isMesh ) {
  n.castShadow = true;
  n.receiveShadow = true;
  if(n.material.map) n.material.map.anisotropy = 16;
}});
Then we’ll need to enable the shadowmap in our renderer.
renderer.shadowMap.enabled = true;
To prevent shadow artifacts, we’ll decrease shadow bias. This will reduce the shadow sensitivity. Then we’ll increase the shadow resolution by increasing the mapSize to a multiplier of 1024
light.shadow.bias = -0.0001;
light.shadow.mapSize.width = 1024*4;
light.shadow.mapSize.height = 1024*4;

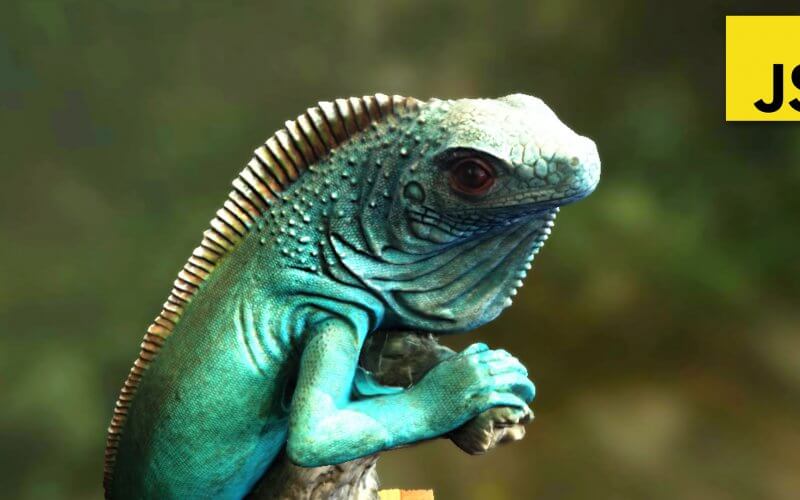
Looks goods, and after replaced the background with blurred cubemap texture and removed the Axeshelper, here is the final result!

You can download the source code here (No model included)
And that’s the basic of light and shadow setup in the three.js. And if you want to see more web development tips and tutorials, don’t forget to subscribe our channel to stay tune for weekly update 🙂

Hi
Please make any android app for ur coding and add the videos for individual projects. It will help us to maintain all in to see in one
If i have a app please share the link