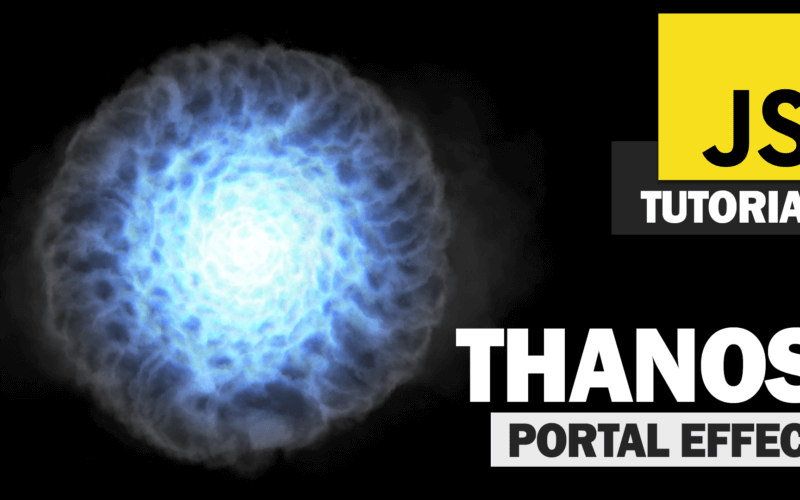
Thanos Portal Effect JavaScript Tutorial
In previous video, we made a tutorial about Thanos snap effect and receive quite positive response. So in this video, we’re going to stay with Thanos a little bit more and see how we made his portal effect with javascript from scartch. Let’s check it out! (Full Source Code At the end of this post)
Scene Setup
In this tutorial, we’re going to use three.js library to help rendering the scene. First let’s download the latest version and include it to your page.
<script src="three.min.js"></script>
We don’t need the CSS at all to make this happen except margin: 0 and overflow hidden to hide the scrollbar.
body {
  margin: 0;
  overflow: hidden;
}
Let’s setup our rendering scene. With three.js, the first thing you will need to do is to create a scene. This is like a container for your 3d world. Then setup the light. We will create an ambient light using DirectionalLight object. I’m going to set the light color to white with 50% intensity. The light direction is from front to back.
scene = new THREE.Scene();

sceneLight = new THREE.DirectionalLight(0xffffff,0.5);
sceneLight.position.set(0,0,1);
scene.add(sceneLight);
Now we have the light, next we need a camera to shoot our scene. Let’s use perspective camera which is the most common camera type for rendering a 3D scene. I’m going to use 80 degrees field of view, and current viewport aspect ratio. The last two numbers define the viewing frustum of the camera. We’ll place the camera 1000 units in front of the scene.
cam = new THREE.PerspectiveCamera(80,window.innerWidth/window.innerHeight,1,10000);
cam.position.z = 1000;
scene.add(cam);
Next we’ll setup a renderer or a rendering engine. We’re going to use webGL for this tutorial and set the environment color to black and the rendering size to our viewport. Then add it to our page.
renderer = new THREE.WebGLRenderer();
renderer.setClearColor(0x000000,1);
renderer.setSize(window.innerWidth , window.innerHeight);
document.body.appendChild(renderer.domElement);
Now the scene is ready. But if you render it now you’ll won’t anything. This because we haven’t add any object to the scene yet.

Adding Smoke Particle
We’ll use Textureloader object to load the smoke texture. You can use any transparent smoke image in png format. Here is the one I have for tutorial.

Now we can load the texture using load method and callback function on complete event.
let loader = new THREE.TextureLoader();

loader.load("smoke.png", function (texture){
    //load completed - create 3D object here
});
To create 3D Object we need 2 things. First is geometry to define the shape. Second is material to define the surface appearance like transparency, reflectiveness and texture. Let’s create a plane geometry and material to put our texture on. Then create a 3D object from them, set the position and add it to the scene.
loader.load("smoke.png", function (texture){
    portalGeo = new THREE.PlaneBufferGeometry(350,350);
    portalMaterial = new THREE.MeshStandardMaterial({
        map:texture,
        transparent: true
    });
    for(let p=880;p>250;p--) {
        let particle = new THREE.Mesh(portalGeo,portalMaterial);
        particle.position.set(2,2,2);
        particle.rotation.z = Math.random() *360;
        portalParticles.push(particle);
        scene.add(particle);
    }
});
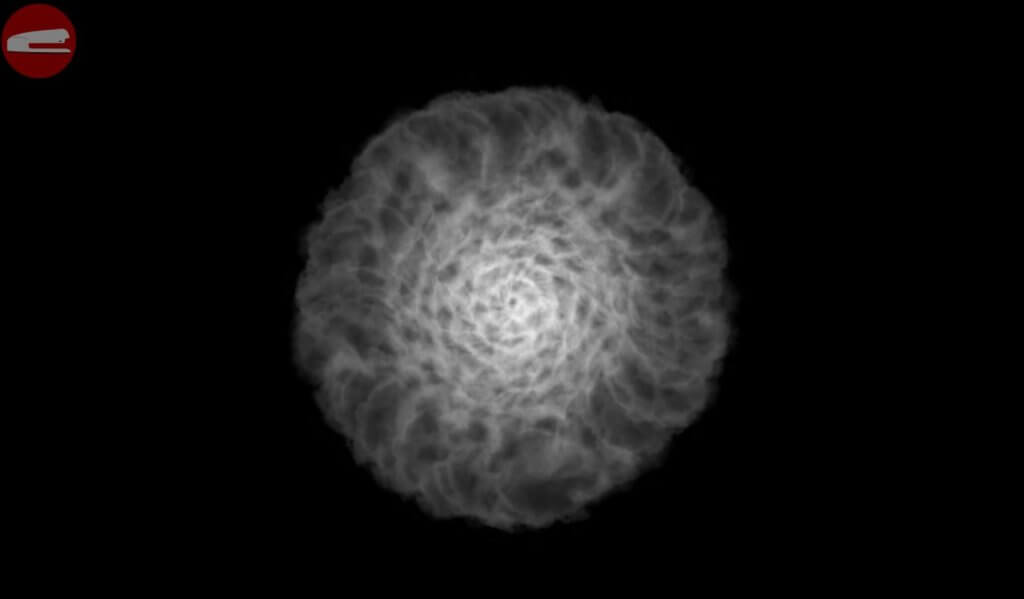
If we try rendering it now you will see our smoke particle.

Now if we look at the Thanos portal, you’ll see that it’s conical spiral shape. So we’re going to create a loop to create a lot of smoke particles and place it along the spiral line. Here is the conical spiral equation.

We’ll use it to set each particle position. I’ll also add a random rotation to create a diversity.
for(let p=880;p>250;p--) {
    let particle = new THREE.Mesh(portalGeo,portalMaterial);
    particle.position.set(
        0.5 * p * Math.cos((4 * p * Math.PI) / 180),
        0.5 * p * Math.sin((4 * p * Math.PI) / 180),
        0.1 * p
    );
    particle.rotation.z = Math.random() *360;
    portalParticles.push(particle);  //keep the reference to the particle to animate it later
    scene.add(particle);
}
The Animation
To create an animation we need a clock object to keep track of the time.
clock = new THREE.Clock();
Then I’m going to create an animate function. This function will be call recursively to animate our scene and each execution represent one frame. First, we’ll get the time passed between the frame from our clock object using getDelta. We will use this to control the movement of object in the scene during the animation.
At the end of function, render the scene and call requestAnimationFrame to start the recursive.
function animate() {
    let delta = clock.getDelta();
    portalParticles.forEach(p => {
        p.rotation.z -= delta *1.5;
    });
    renderer.render(scene,cam);
    requestAnimationFrame(animate);
}
If you render it now, you should see the animated smoke!
Almost there, now let’s add some blue light to the portal. This time we’ll use a point light instead of directional and place it at the center of the vortex.
portalLight = new THREE.PointLight(0x062d89, 30, 600, 1.7);
portalLight.position.set(0,0,250);
scene.add(portalLight);
I’m going to add some background smoke using the same code but we don’t use the spiral equation this time. And here is the final result video!
And that’s it! Hope you guys enjoy! If you love this tutorial, don’t forget to like our Facebook page or subscribe our Youtube Channel to stay tune with us for more. Thanks for visiting and see you next time!
Source Code
HTML
<!DOCTYPE html>
<html>
  <head>
    <meta http-equiv="content-type" content="text/html; charset=UTF-8" />
    <link rel="stylesheet" type="text/css" href="styles.css" />
    <script src="three.min.js"></script>
  </head>
  <body>
    <script>
        var scene, sceneLight, portalLight, cam, renderer, clock ,portalParticles = [],smokeParticles = [] ;

        function initScene(){
            scene = new THREE.Scene();

            sceneLight = new THREE.DirectionalLight(0xffffff,0.5);
            sceneLight.position.set(0,0,1);
            scene.add(sceneLight);

            portalLight = new THREE.PointLight(0x062d89, 30, 600, 1.7);
            portalLight.position.set(0,0,250);
            scene.add(portalLight);

            cam = new THREE.PerspectiveCamera(80,window.innerWidth/window.innerHeight,1,10000);
            cam.position.z = 1000;
            scene.add(cam);

            renderer = new THREE.WebGLRenderer();
            renderer.setClearColor(0x000000,1);
            renderer.setSize(window.innerWidth , window.innerHeight);
            document.body.appendChild(renderer.domElement);

            particleSetup();
        }
        function particleSetup() {
            let loader = new THREE.TextureLoader();

            loader.load("smoke.png", function (texture){
                portalGeo = new THREE.PlaneBufferGeometry(350,350);
                portalMaterial = new THREE.MeshStandardMaterial({
                    map:texture,
                    transparent: true
                });
                smokeGeo = new THREE.PlaneBufferGeometry(1000,1000);
                smokeMaterial = new THREE.MeshStandardMaterial({
                    map:texture,
                    transparent: true
                });

                for(let p=880;p>250;p--) {
                    let particle = new THREE.Mesh(portalGeo,portalMaterial);
                    particle.position.set(
                        0.5 * p * Math.cos((4 * p * Math.PI) / 180),
                        0.5 * p * Math.sin((4 * p * Math.PI) / 180),
                        0.1 * p
                    );
                    particle.rotation.z = Math.random() *360;
                    portalParticles.push(particle);
                    scene.add(particle);
                }

                for(let p=0;p<40;p++) {
                    let particle = new THREE.Mesh(smokeGeo,smokeMaterial);
                    particle.position.set(
                        Math.random() * 1000-500,
                        Math.random() * 400-200,
                        25
                    );
                    particle.rotation.z = Math.random() *360;
                    particle.material.opacity = 0.6;
                    portalParticles.push(particle);
                    scene.add(particle);
                }
                clock = new THREE.Clock();
                animate();

            });
        }
        function animate() {
            let delta = clock.getDelta();
            portalParticles.forEach(p => {
                p.rotation.z -= delta *1.5;
            });
            smokeParticles.forEach(p => {
                p.rotation.z -= delta *0.2;
            });
            if(Math.random() > 0.9) {
                portalLight.power =350 + Math.random()*500;
            }
            renderer.render(scene,cam);
            requestAnimationFrame(animate);
        }
        initScene();
    </script>
  </body>
</html>
CSS
body {
  margin: 0;
  overflow: hidden;
}

Wow, thank you for making this tutorial.
How do you know how to use that complicated math formula? And how to find such a formula this effect?
Thank you.