Create Web App Tutorial with Intro.js
Intro.js is probably the most popular and one of the best JavaScript library for creating tutorial, hint, or instruction for web application. You can create a full tutorial in just a few minutes without having to write messy code. In this post, I’m going to show you how to setup and use intro.js and all the important features that you should know to get started.
Install and Tutorial Setup
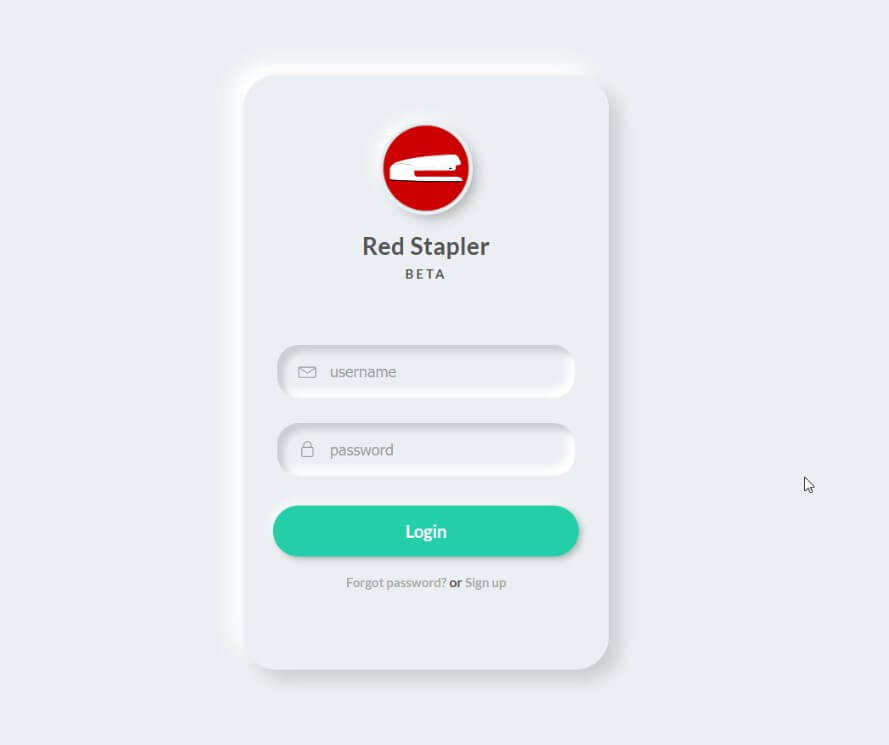
So here is the login form from previous tutorial. Let’s suppose I want to create a tutorial on it.
Setting up Intro.js is very easy. You can include it from CDN to the webpage using script tag. You can use npm install if you want to get a local copy.
<link href="https://unpkg.com/intro.js/minified/introjs.min.css" rel="stylesheet">
<script src="https://unpkg.com/intro.js/minified/intro.min.js"></script>
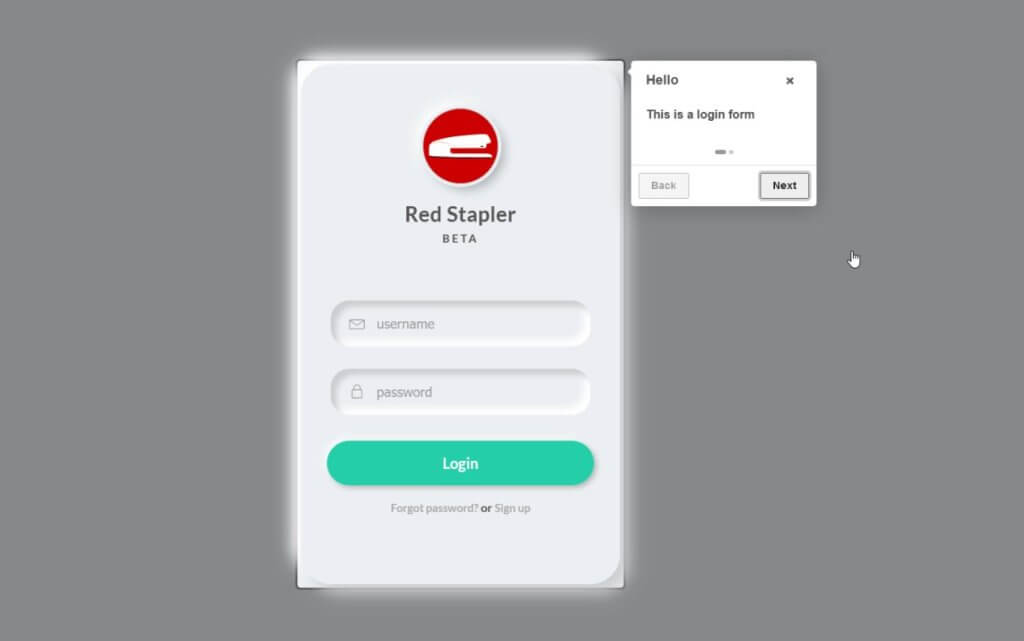
Now the easiest way to create a simple tutorial is to use HTML attribute. For example, if I want to add a tutorial step on the login form, then add data-title attribute.
This will be the title of the tutorial box. Then data-intro for the text description.
<div class="login-div" data-title="Hello" data=intro="This is a login form">
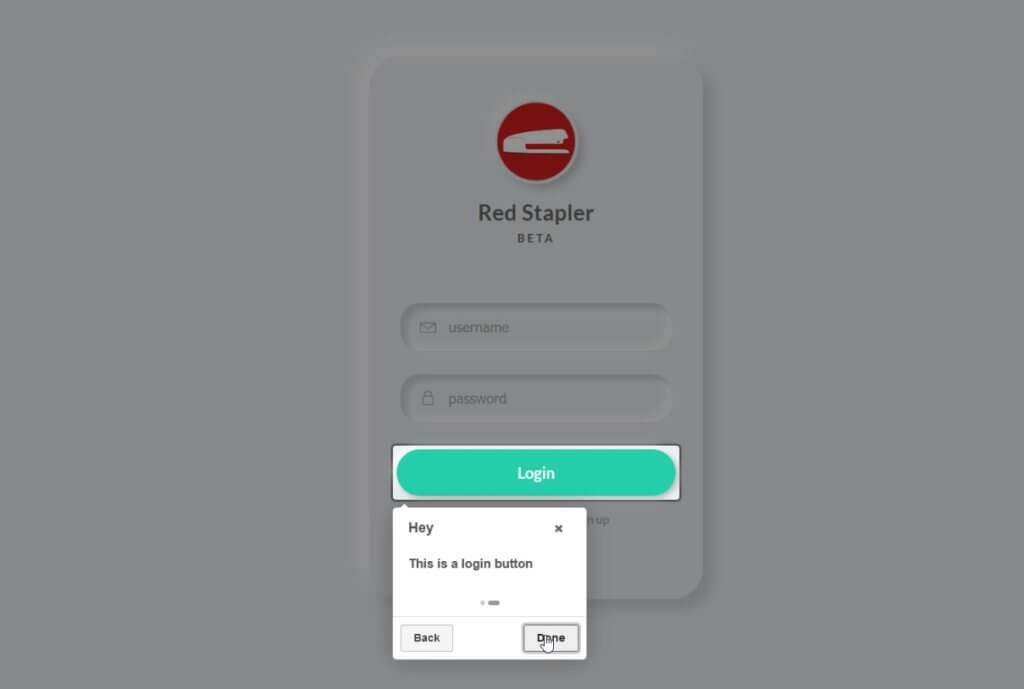
Let’s add another tutorial step on the login button as well.
<button class="signin-button" data-title="Hey" data-intro="This is a login button">Login</button>
And to start tutorial, call a start static method. Yes! It’s that easy!
introJs().start();
Hint Setup
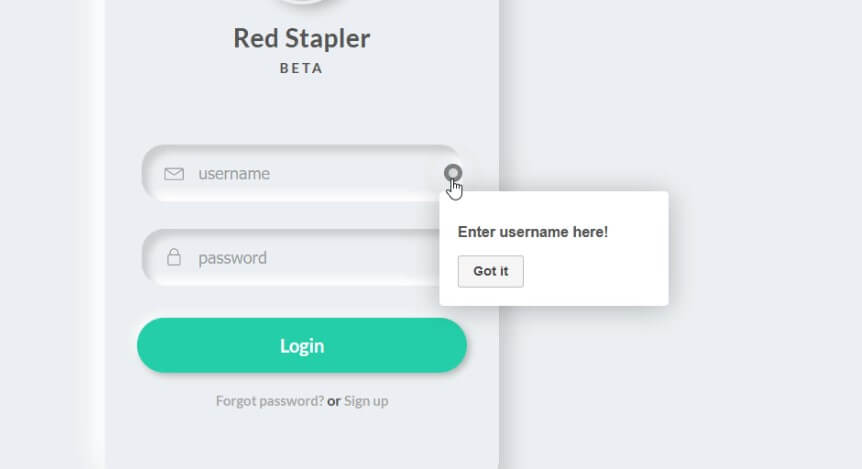
Now beside tutorial, intro.js also support hint hotspot. When users click on it, the tutorial box will appear and the hint spot will be removed.
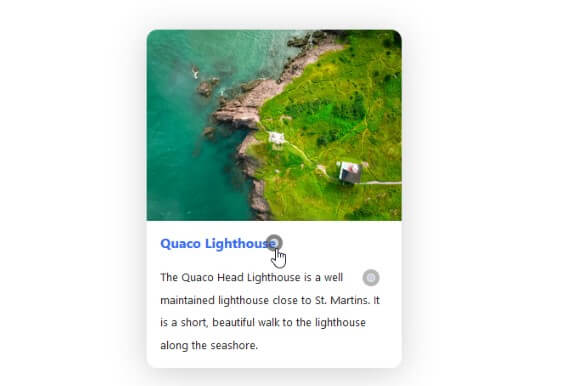
Adding hint is similar to adding tutorial step. Just add data-hint attribute to the element you need. You can also specify the the hint box position using data-hintPosition attribute.
<div class="username" data-hint="Enter username here!" data-hintPosition="middle-right">
Then call addHints method to initialize the hint spots.
introJs().addHints();
Using API
Now the advanced way to add more customizable tutorial is to use API instead of HTML attribute.
To create a tutorial, we’ll use setOptions method and create each tutorial step in the options object. We’ll create an array to contain all the tutorial steps. Then add the tutorial text using intro property and target the element using element attribute and querySelector. If we don’t specify the element then the tutorial will show on the center of the screen.
You can also use HTML for the tutorial content. For example I’m going to add a paragraph and a video.
introJs().setOptions({
       steps:[
         {intro:"Hello World!"},
         {element: document.querySelector('.signin-button'),
          intro:'<p>Testing HTML in intro.js</p>',
          position: "top"}
       ]
     }).start();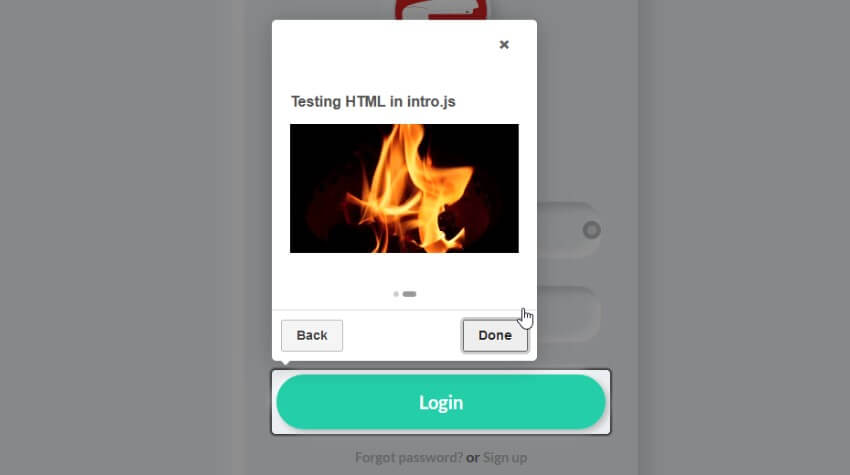
Intro.js Options
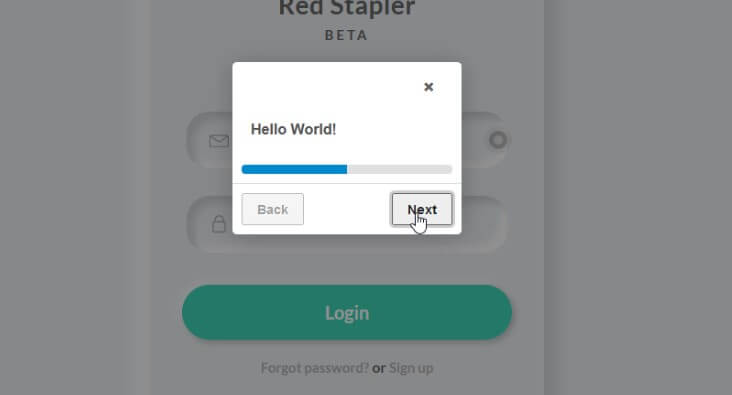
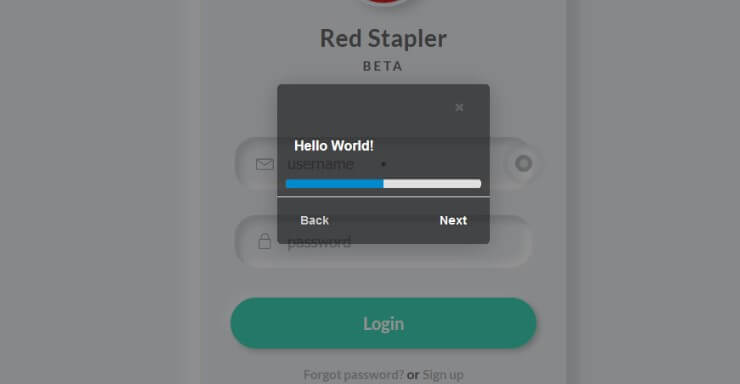
Now there are some options that you can customize the tutorial box. For example, you can switch from bullet navigation into progress bar instead or prevent users from interacting with the element while the tutorial is still active. You can add these options next to the steps property in the option object.
introJs().setOptions({
       steps:[
         ...
       ],
       showProgress: true,
       showBullets: false,
       disableInteraction: true
Now you can see the progress bar instead of the bullet. And you cannot click the button during the tutorial.
Changing Theme
There are some preset theme that you can choose from. Simply add the theme CSS file right after the main CSS file and that’s it!
<link href="https://unpkg.com/intro.js/minified/introjs.min.css" rel="stylesheet">
<link href="https://unpkg.com/intro.js/themes/introjs-modern.css" rel="stylesheet">
You can find the theme list on the project page
But if you want to add your own custom CSS, then you can add your own class name using tooltipClass option. So you can select them easier.
Event Handler
There are some event handler available to use. But the most useful one is oncomplete. If you want to trigger something immediately after the tutorial is completed, you can use oncomplete event handler. You can chain calling it before the start method.
introJs().setOptions({
        ...
      }).oncomplete(() => {
        alert("Congratz!!!");
      }).start();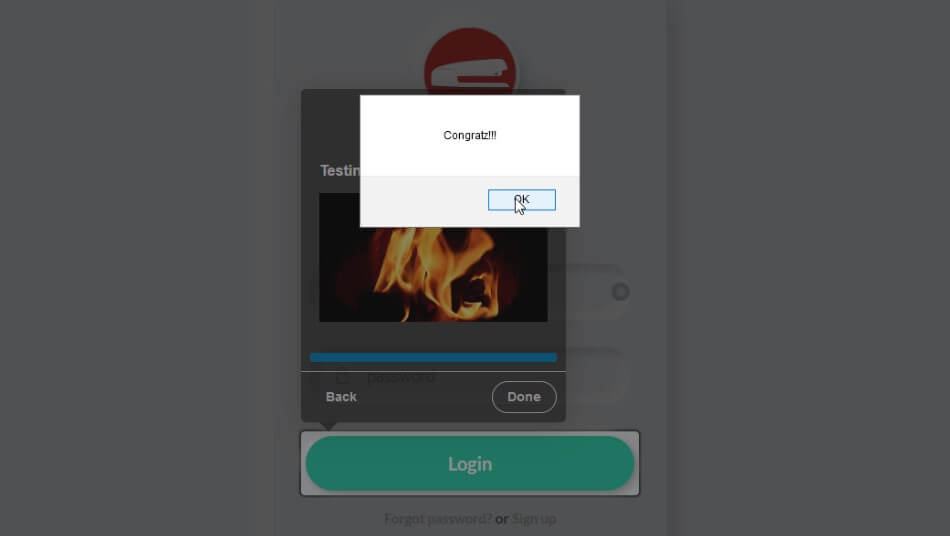
You can download project source code here. Also you can watch the video version of this tutorial below
And that’s all for this tutorial. Hope this help you get started. Also please note that if you want to use intro.js in commercial project then you’ll need to purchase their license first 🙂
If you love this and want to see more development tips and tutorials, subscribe our YouTube Channel to stay tune
