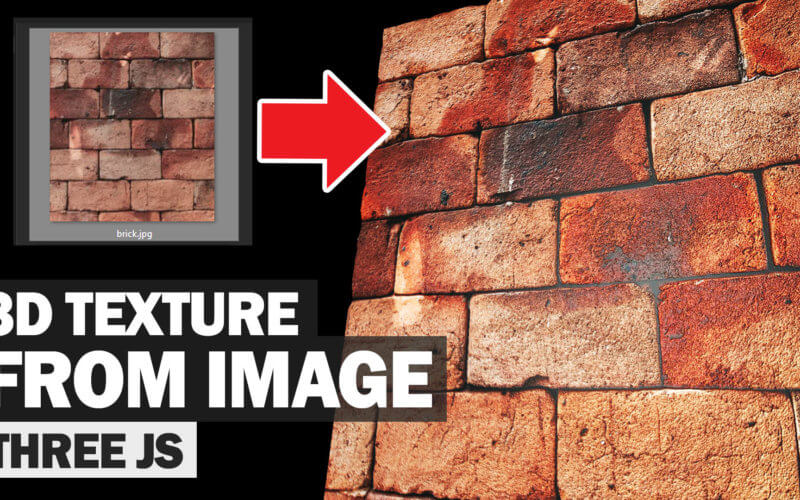
Three.js Displacement Map from Single Image Tutorial
It’s time for Three.js tutorial. This post, we’re going to show you how to create realistic 3D texture using displacement mapping and bump mapping from just a single image file. We’ll talk about how to prepare the image and how to setup the scene for it. Ready? let’s check it out!
Preparing the Scene
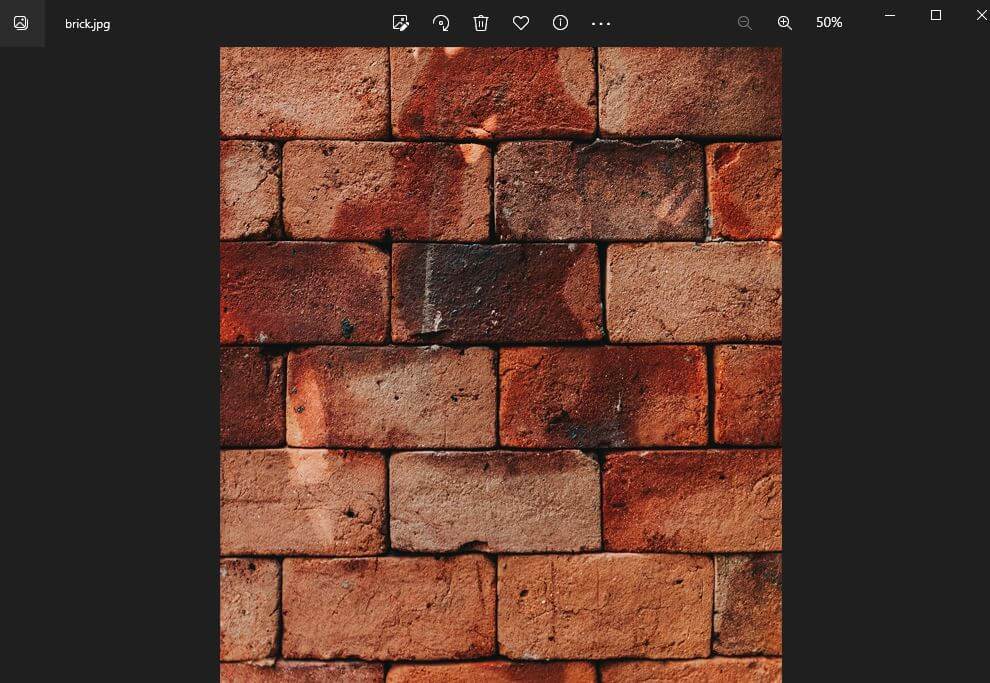
So here is the image that we’re going to use as a texture. We’ll need to use photoshop to prepare it for mapping later. But for now let’s work on setting up the 3d scene.
First I’m going to add two JavaScript files. Three.js library and Orbitcontrols.js for camera mouse control. You can download these two files from the three.js github.
<script src="three.min.js"></script>
<script src="OrbitControls.js"></script>
Then I’m going to setup the scene and camera. As usual I’ll use a perspective camera (60 degree FOV) and WebGLrenderer. As for the light. I’ll use a white pointLight and place it the same position as camera and add it to the scene.
For Camera mouse control, create the orbitcontrols instance from our camera and renderer element.
I’ll also set the enabledamping to true for a smooth control. Enabling this option require a control update inside the render loop.
scene = new THREE.Scene();
camera = new THREE.PerspectiveCamera(60, window.innerWidth/window.innerHeight,1,5000);
camera.position.set(0,0,400);
scene.add(camera);

renderer = new THREE.WebGLRenderer();
renderer.setSize(window.innerWidth,window.innerHeight);
document.body.appendChild(renderer.domElement);

let light = new THREE.PointLight(0xffffff,1.2);
light.position.set(0,0,400);
scene.add(light);

let controls = new THREE.OrbitControls(camera, renderer.domElement);
controls.enableDamping = true;

function render() {
  renderer.render(scene,camera);
  controls.update();
  requestAnimationFrame(render);
}

render();
The scene is ready. It’s still a blank scene but you could try run it in the browser and if there is any error. Next, we’re going to work on the images.
Preparing Texture
First we need a bump mapping. After on the file on photoshop, we’ll desaturate the color. 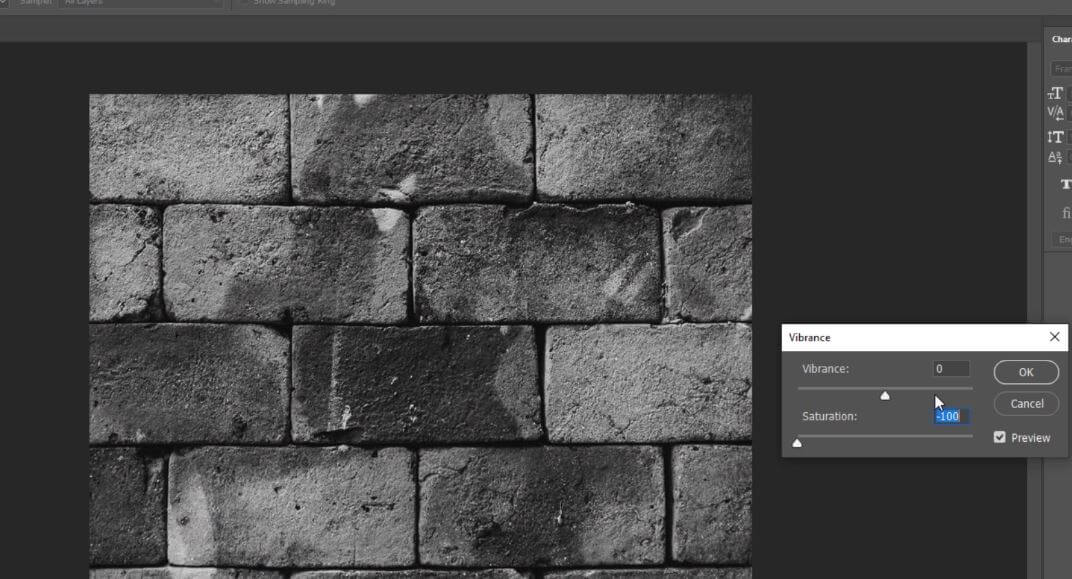
And then we’ll need to invert the image since the dark area is consider lower while white area is higher. Save the file and put it into project directory.
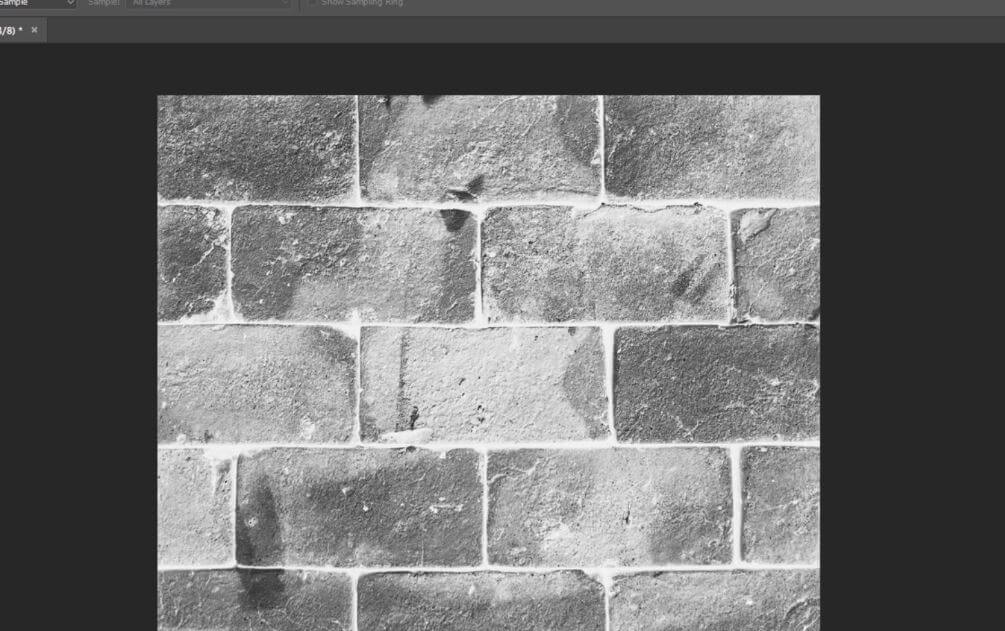
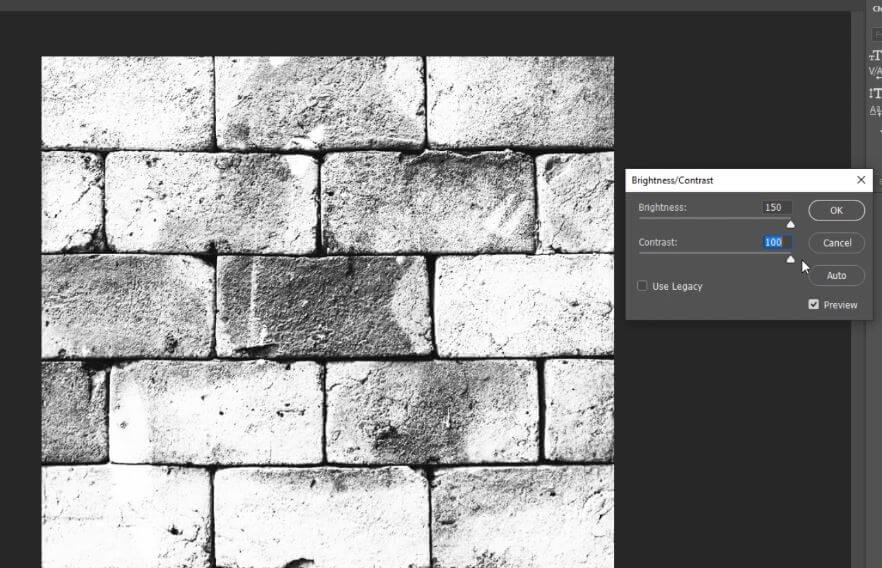
For displacement map, we’ll start again with the original image and desaturate it. But this time we’ll just increase the brightness and contrast. (For displacement map, the light area means higher altitude and dark is lower altitude)
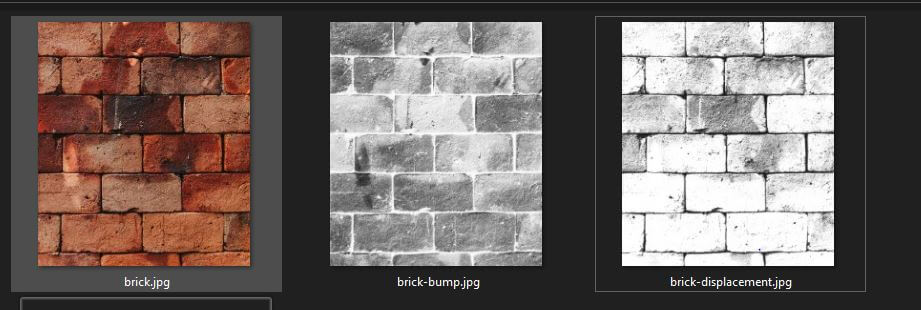
We’ll now have 3 files. Original, bump map and displacement map.
Next create a material using MeshPhongMaterial Class and assign our texture. We’ll load them with TextureLoader Class.
You can adjust the effect of the bump map using bumpScale and displacement map with displacementScale.
let map = new THREE.TextureLoader().load("brick.jpg");
let bmap = new THREE.TextureLoader().load("brick-bump.jpg");
let dmap = new THREE.TextureLoader().load("brick-displacement.jpg");

let material = new THREE.MeshPhongMaterial({
  bumpMap: bmap,
  bumpScale: 1.3,
  displacementMap: dmap,
  displacementScale: 5,
  map: map
});
As for geometry, I’ll use a PlaneGeometry, 400×450 size and 50 width and height segment. Then create the 3D object from our geometry and material.
let geometry = new THREE.PlaneGeometry(400,450,50,50);
let brickWall = new THREE.Mesh(geometry,material);
scene.add(brickWall);
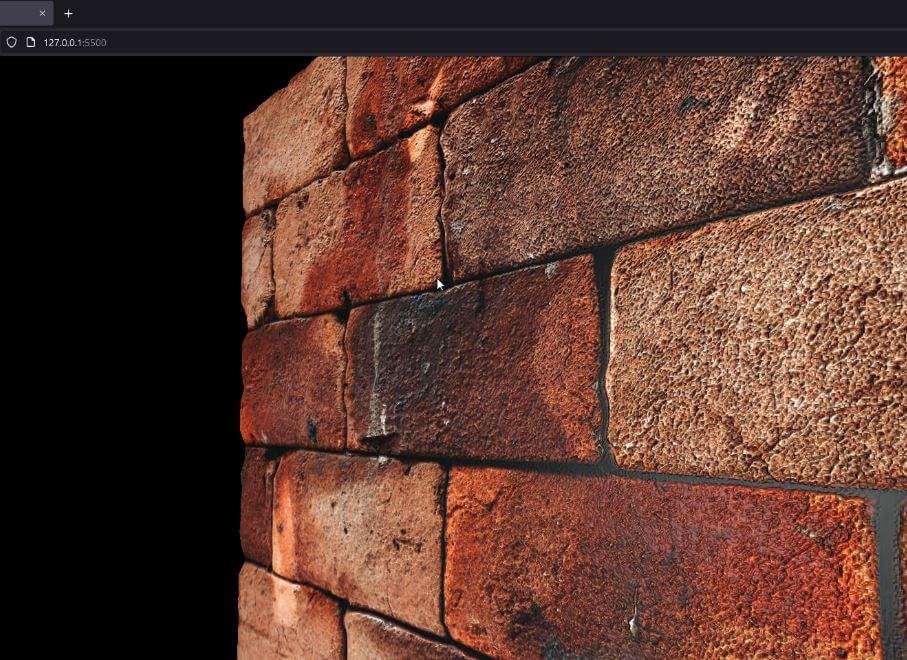
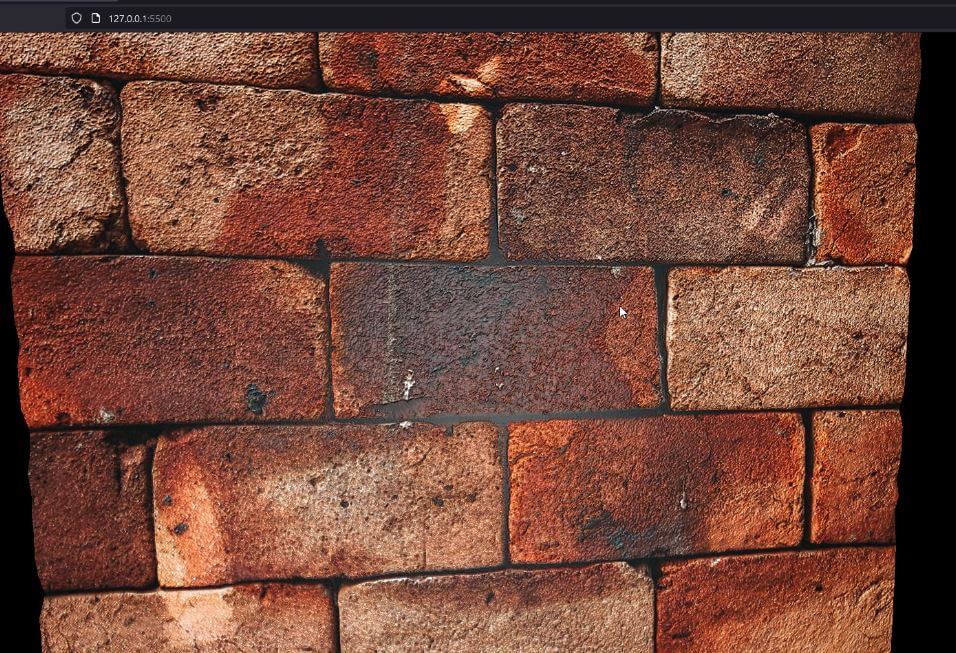
And here is the result.
And that’s all for this tutorial, You can download the source code here. If you like this post, don’t forget to like and subscribe our YouTube channel. See you 🙂
