
SweetAlert Tutorial – Let’s Make a Cool Javascript Popup!
In this tutorial, we’ll talk about SweetAlert. A javascript library to turn your simple alert popup into an extraordinary one. Sweet Alert is very easy to use and can also be customized and used as input dialog, confirmation dialog and much more. You can try the live demo from official project page of sweatAlert to get the idea.
Setup and Example
Just head over to github, download the latest release and import the sweetalert.min.js with a script tag to your webpage and it’s done!
Now let’s start with a basic alert popup up. I’m going to call swal() (I guess swal stands for SWeet ALert) inside the button click event. Then just pass any alert message that you want!
swal("Hello world!");See how easy it is?

You can also pass the title text as the first parm if you want
swal("From Red Stapler","Hello world!");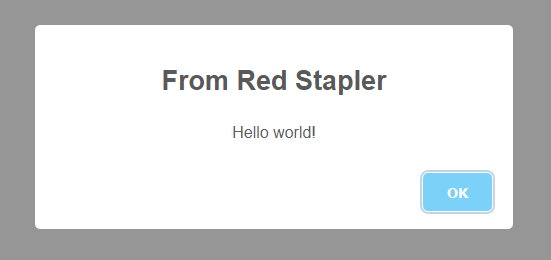
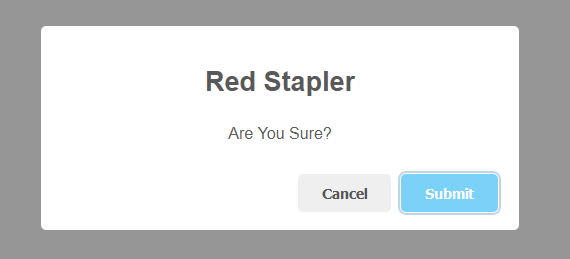
Now for more complex popup, such as confirm dialog, we’ll need to pass additional the option to SweetAlert like this. We can customize the button; First, let’s add cancel button by setting it to true to enable the cancel button. And another one is confirm – the default button text is “OK”. Of course, you can override it so let’s change to “Submit”
swal({
     title:"Red Stapler",
     text: "Are You Sure?",
     buttons: {
            cancel: true,
            confirm: "Submit"
     }
});
Here is the result
Handling User Input
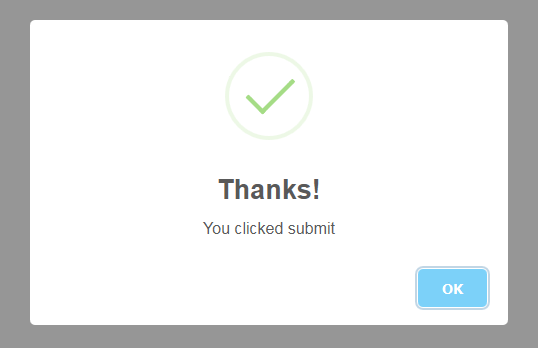
Now, we’ll need to handle the user input. Since sweet alert utilize Promise, we can use then method and check the promise resolved value. If it’s not null then we will display another popup that says “You clicked submit”. I’m also going to add a success icon.
swal({
       title:"Red Stapler",
       text: "Are You Sure?",
       buttons: {
              cancel: true,
              confirm: "Submit"
                }
}).then( val => {
       if(val)  {
               swal({
                    title: "Thanks!",
                    text: "You clicked submit",
                    icon: "success"
                    });
                }
});
After I click submit, here is the confirm popup
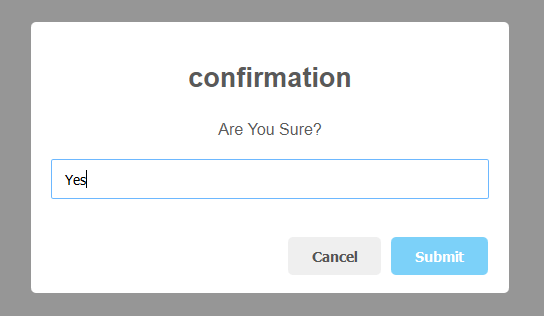
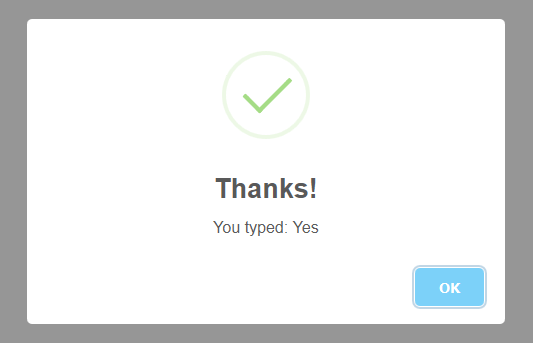
Sweet Alert can also receive user input text. Just set the content to “input”. Again, you can get the input value submitted from Promise resolved value
swal({
    title:"confirmation",
    text: "Are You Sure?",
    content: "input",
    buttons: {
            cancel: true,
            confirm: "Submit"
        }
    }).then( val => {
        if(val) {
            swal({
                title: "Thanks!",
                text: "You typed: " + val,
                icon: "success"
            });
        }
    });
});
And that’s the basic about SweetAlert. See this tutorial in motion from our Youtube video
You can further customizing the sweet alert theme to suit your website by changing the CSS. You can see the documentation on the official site for everything you need.
Follow us on our Facebook and Youtube Channel to stay tune if you love this tutorial.
Very Nice Tutorial 10/10 easy to follow
Hello Red Stapler Owner
Could you plzz send me the link for downloading of sweet alert files i want it urgent plzzzzzzzzzzzzz
https://lipis.github.io/bootstrap-sweetalert/
https://github.com/errakeshpd/sweetalert-1