
Create Simple CPU Monitor App + Installer with Electron
This is the 2020 updated version of my Electron tutorial. I’ll try to make it short and concise as possible. In this post we’ll write a simple app to monitor cpu usage together using HTML/CSS and JavaScript with Electron framework and also learrn how to package the app and create an installer for distribution with electron-builder.
You can download source code for this project here. (use “npm install” to redownload all dependencies)
Prerequisite and Project Setup
Before we can start, you’ll need to install Node.js and Git first. Just download the installer from their websites and follow the instruction.
First we’re going to open a git bash and install the electron with npm install command.
npm install electron -g
To create a new project, you can create it from scratch if you want to, but since I’m a lazy person so there is a tool call Electron Forge which will help you setup a project very quickly with some skeleton code to start from.
So once the electron has been installed. We’ll install Electron Forge using npm
npm install create-electron-app -g
After the install has finished, you can create a new project by typing create-electron-app follow by a project name. Let’s name it cool-app.
create-electron-app cool-app
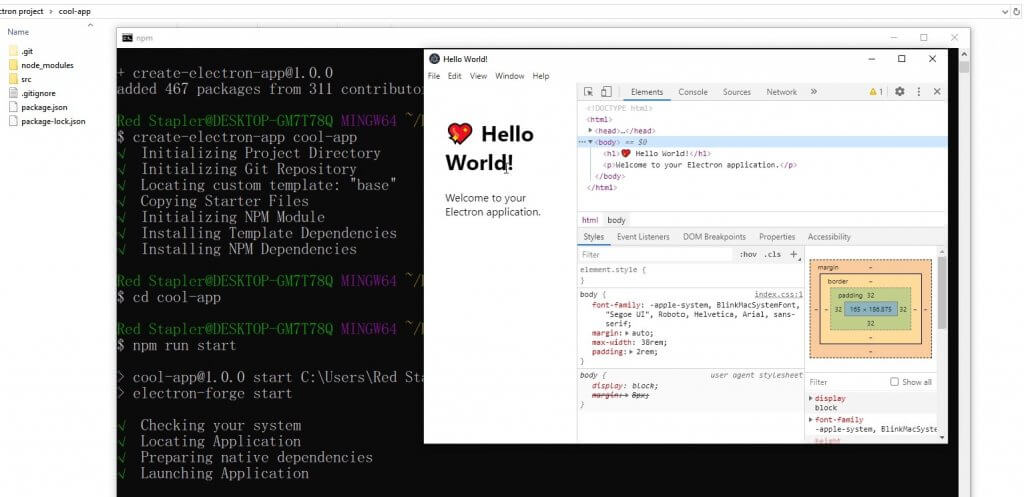
Electron Forge will create a project folder for you
Application Logic
The project comes with skeleton code and necessary script and ready to run. So let’s run it.
npm run start
You should see Hello world app like this. A simple text with developer console opened. Tt looks similar to google chrome since Electron is based on Chromium. This means you can use HTML, CSS and JavaScript to code this app like you do on a website.
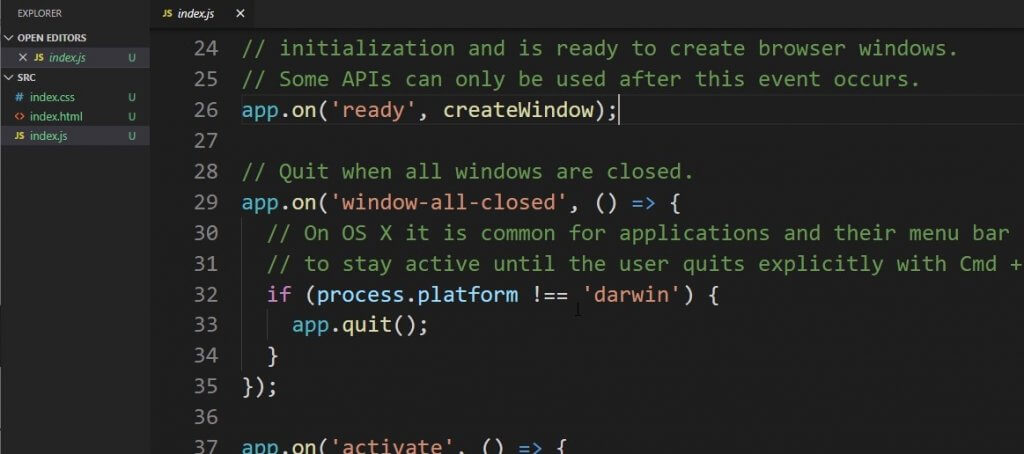
Now the code for this app is in the src folder. These files are generated by the electron forge. I’m going to use VSCode to open the folder. The JavaScript file here is the main logic of the app. There is a function to create a new window for the app. Then load the html file into that window, etc. This is why I used Electron Forge to create a new project instead of creating a new one from scratch. I just don’t want to rewrite these code every time when starting a new project.
Now we’re ready, it’s time to start coding. Since we’re going to create an app to monitor the CPU usage, we’ll need to use Node.js module call os-utils. (The cool thing about electron is you can use any node.js modules or JavaScript libraries for your app)
So let’s install os-utils to our project
npm install os-utils
Then import it in our index.js file.
const os = require('os-utils');Because the main JavaScript file and the HTML file are running on a separated process. The index.js is on a main process and the HTML in browser window is on renderer process. If we want to put data from the main process to renderer process. We’ll need to use a inter process communication (IPC)
So in the main process, we’ll send the data using mainWwindow.webContents.send. Then you can name the message so you can receive them correctly in renderer process. We’ll call cpuUsage method which will return the value with callback function. I’ll also pull the memory usage and system total memory as an example too.
Also use setInterval to retrieve the data every second.
setInterval(() => {
  os.cpuUsage(function(v){
    mainWindow.webContents.send('cpu',v*100);
    mainWindow.webContents.send('mem',os.freememPercentage()*100);
    mainWindow.webContents.send('total-mem',os.totalmem()/1024);
  });
},1000);
We’ll need to enable the nodeIntegration in webPreferences of browser window so we can use node.js module in the HTML file to receive the message.
const mainWindow = new BrowserWindow({
  width: 1000,
  height: 600,
  webPreferences: {
    nodeIntegration: true
  }
});
In the html file, first import the electron and ipcRenderer. You can receive the message by listen to the message name. then get the data from the event handler. I’ll put them on the dev console.
<script>
  const electron = require('electron');
  const ipcRenderer = electron.ipcRenderer;

  ipcRenderer.on('cpu',(event,data) => {
    console.log('cpu % ' + data);
  });
  ipcRenderer.on('mem',(event,data) => {
    console.log('mem % ' + data);
  });
  ipcRenderer.on('total-mem',(event,data) => {
    console.log('total mem GB ' + data);
  });
</script>
Looks good. Let’s run app again.
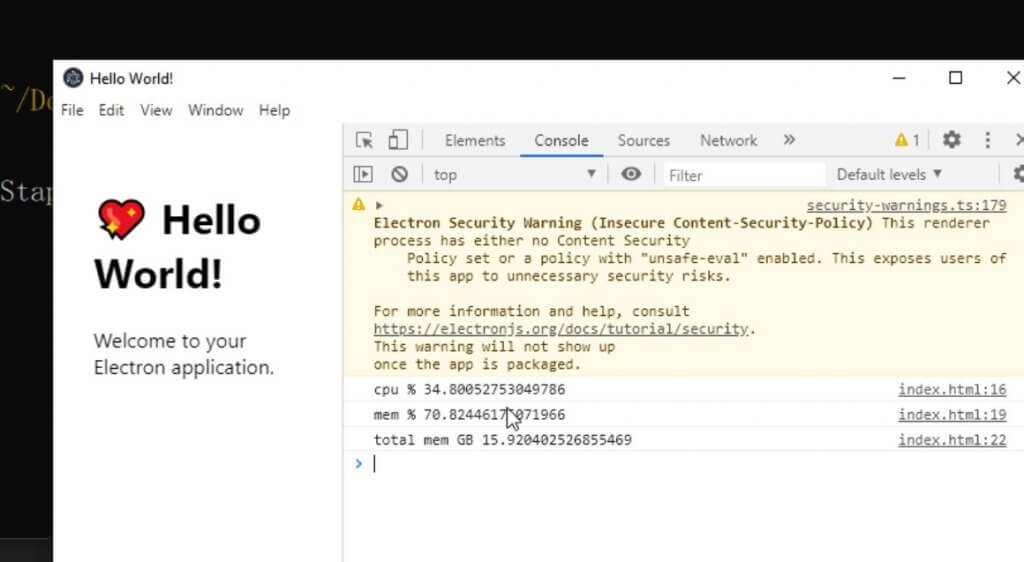
Now we’ve successfully communicated between main and renderer processes. The next step is to work on the user interface.
User Interface
I’m going to create div and 2 spans inside for each data. One for label and one the value.
<div class="box">
  <span class="label">CPU (%)</span>
  <span id="cpu">-</span>
</div>
<div class="box">
  <span class="label">Free Mem (%)</span>
  <span id="mem">-</span>
</div>
<div class="box">
  <span class="label">Total Mem (GB)</span>
  <span id="total-mem">-</span>
</div>
Then the CSS. Basically changing the background/font styles/flex layout. I’m not going to go in detail here.
html {
width: 100vw;
height: 100vh;
}
body {
font-family: -apple-system, BlinkMacSystemFont, "Segoe UI", Roboto, Helvetica, Arial, sans-serif;
margin: auto;
width:100%;
height: 100%;
padding: 3%;
overflow: hidden;
background: #222;
display: flex;
justify-content: center;
align-items: center;
color: white;
}
.box {
display: flex;
justify-content: center;
align-items: center;
flex-direction: column;
font-size: 100px;
line-height: 0.95;
padding: 0 30px 0 30px;
}
.label {
font-size: 20px;
font-weight: 600;
color:#efa;
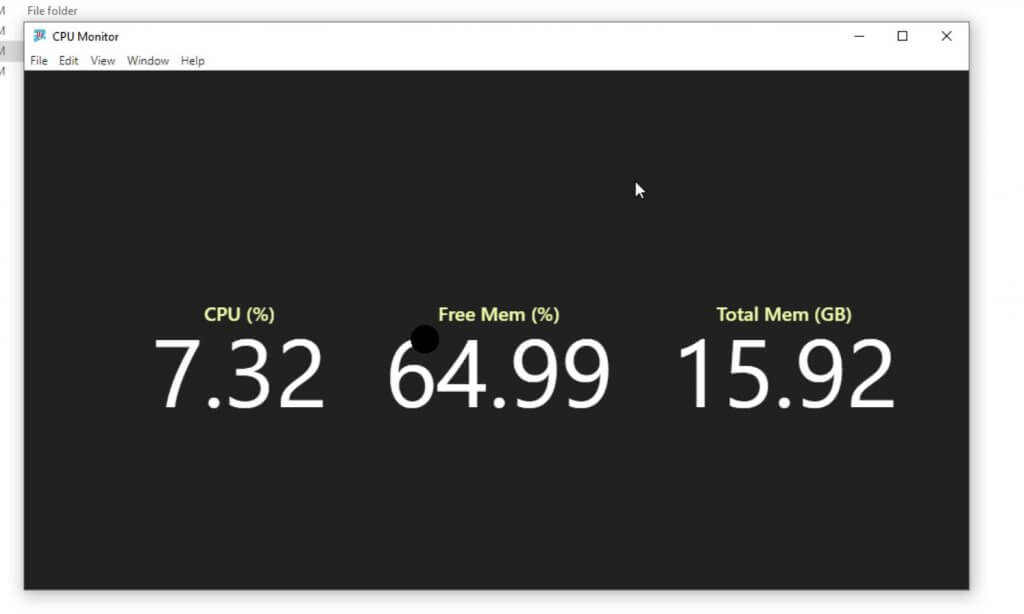
}Finally, we need to add JavaScript to put the data we received from the main process to span element. Just use getElementById and change the innerHTML. I’ll use toFixed to limit the decimal place to 2.
ipcRenderer.on('cpu',(event,data) => {
  document.getElementById('cpu').innerHTML = data.toFixed(2);
});
ipcRenderer.on('mem',(event,data) => {
  document.getElementById('mem').innerHTML = data.toFixed(2);
});
ipcRenderer.on('total-mem',(event,data) => {
  document.getElementById('total-mem').innerHTML = data.toFixed(2);
});
Let’s the run the app again.
Creating an Installer
You don’t want user to type npm run start to run our app right? We need to package it to exe file with installer. Actually the electron forge can do this easily by just running make script.
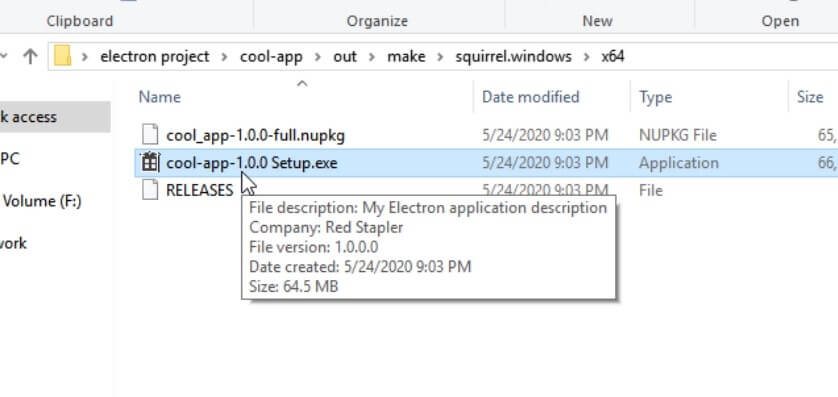
npm run make
Your app will be packaged into executable file on your current machine platform. The output will be in out folder in your project. However, I don’t really like the installer from this method much because it’s a squirrel one click installer which install immediately without any confirmation window or allow users to change the install path.
So I’m going to use another packager call electron-builder. Let’s install it with npm (since it’s packager I’ll install it with dev option)
npm install electron-builder --only=dev
Next we’ll add build setting for our new installer in package.json. First we’ll change the product name. Since cool-app is our project name and we don’t wanna use that for the real application name. So I’ll change it to CPU monitor
Next is to create a new script to run the electron builder. so now we can build the install by typing npm run build-installer.
{
  "name": "cool-app",
  "productName": "CPU Monitor",
  "scripts": {
...
    "build-installer": "electron-builder"
  },
Next setup the build configuration. We need to add appID which is our project name and win for window platform which then we’ll set the target to NSIS which is an installer type that we’re all familiar with. Also change the icon/app name display in control panel. If your app needs to run as admin you can set requestedExecutionLevel to requireAdministrator (optional)
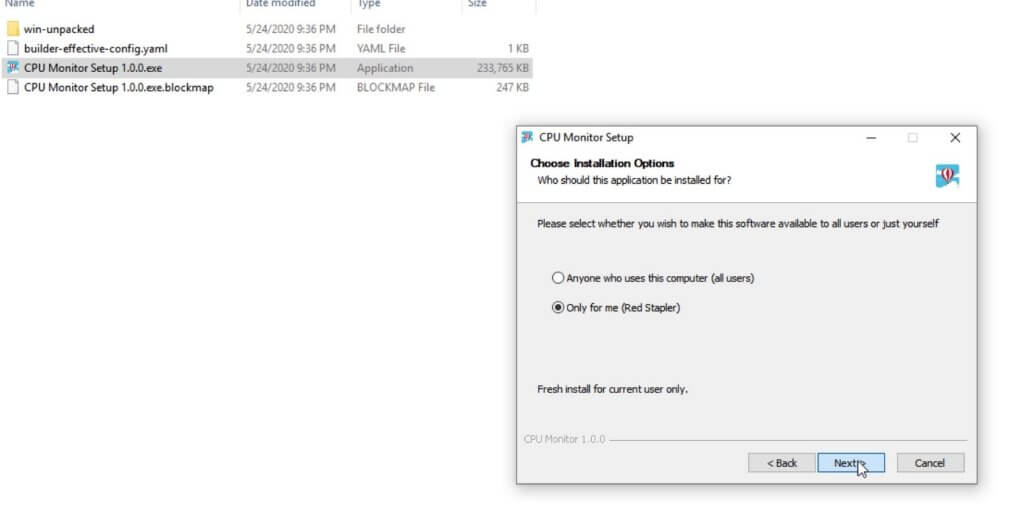
You can provide a license.txt file if you want to show and make user accept it before installing. Also I’ll set oneClick option to false and allowToChangeInstallationDirectory to true so user can change the install path.
"build": {
  "appId": "cool-app",
  "win": {
    "target": [
      "nsis"
    ],
    "icon": "src/icon.ico",
    "requestedExecutionLevel": "requireAdministrator"
  },
  "nsis": {
    "installerIcon": "src/icon.ico",
    "uninstallerIcon": "src/icon.ico",
    "uninstallDisplayName": "CPU Monitor",
    "license": "license.txt",
    "oneClick": false,
    "allowToChangeInstallationDirectory": true
  }
},
Then you can package your app this way
npm run build-installer
The output will be in dist folder
And here is our app in the control panel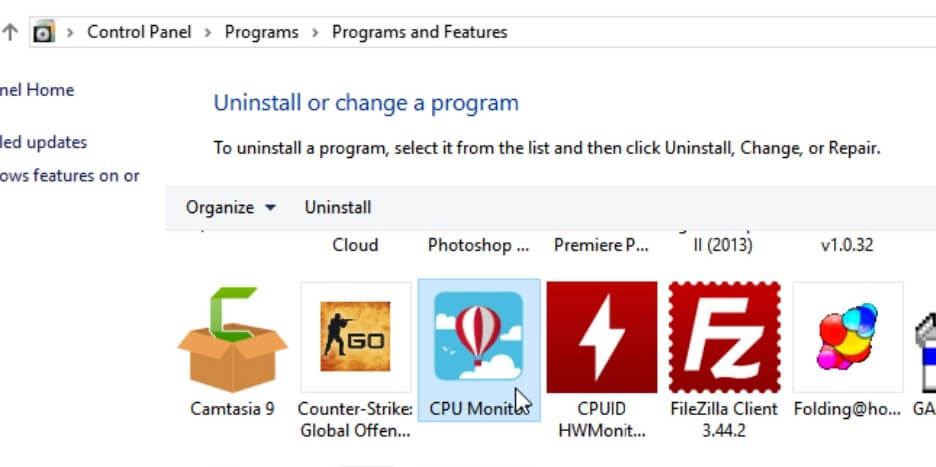
You can watch a video version of this tutorial below
And that’s all for this tutorial. I hope it helps you get started with electron. If you love this and want to see more development tips and tutorials, subscribe our YouTube Channel to stay tune

Cool, but after building, installing and opening it is not loading index.html and just showing a blank page. I have used electron instead of electron forge and after that electron builder
Oh it worked. The problem was that I sont know how but electron builder is not packaging the icon image. I changed it to uninstallerIcon which will be automatically created by it and this solved my problem