Ultra Realistic Reflection Effect with Three.js
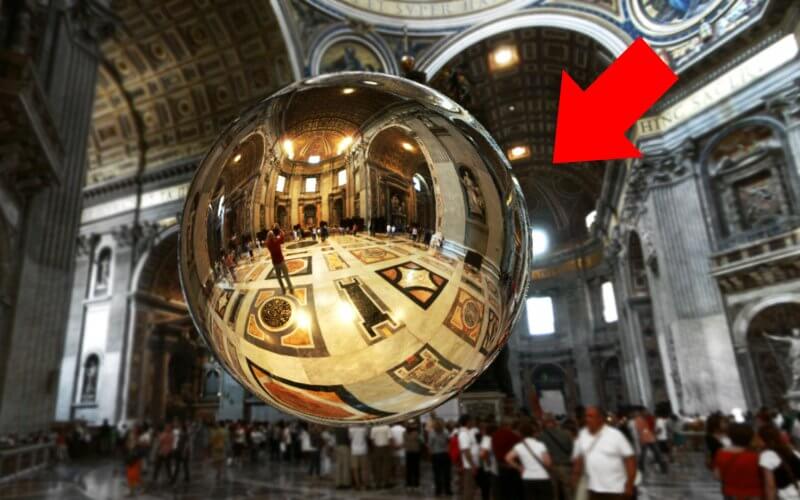
In this tutorial, we’re going to show you how to create a realtime realistic reflection surface with Three.js from scratch in just a few minutes. Let’s check it out!
CubeMap/ Skybox Concept
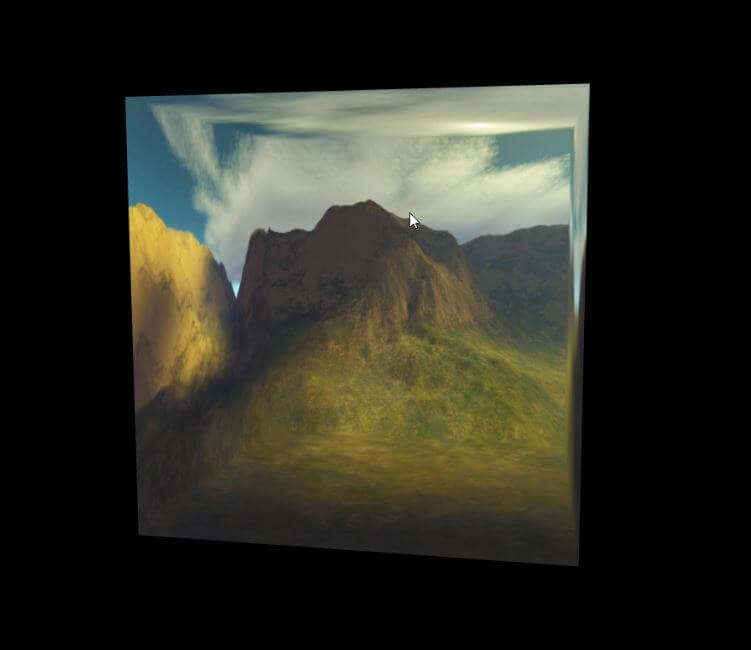
First we’re going to create a 3D world using the same technique as previous tutorial call skybox or cubemap. Basically, we’ll create a cube and put a texture on each side and place the camera in the center. This is quickest and easiest way to create a pseudo 3D world.
Scene Setup
Let’s start with basic setup. We need to import 2 files. Three.js core file and OrbitControl.js for the camera control.
<script src="three.min.js"></script>
<script src="OrbitControls.js"></script>
First create a scene and setup a camera. Like most tutorial, I’m going to use a perspective camera. using 70 degrees viewing angle and current viewport aspect ratio. I’ll place camera 400 units midair and 1000 units away from center.
For the renderer, I’ll use WebGLrenderer and also enable the anti-aliasing. Finally setup the OrbitControl. For this tutorial I’ll disable the zooming (zooming out will break the skybox)
If everything goes well, you should see an empty black screen with no console error.
let scene, camera, renderer;
function init() {
  scene = new THREE.Scene();
  camera = new THREE.PerspectiveCamera(70,window.innerWidth/window.innerHeight,1,5000);
  camera.position.set(0,400,1000);

  renderer = new THREE.WebGLRenderer({antialias:true});
  renderer.setSize(window.innerWidth,window.innerHeight);
  document.body.appendChild(renderer.domElement);

  let controls = new THREE.OrbitControls(camera, renderer.domElement);
  controls.enableZoom = false;

  render();
}
function render() {
  sphereCamera.updateCubeMap( renderer, scene );
  requestAnimationFrame(render);
}
init();
Now you can download any cubemap that you like. For this tutorial, I’ll use the interior of saint peter’s basilica. Once downloaded, you’ll get six images for each cube side.
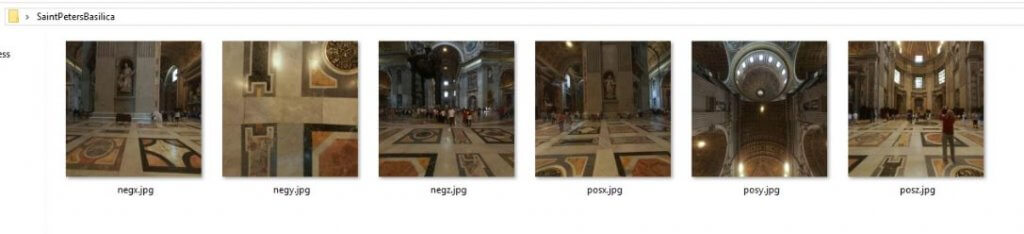
First, let’s create an array to keep the path to the image. Then use CubeTextureLoader and set it as scene background.
let urls = [
  'posx.jpg', 'negx.jpg',
  'posy.jpg', 'negy.jpg',
  'posz.jpg', 'negz.jpg',
];
let loader = new THREE.CubeTextureLoader();
scene.background = loader.load(urls);
And Boom! Your 3D world is ready!
The Reflection Sphere
Next We’ll create a sphere shape.
To create a 3D object in Three.js we’ll need 2 things. Geometry which defines the physical shape and Material which defines the surface and texture.
For material. We’ll use a MeshBasicMaterial. The basic material ignores the light so we can see the object without setting up any light. Then create a SphereGeometry with 350 units radius. The last 2 are numbers of segments. More segments create more rounded shape at the cost of performance.
Finally create our sphere from the geometry and material and place it at the center.
let sphereMaterial = new THREE.MeshBasicMaterial();
let sphereGeo =  new THREE.SphereGeometry(400, 50, 50);

let mirrorSphere = new THREE.Mesh(sphereGeo, sphereMaterial);
mirrorSphere.position.set(0, 100, 0);
scene.add(mirrorSphere);
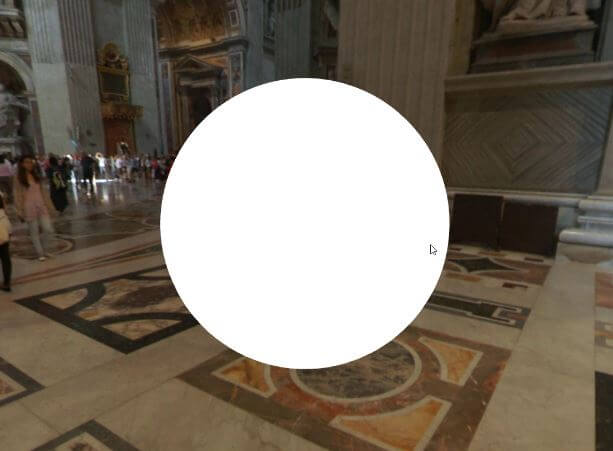
Now to create a reflection, we’ll use a CubeCamera to capture the scene from all directions. Then apply the captured image as texture of the object.
Let’s create a CubeCamera with 1 to 1000 units range. The last number is the camera resolution. Setting it too high will resulted in framerate drop. Then place the camera at the same position of the sphere and apply the captured image as environment map of the sphere material.
        sphereCamera = new THREE.CubeCamera(1, 1000, 500);
        sphereCamera.position.set(0, 100, 0);
        scene.add(sphereCamera);
...
        let sphereMaterial = new THREE.MeshBasicMaterial( {envMap: sphereCamera.renderTarget} );
And finally in the render loop, we’ll need to update the camera using updatecubemap method.
function render() {
  renderer.render(scene,camera);
  sphereCamera.updateCubeMap( renderer, scene );
  requestAnimationFrame(render);
}
And that’s all for this tutorial. You can download the code here.
If you like this tutorial, don’t forget to like our Facebook page and subscribe to our Youtube Channel to stay tune

Great Project.
Here is something you maybe want to know for cubemapping:
posx = positiv x
negx = negativ x
etc. …
Place the pics in right order. To make your own cubemaps go here
—> jonaszeitler.se/cubemap-toastmap-generator/
Add http infront of it