How to Create Confetti Button Effect
Creating visually appealing and engaging user interfaces is a crucial aspect of modern web development. In this fast-paced digital age, users expect interactive and dynamic elements in web pages. One way to add a touch of fun and excitement to a website is by incorporating confetti animations. Confetti is a playful element that adds a celebratory and festive vibe to any web page.
In this blog post, we’ll be introducing a cool JavaScript library that makes it easy to create a confetti button effect in just a few minutes. This library is designed to be user-friendly and requires minimal setup and configuration, making it ideal for both novice and experienced developers. Whether you’re building a landing page for a new product launch, creating a celebratory page for a milestone, or adding a touch of whimsy to an e-commerce website, this library is the perfect tool for the job. So, let’s dive in and explore how you can bring confetti to life in your web projects.
Page Setup
So here is the example page we’re going to work on. A simple button centered on the screen with flex display with click event to popup an alert message (Note: For easier implementation, I recommend having a wrapper div to the button)
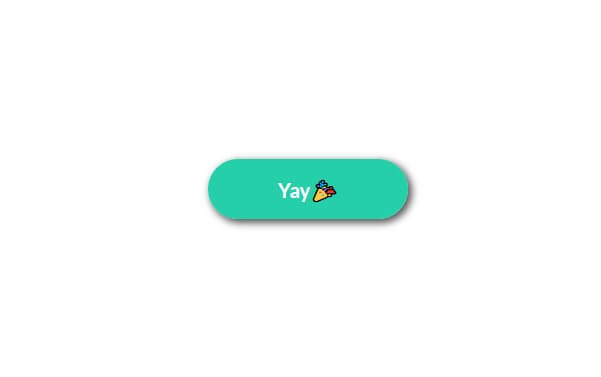
<div class="button-wrapper">
  <button class="confetti-button">Yay🎉</button>
</div>
To create the confetti effect, first include the library from cdn via script tag. If your project use package manager you can also use npm install.
<script src="https://cdn.jsdelivr.net/npm/[email protected]/dist/confetti.browser.min.js"></script>
Then call confetti() function inside the button click event and that’s it.
confetti();
Super easy right? The library is incredibly straightforward to use, and it will automatically apply the confetti effect using the default settings. Some of you may be satisfied with the results at this stage. However, there is a small issue. The library applies the effect to the page body, causing the confetti to always appear in the center, regardless of the button’s position. To have the effect appear on the button, we’ll need to use a custom canvas.
Custom Canvas
To start, we’ll create the canvas element and set its width and height to 600px. Then, we’ll create a confetti instance from our canvas using the create method and initiate the effect by calling it.
As we’re using a custom canvas, the library will not automatically remove it once the effect is finished. To resolve this, we’ll make use of the promise returned by the library and manually remove the canvas.
document.getElementsByClassName("confetti-button")[0].addEventListener("click", () => {
  let canvas = document.createElement("canvas");
  let container = document.getElementsByClassName("button-wrapper")[0];
  canvas.width = 600;
  canvas.height = 600;

  container.appendChild(canvas);

  let confetti_button = confetti.create(canvas);
  confetti_button().then(() => container.removeChild(canvas));
});
To adjust the position of the effect, we’ll add CSS to make the canvas position absolute, removing it from the document flow. Then, we’ll set the top and left to 50% and use a -50% translate to center it on the button.
Additionally, we’ll set the pointer-events property to none so that the button remains clickable even with the canvas positioned on top of it.
.button-wrapper canvas {
  position: absolute;
  top: 50%;
  left: 50%;
  transform: translate(-50%, -50%);
  pointer-events: none;
}
Customize the Effect
If you desire, you can easily adjust and customize the effect to meet your specific needs. The library offers a wide range of options for customization.
You can view a demo on the project page, and examples include modifying the number of particles, angles, spread, shape, and colors of the confetti. You can find the complete list of options in the documentation on the Github repository.
All you have to do is to provide them when calling the confetti function like so.
confetti_button({
          particleCount: 200,
          spread: 200,
          startVelocity: 15,
          scalar: 0.9,
          ticks: 90
        })
You can download source code here
That's all for this post. If you like it, check out our YouTube channel and our X to stay tune for more dev tips and tutorials

Ksnsj
it works
working