My DIY with Thermaltake Core P1 TG
I had a 2 years old, budget build PC that I occasionally use for general purpose like internet surfing/ watching movie, etc. Since it’s a “budget” build, I didn’t care much about the performance or the “sexiness” I just picked whatever best bang for buck and go. It has been a great PC until I stumbled into a local PC store and saw a very cool open case armed with liquid cooling. (Thermaltake Core P3)
Suddenly, my PC looks ugly! It’s time for a face-lift!
Since this is a general purpose PC, my build goals are aesthetic, quiet and small. Core P3 is a little bit too big for that so I look for a smaller version. The answer is Thermaltake Core P1 TG
Core P1 TG is a shrinked P3 to fit mini ITX motherboard. However, if you have small micro-ATX board that will work as well.
Update List of ATX Motherboard that fits Thermaltake Core P1 ITX
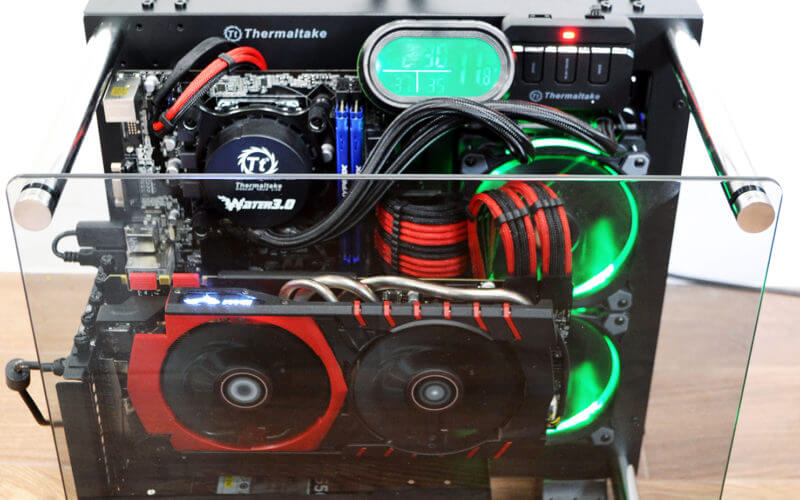
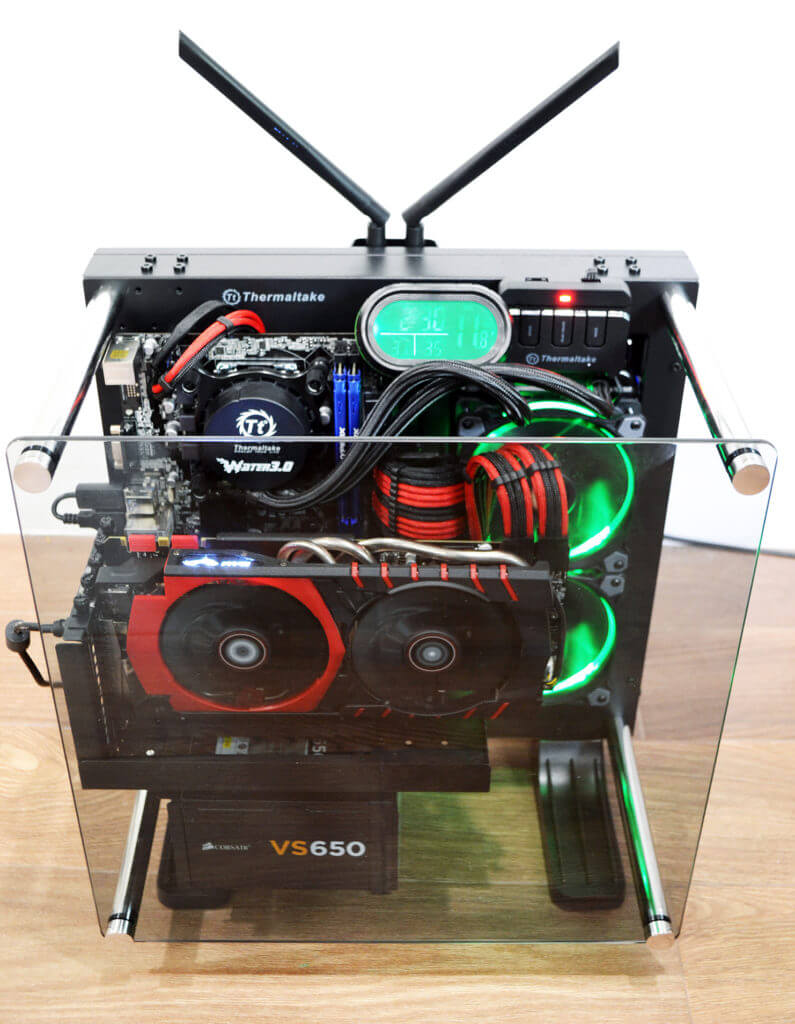
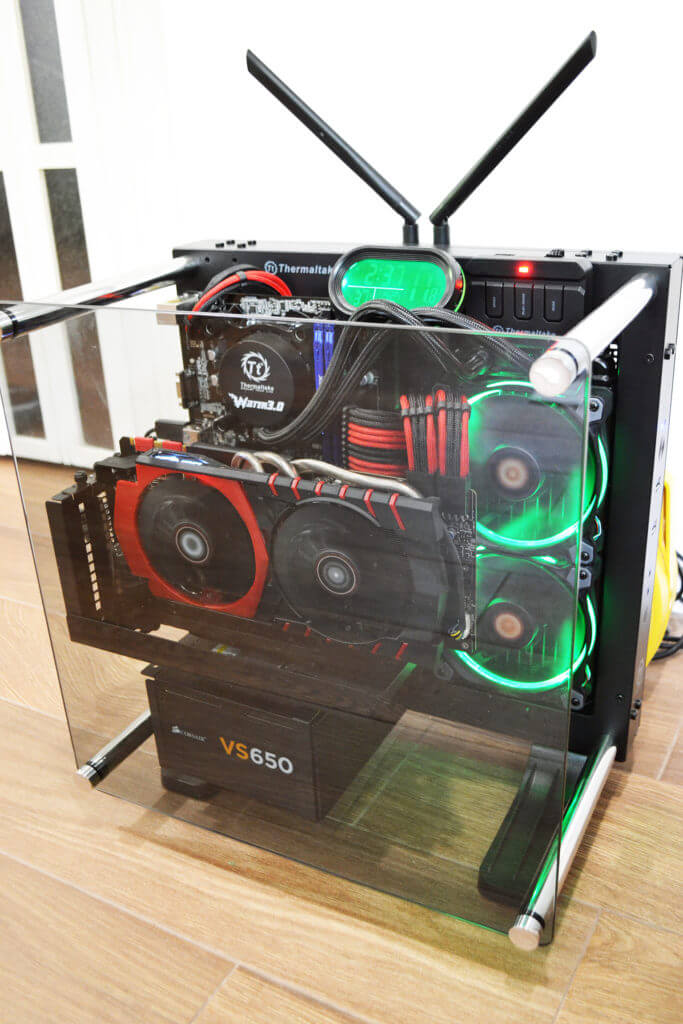
I got my case delivered couple days later. Another several hours and here is what it looks like!
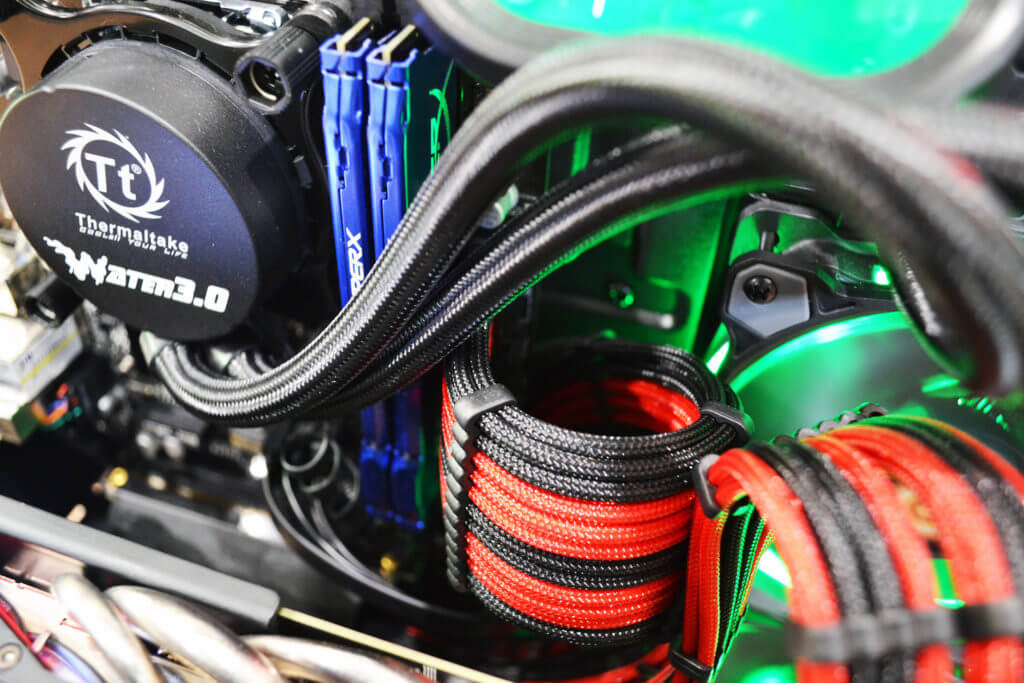
At first I was thinking about doing custom loop just for fun. But then again, it would be a bit overkill for a budget build. I ended up using Thermaltake Water 3.0 Riing RGB 240 AIO (All in one) cooler which is maintenance free. (2019 Note: there is an updated version of this AIO)
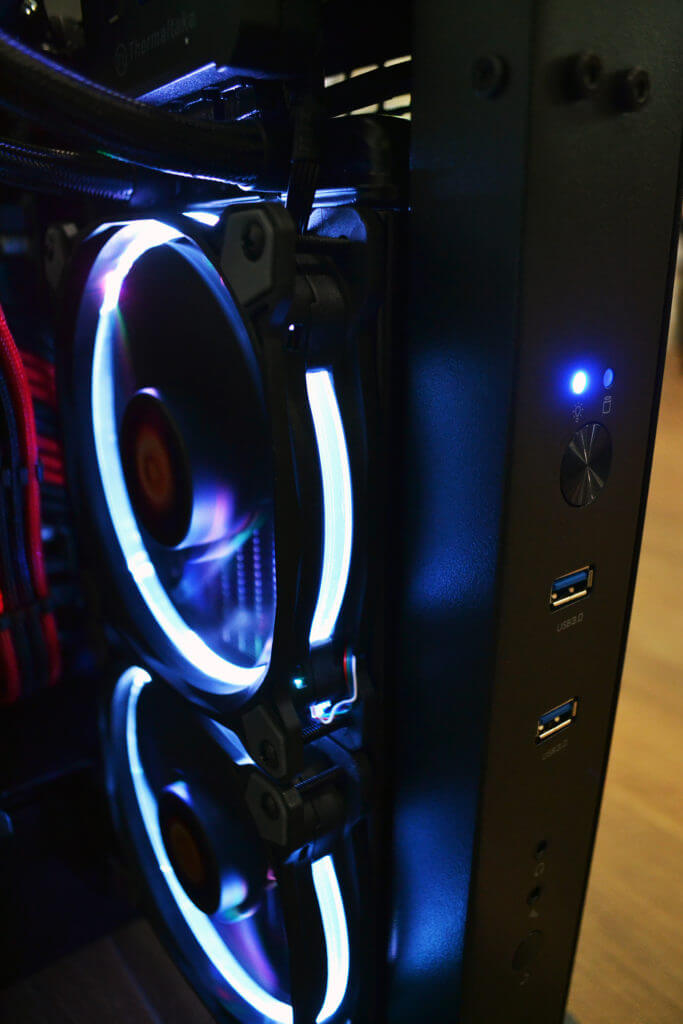
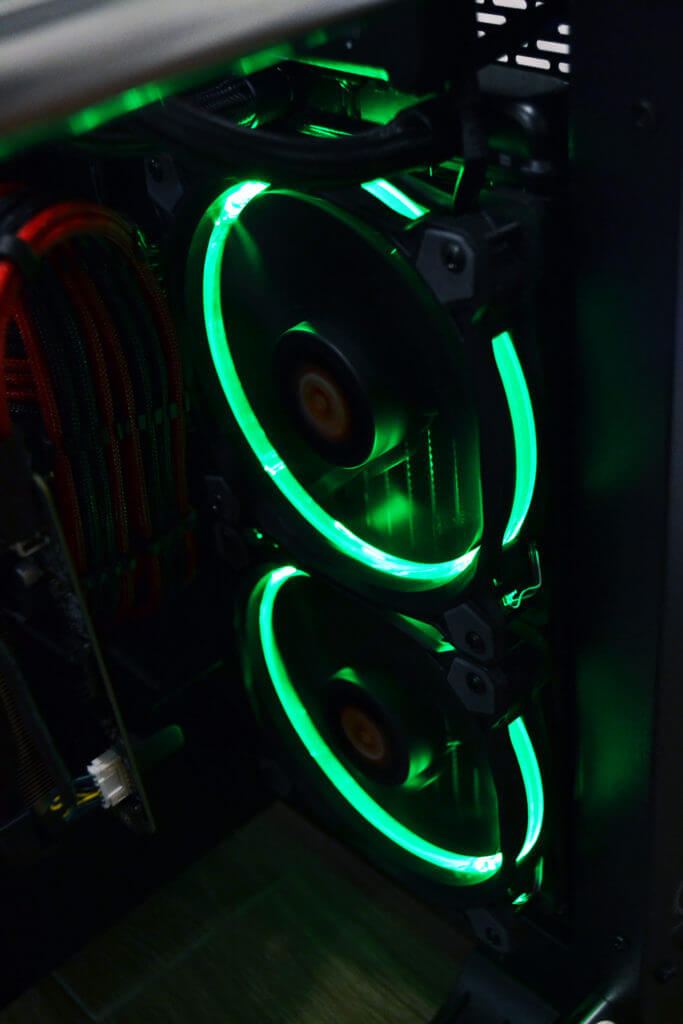
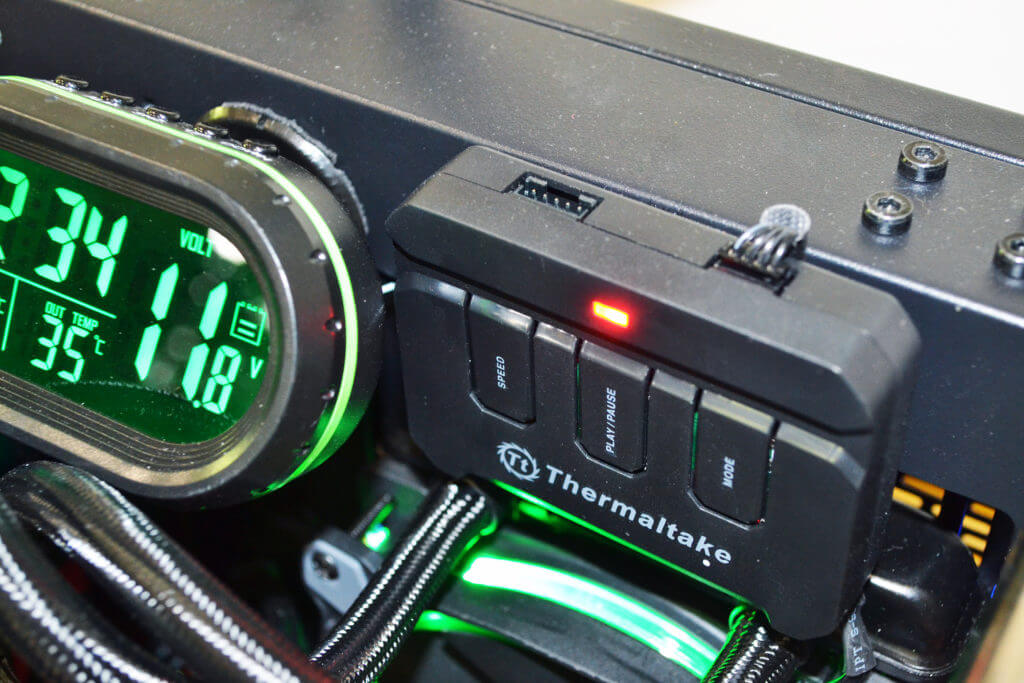
It also come with a fancy fan controller (which I mainly use for changing the fan color)
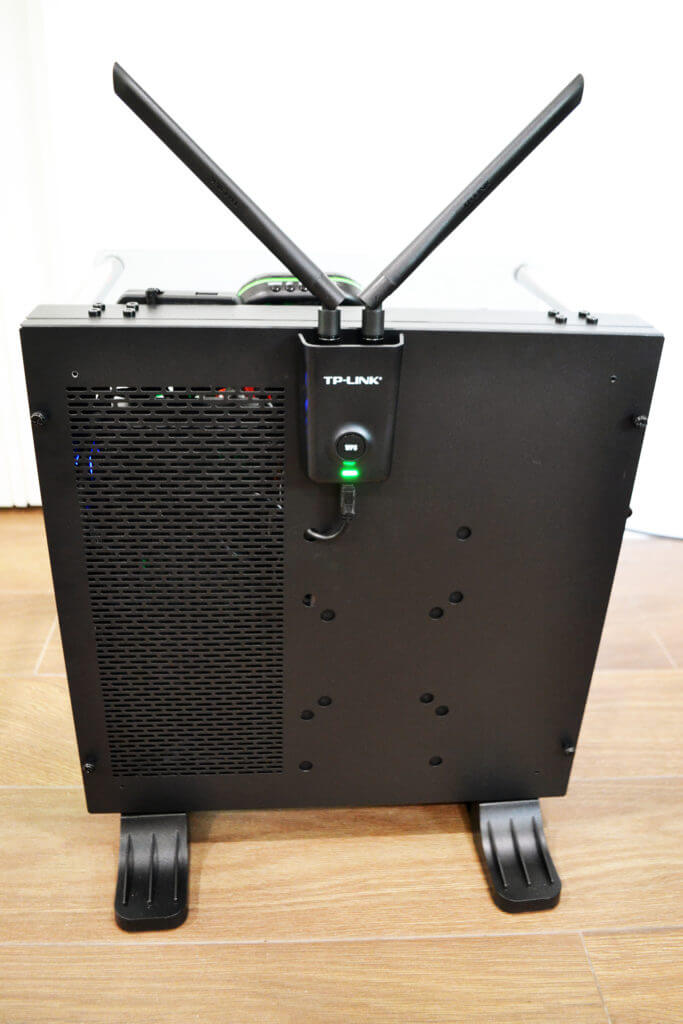
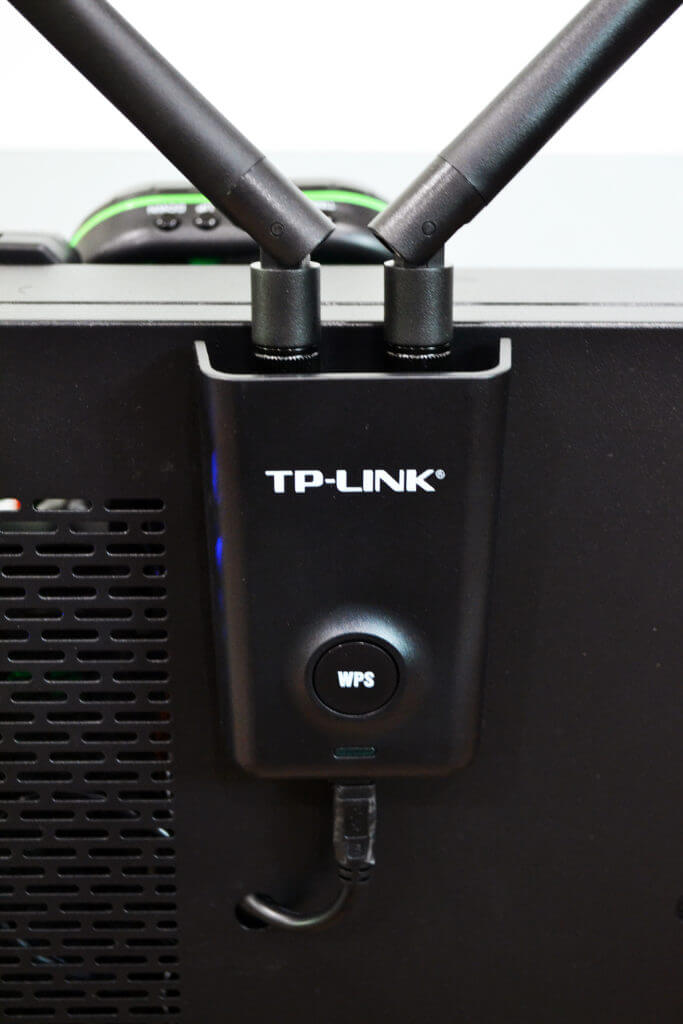
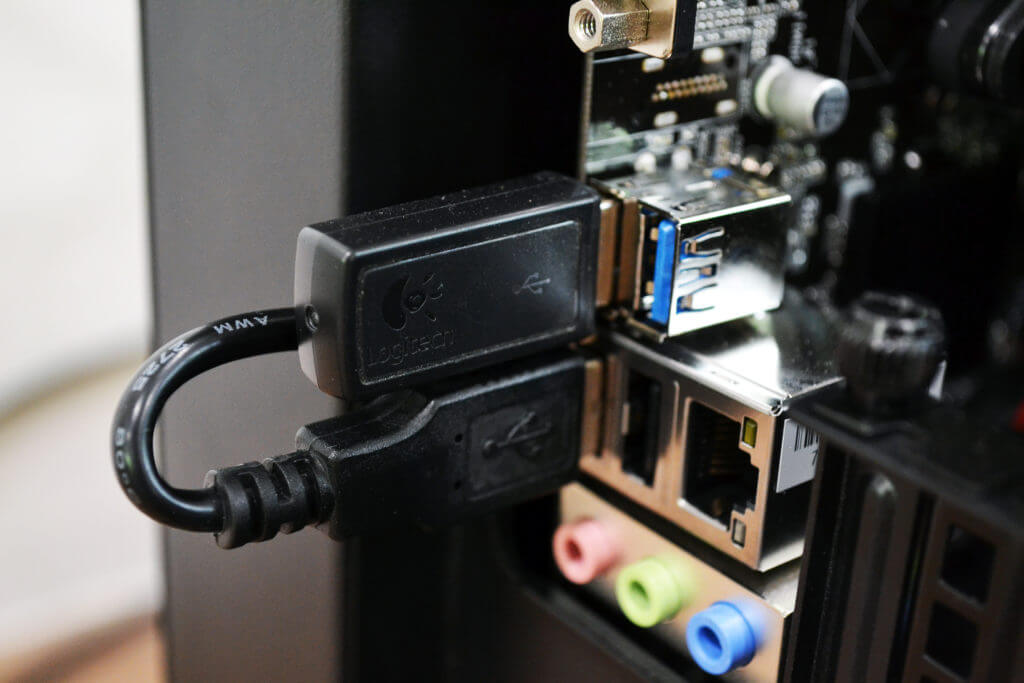
Since my motherboard doesn’t have any built in wireless adapter, I have to use an external one. The issue I had with the USB version is low signal strength so now I get one with antenna and stick to the back plate. Lucky for me that Thermaltake Core P1 have pre-drilled holes for wall mount bracket so I’m going to use that for cable management.
To avoid tangling cables, I’ll use Wireless keyboard/mouse
Speaking about cable management, if you planned well, working with Thermaltake Core P1 is easier than I first thought. There are sufficient space despite the size and cable out holes every where.
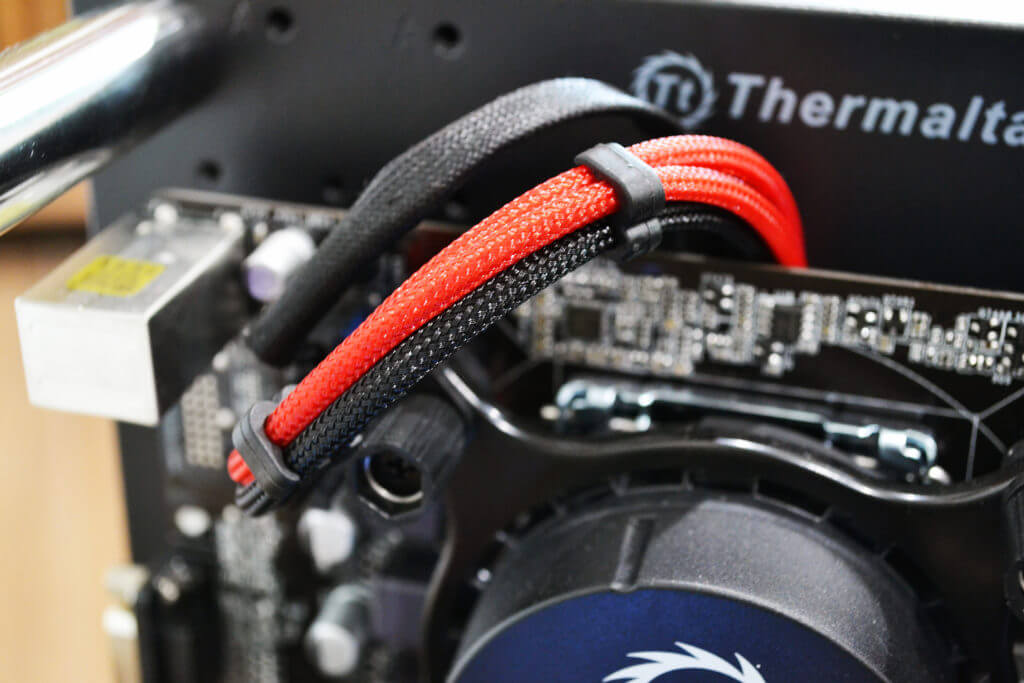
I rolled the 24 pins to go under the board. I used Thermaltake Sleeved cable which comes with cable comb. But if you don’t have one, you can get it from here.
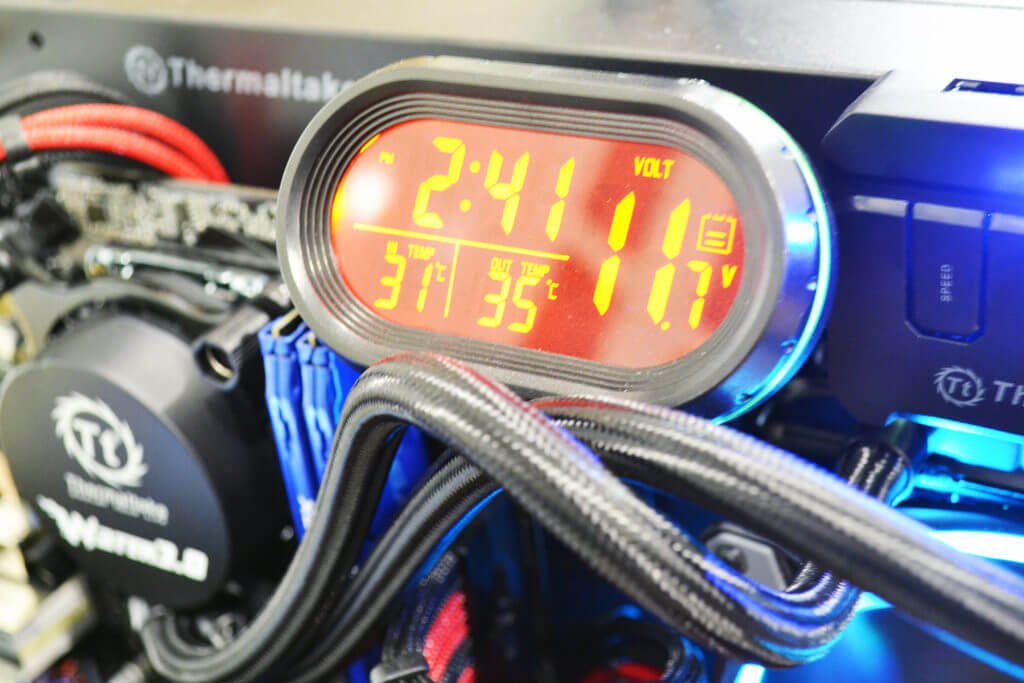
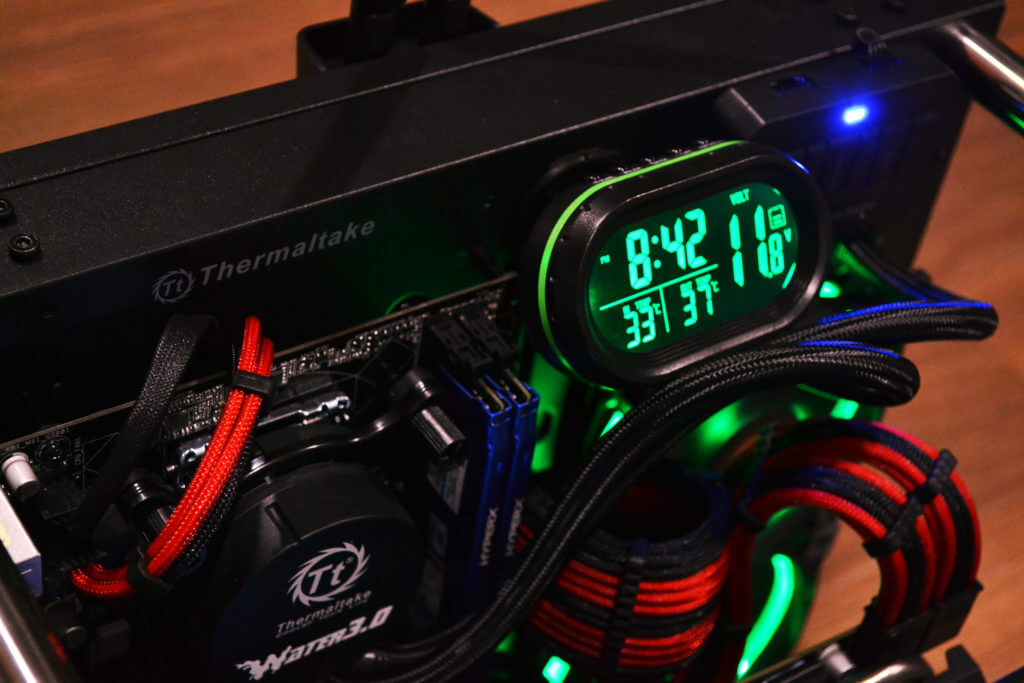
Here is a temp sensor and voltage digital gauge from Bykski I found by chance. I had to saw the base off and re-screw it so it can fit the empty space between fan controller and motherboard. I also put the sensor at the back of the radiator so it can measure the output air temp.
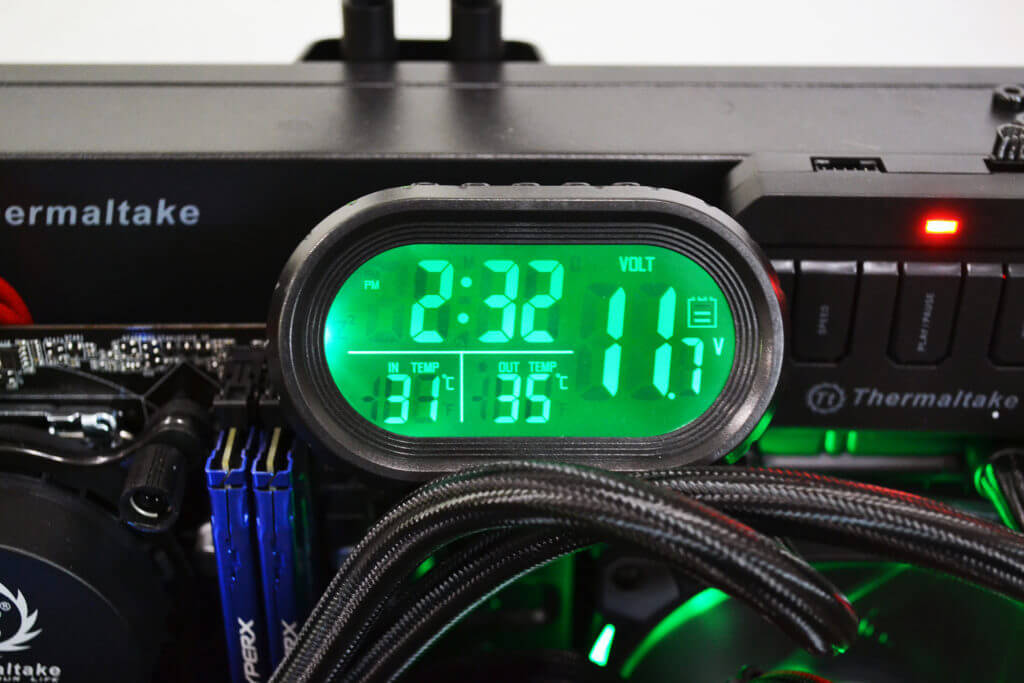
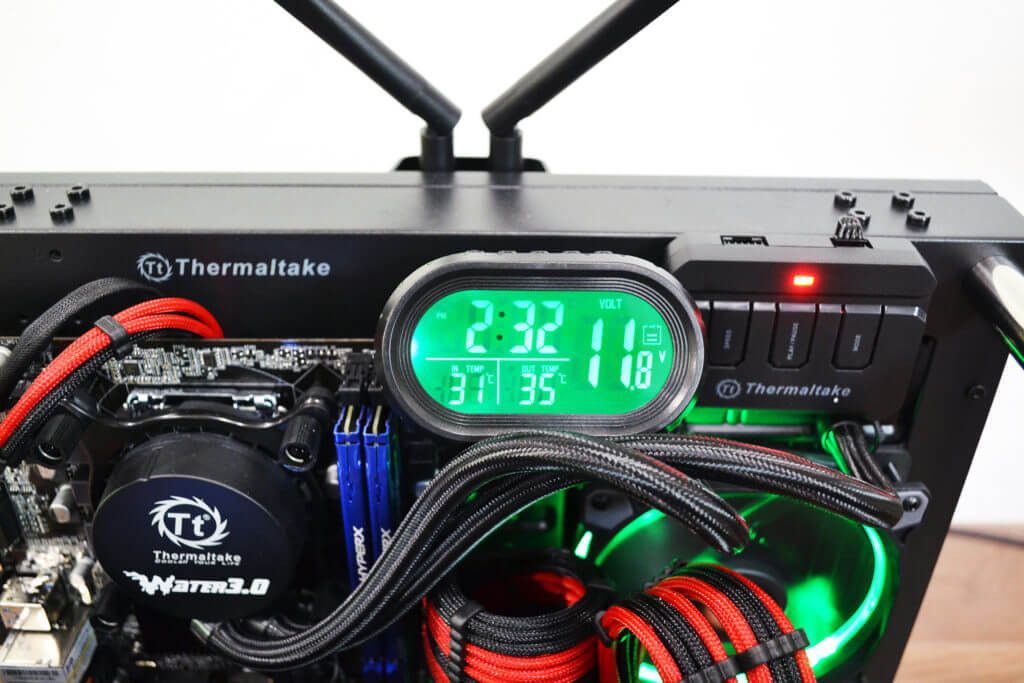
The gauge comes with 2 colors mode
So hope you like my new PC. Let me know what you think about it. If you have any questions about the build or the case, please feel free to leave a comment. You can find the link to each part at the end.
Mod parts used:
Case: Thermaltake Core P1 TG
Cable: Thermaltake Sleeve Cable
AIO Cooler: Thermaltake Dual Ring RGB 240
Gauge: Bykski Temperature Sensor
Cable Comb (Optional): 24 Pieces Cable Comb Set
PSU: Corsair VS650
Disclaimer: I will get a small amount of commission for purchases made through links in this post 🙂
Hi, Nice build!
May I was is the length of the mainboard? and what size would still fit in this case?
Thanks!
In case somebody has the same question.
I could put easily a Gigabyte H310M A in this case. Its length is 22,6cm. The use of the riser card is not restricted with this motherboard.
The maximum length of the motherboard would be 23cm in order to still use the riser card.
hello. i’m curious what cables did you use on your PSU. they are seems to be longer than those normal ones.
What is the digital gauge called? where did you get it?