
How to Change Image Color with Pure CSS
In this post, I’m going to show you how to change (part of) image color with pure CSS. This is very useful if you want to create a product color picker on your website. Let’s check it out! (You can watch the video version of this tutorial here)
Prepare the Image
Here is the original image. First, I’ll use a quick selection tool to select the sofa.
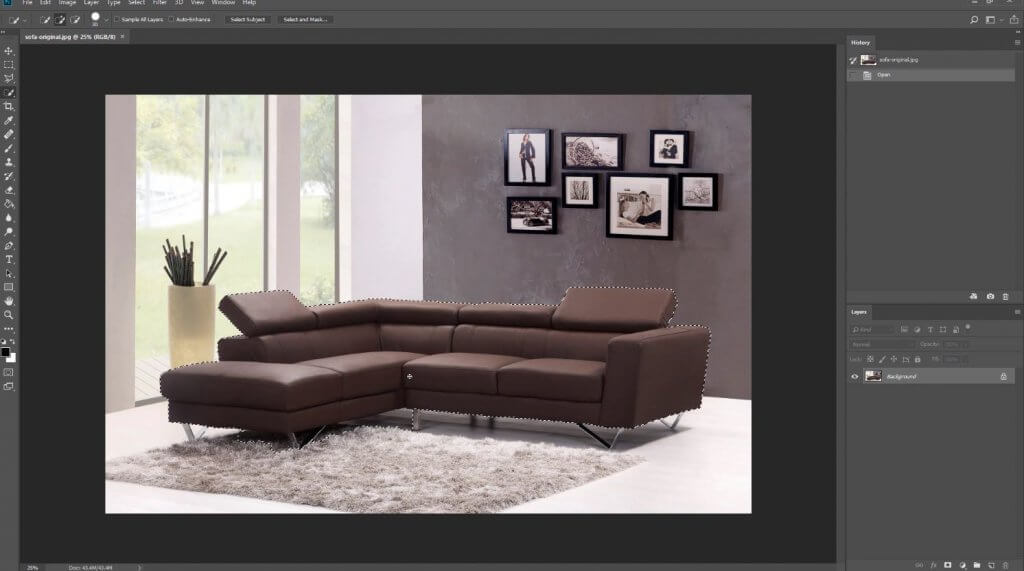
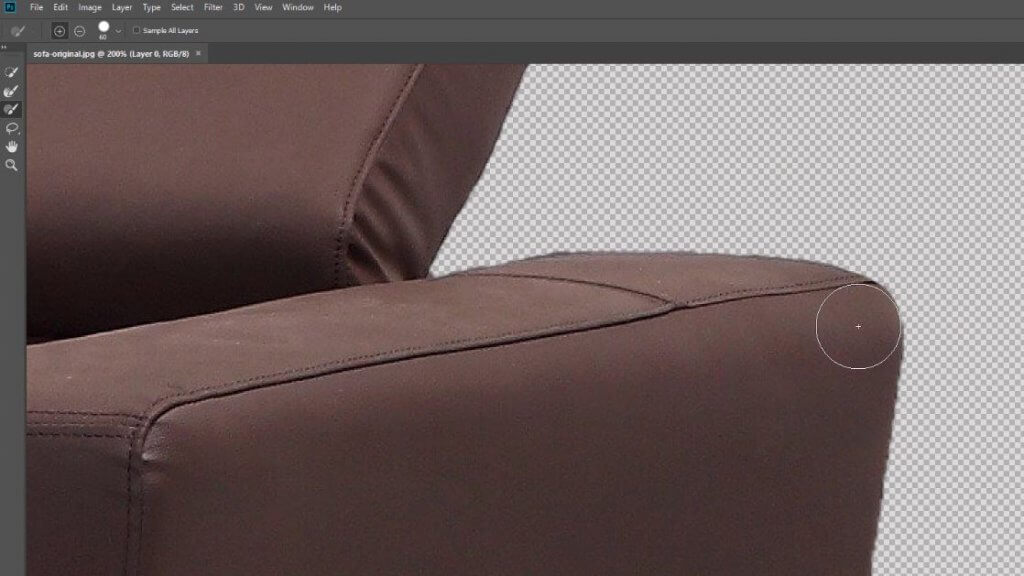
After you finish with the selection. Click select and mask to refine the result. You can use a brush tool to add or remove the selection. This will take some time. When you’re satisfied with result click ok.
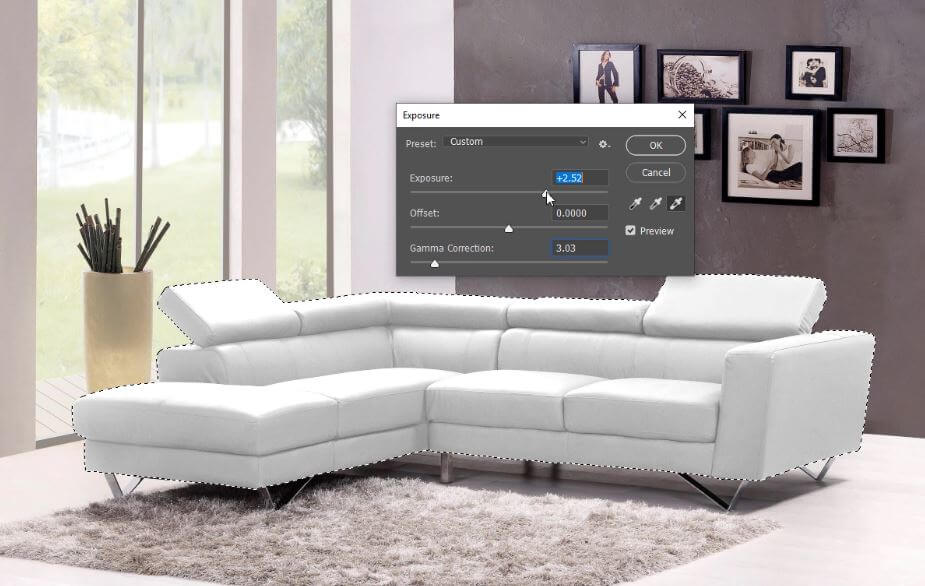
Now I’m going to change the sofa color to white. First reduce the saturation to the minimum. Then increase the exposure and reduce gamma correction. Save this image as JPEG or PNG.
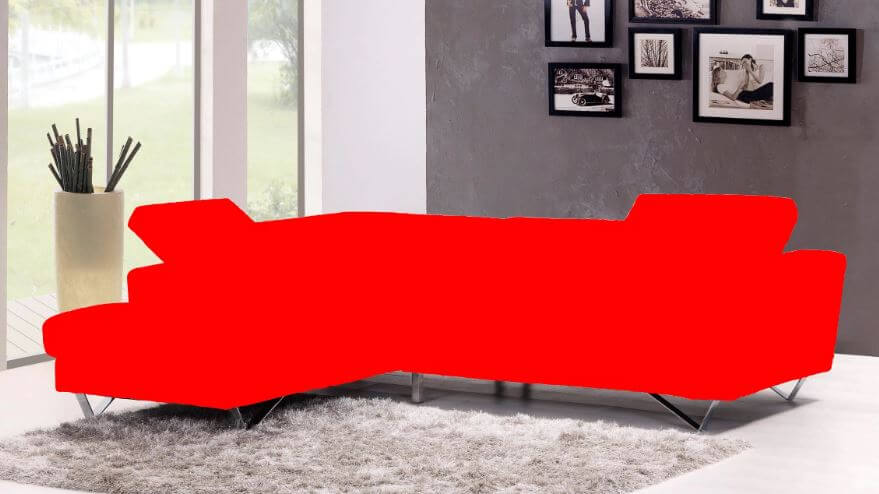
Next we’ll create an SVG image of the sofa. Right click the selection and select “Make work path…”
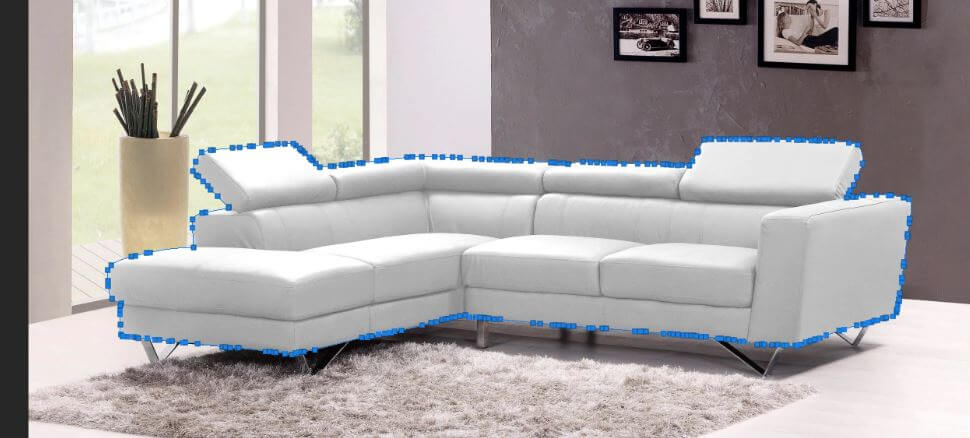
Then go to “Layer” menu and select “Create a new fill layer” and pick the red color. You’ll see a new shape layer has been created. We’ll export it as SVG using export as option in the “File > Export > Export As” menu.
Now we’ll have two images. One is the base image with white sofa. And another is the SVG. Next let’s work on our webpage.
HTML/CSS
Now let’s create a new div and set the white sofa image as background. I’m going to set the background width to 100% and height to auto to keep the aspect ratio when resizing
<div class="sofa"></div>
.sofa {
  width: 1000px;
  height: 600px;
  background: url("sofa.jpg") no-repeat;
  background-size: 100% auto;
  margin:20px;
}
Next we’ll put the SVG image to the HTML. To browse the SVG code of your image you can open the file with any text editor. Ignore the unnecessary tags like metadata as we need the style and path only. I’ll also remove the width and height property generated by Photoshop in the svg main tag. This will automatically make SVG scale to fit the parent div.
<div class="sofa">
  <svg viewBox="0 0 4835 3135">
    <path id="Color_Fill_1" data-name="Color Fill 1" class="cls-1" d="M848,1996c0.171-35.49-4.676-66.68-6-102-0.48-12.81-4.213-30

....
....
....

1.76,11.381-.23,18-2C688.814,2004.63,767.752,1996.52,848,1996Z"/>
  </svg>
</div>
And then we’ll set the mix-blend-mode to multiply to blend the SVG color with the base image.
.sofa svg {
  mix-blend-mode: multiply;
}
If you still see the white sofa around the edge, you can go back and refine the selection and recreate the SVG again in the Photoshop (Apparently My Photoshop skill is not very good :p)

The Color Picker
Now I’m going to create a color picker using CSS only. Let’s create a radio buttons with label for each of them.
<input type="radio" name="color" id="red-radio" ><label  for="red-radio" class="red"></label>
<input type="radio" name="color" id="green-radio"><label for="green-radio" class="green"></label>
<input type="radio" name="color" id="blue-radio"><label  for="blue-radio" class="blue"></label>
For each label, we need to change the display to the inline block or width and height property won’t work. Then set the border radius to 50% to create a circle and set background color. Also we need to remove the default radio buttons by set the visibility to hidden.
label {
  display: inline-block;
  width:50px;
  height: 50px;
  border-radius: 50%;
  cursor: pointer;
}
label.red {
  background:red;
}
label.green {
  background:green;
}
label.blue {
  background:blue;
}
input[type="radio"] {
  visibility: hidden;
}
Then when each label was clicked, change the fill to label’s color. Also set the default fill to red (or you’ll see a black sofa until any label is clicked)
#red-radio:checked ~ .sofa .cls-1 {
  fill:red;
}
#green-radio:checked ~ .sofa .cls-1 {
  fill:green;
}
#blue-radio:checked ~ .sofa .cls-1 {
  fill:blue;
}
.cls-1 { fill:red; }
And here is the final result (Download the source code here to try it yourself)
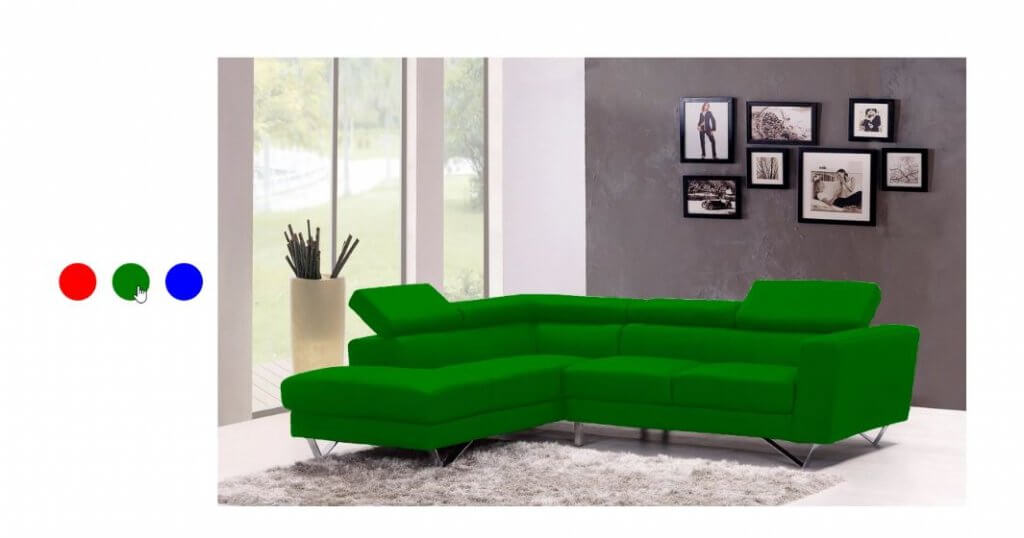
That’s all guys! If you enjoyed this tutorial, don’t forget to subscribe our YouTube channel for weekly development tips and tutorials 🙂
