How to Add Custom CSS/HTML to WordPress Post
In this tutorial, I’m going to show you how to add a custom css effect to any wordpress page or a post easily in just a few minutes! Ready? Let’s check it out!
There are couple ways to add a custom CSS to WordPress.
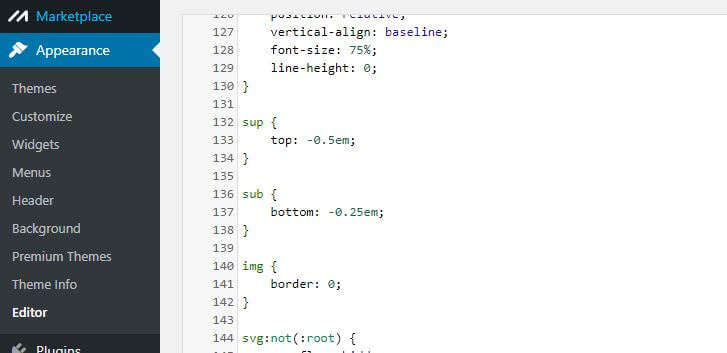
Theme Editor
The first method is to use a theme editor to add your CSS to the theme directly. But this is a very bad practice since the CSS will be applied to the entire site, not just one page. Plus, your CSS code will be wiped out when updating the theme.
Inline CSS
The second method is to add an inline CSS using style tag into the post directly.
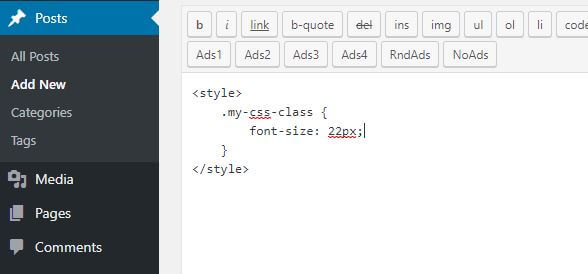
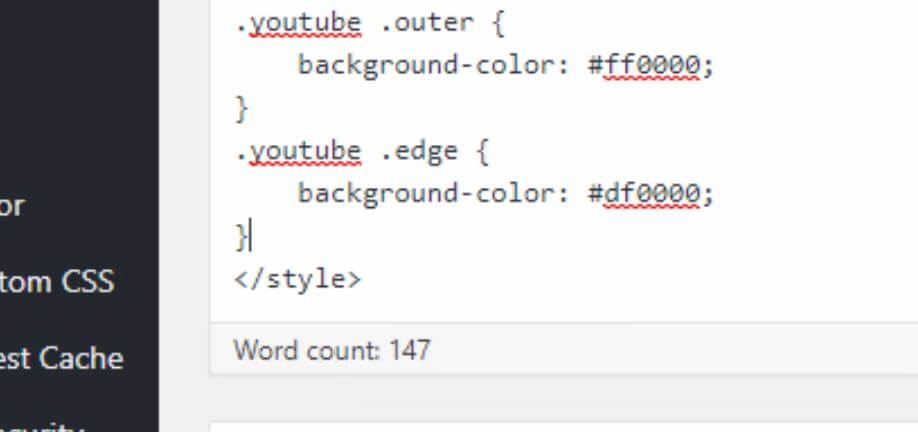
This works for most cases but you’ll see the CSS will also be counted as content (See figure below) and confuse other plugins like Yoast SEO and ads injection resulted in misplace ads or even break your CSS code.
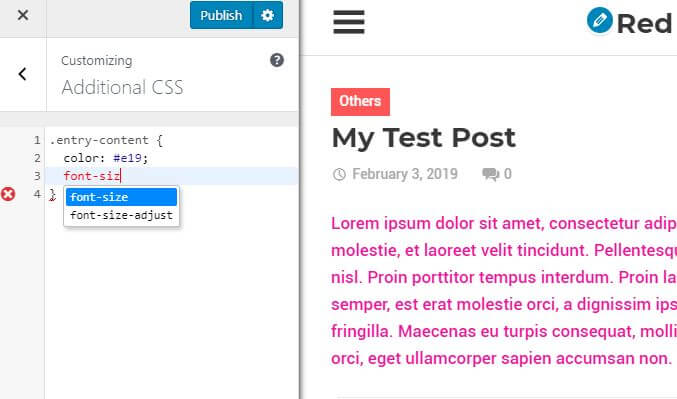
WordPress Customizer
Another method is to use Additional CSS panel in WordPress customizer. This is probably the best way compared to the previous two. But still the CSS will be applied to the entire site and not the post.
Using Plugin
So to solve this problem, We’re going to use a WP Add Custom CSS plugin.
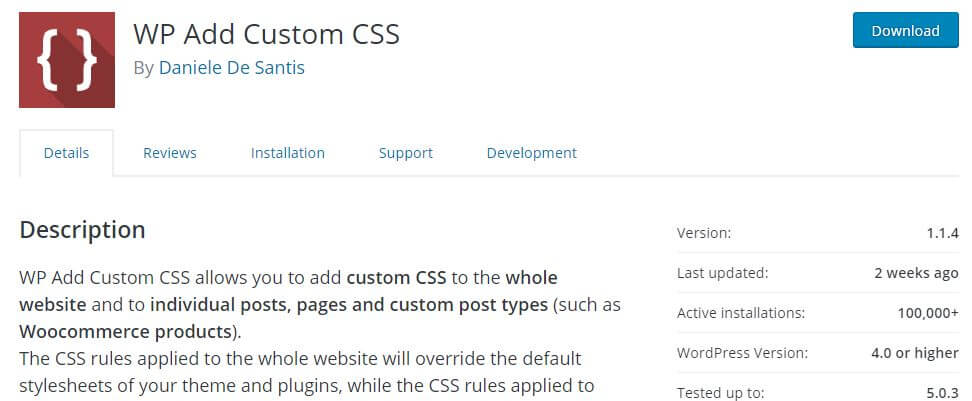
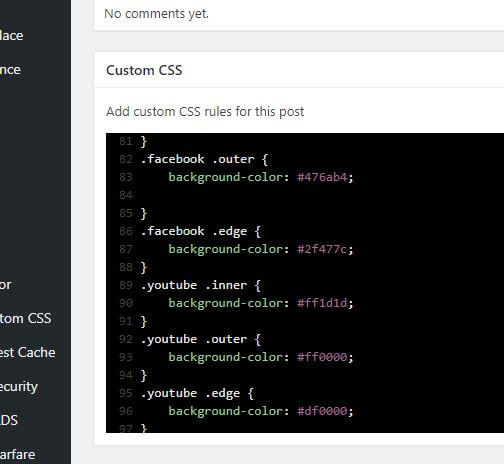
Once installed, you’ll have additional box at the end of the post that allows to add add any extra CSS to that post only.
Let’s Test it!
A flipable 3D Social Media button below is an example of adding custom CSS using this plugin.
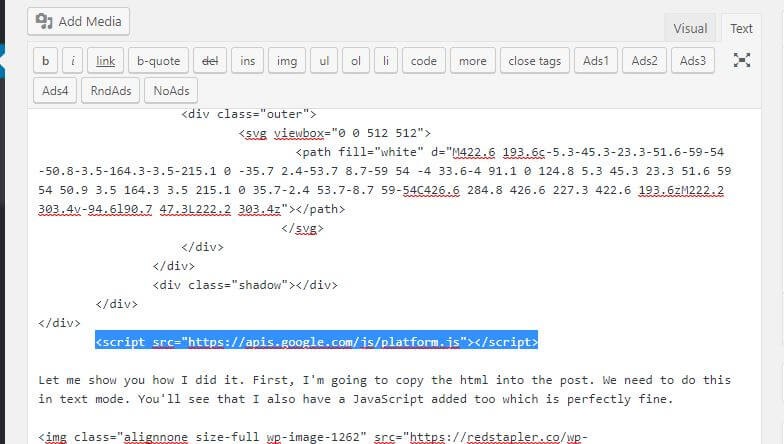
Let me show you how I did it. First, I’m going to copy the html into the post. We need to do this in text mode. You’ll see that I also have a JavaScript added too which is perfectly fine.
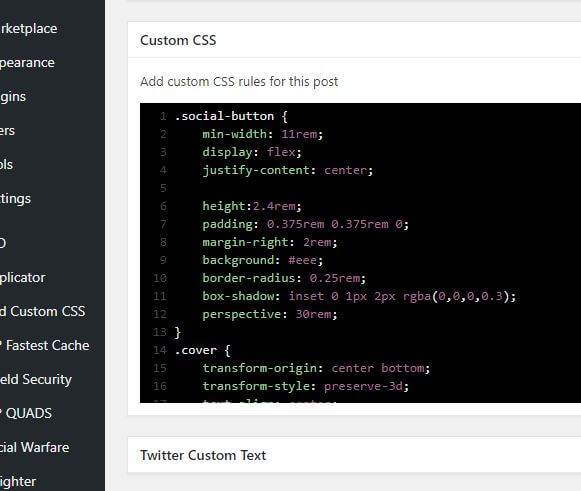
Next I’m going to copy over the CSS into the box.
Now we’ll need a little adjustment. The original code was added to body the of the page but here we’re adding to the post section instead. So I’m going to create a wrapper div to wrap our code. And then copy the related CSS on the body to the wrapper.
<div class="social-wrapper">
     <!-- remaining code -->
</div>
.social-wrapper {
/* related code on the body */
}And that’s it. you can find the source code and tutorial for the Flipable social media button here.
So that’s all for this tutorial. If you love it, don’t forget to like or subscribe to our Facebook and Youtube Channel to stay connected with us. See you next post!
Hi,
Its super helpful, Thank you soo much for showing the CSS tricks.
Can you show how we can add CSS code in the latest wordpress – Gutenberg editor. I mean which block I can use.
Thanks
Vijay
Unfortunately, I’m not really a fan of Gutenberg editor. I turned it off after got multiple issues with plugin compatibility.
i think better we create custom theme and then create custom html css . it’s better for optimizer and every website analyzer 🙂 thanks
Creating custom theme is when you want to apply a custom HTML/CSS to the entire site. This is when we want to apply a custom CSS to a “specific post”
For long-term only. Simple and helpful for short term.
Grt Tutorial Sir
I learnt many new things today
i want to add sliding sticky form to wordpress is it possoble like the tutorial u gave us here
Hi
I tried copying a css code from a website into my page using the custom css plugin that you recommended , but it is not responsive
the css code is
Number of words
Font
Times New RomanCalibriCambriaGeorgiaArialComic Sans MSVerdanaMyriad ProOpen Sans
Font size
12pt14pt16pt18pt
Spacing
Single1.5Double
Kindly assist
Thanks
Elias